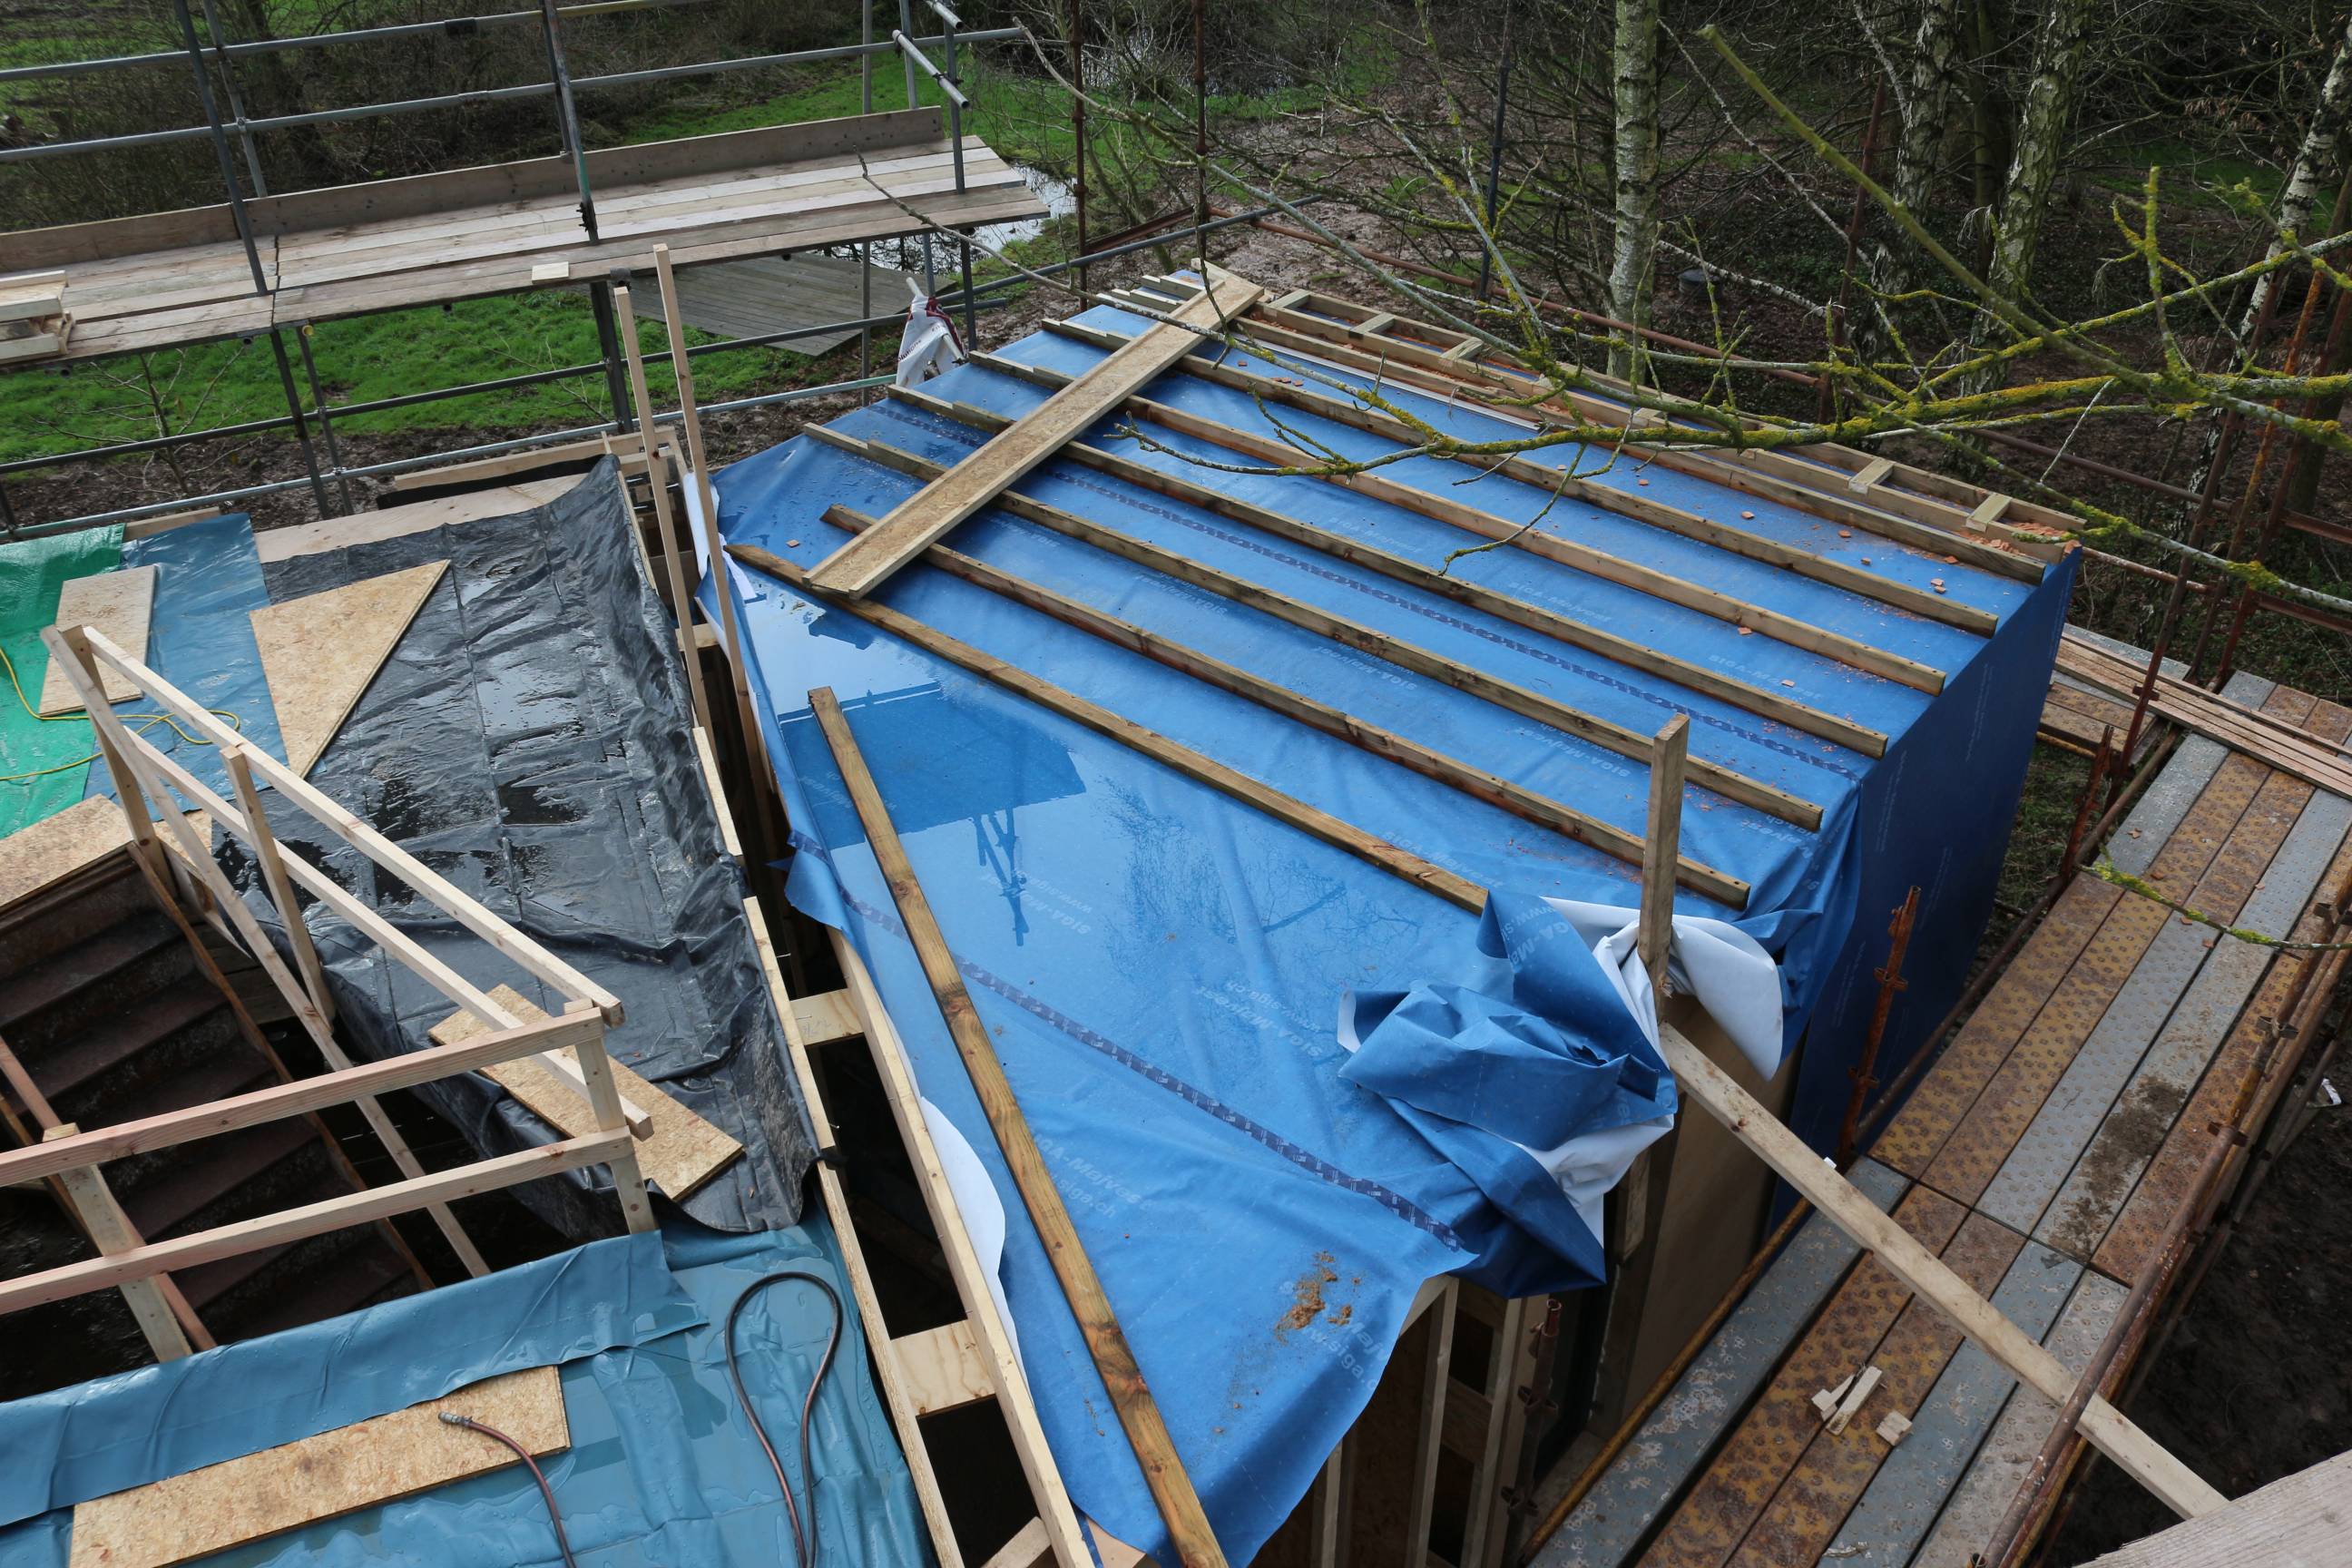
Visually the house seemed to move very quickly this week, though it does look like it has been covered in cardboard. First the downstairs windows were added, with a few hiccups as explained in the previous post. Then Steico tongue and grooved woodfibre insulating boards were added. 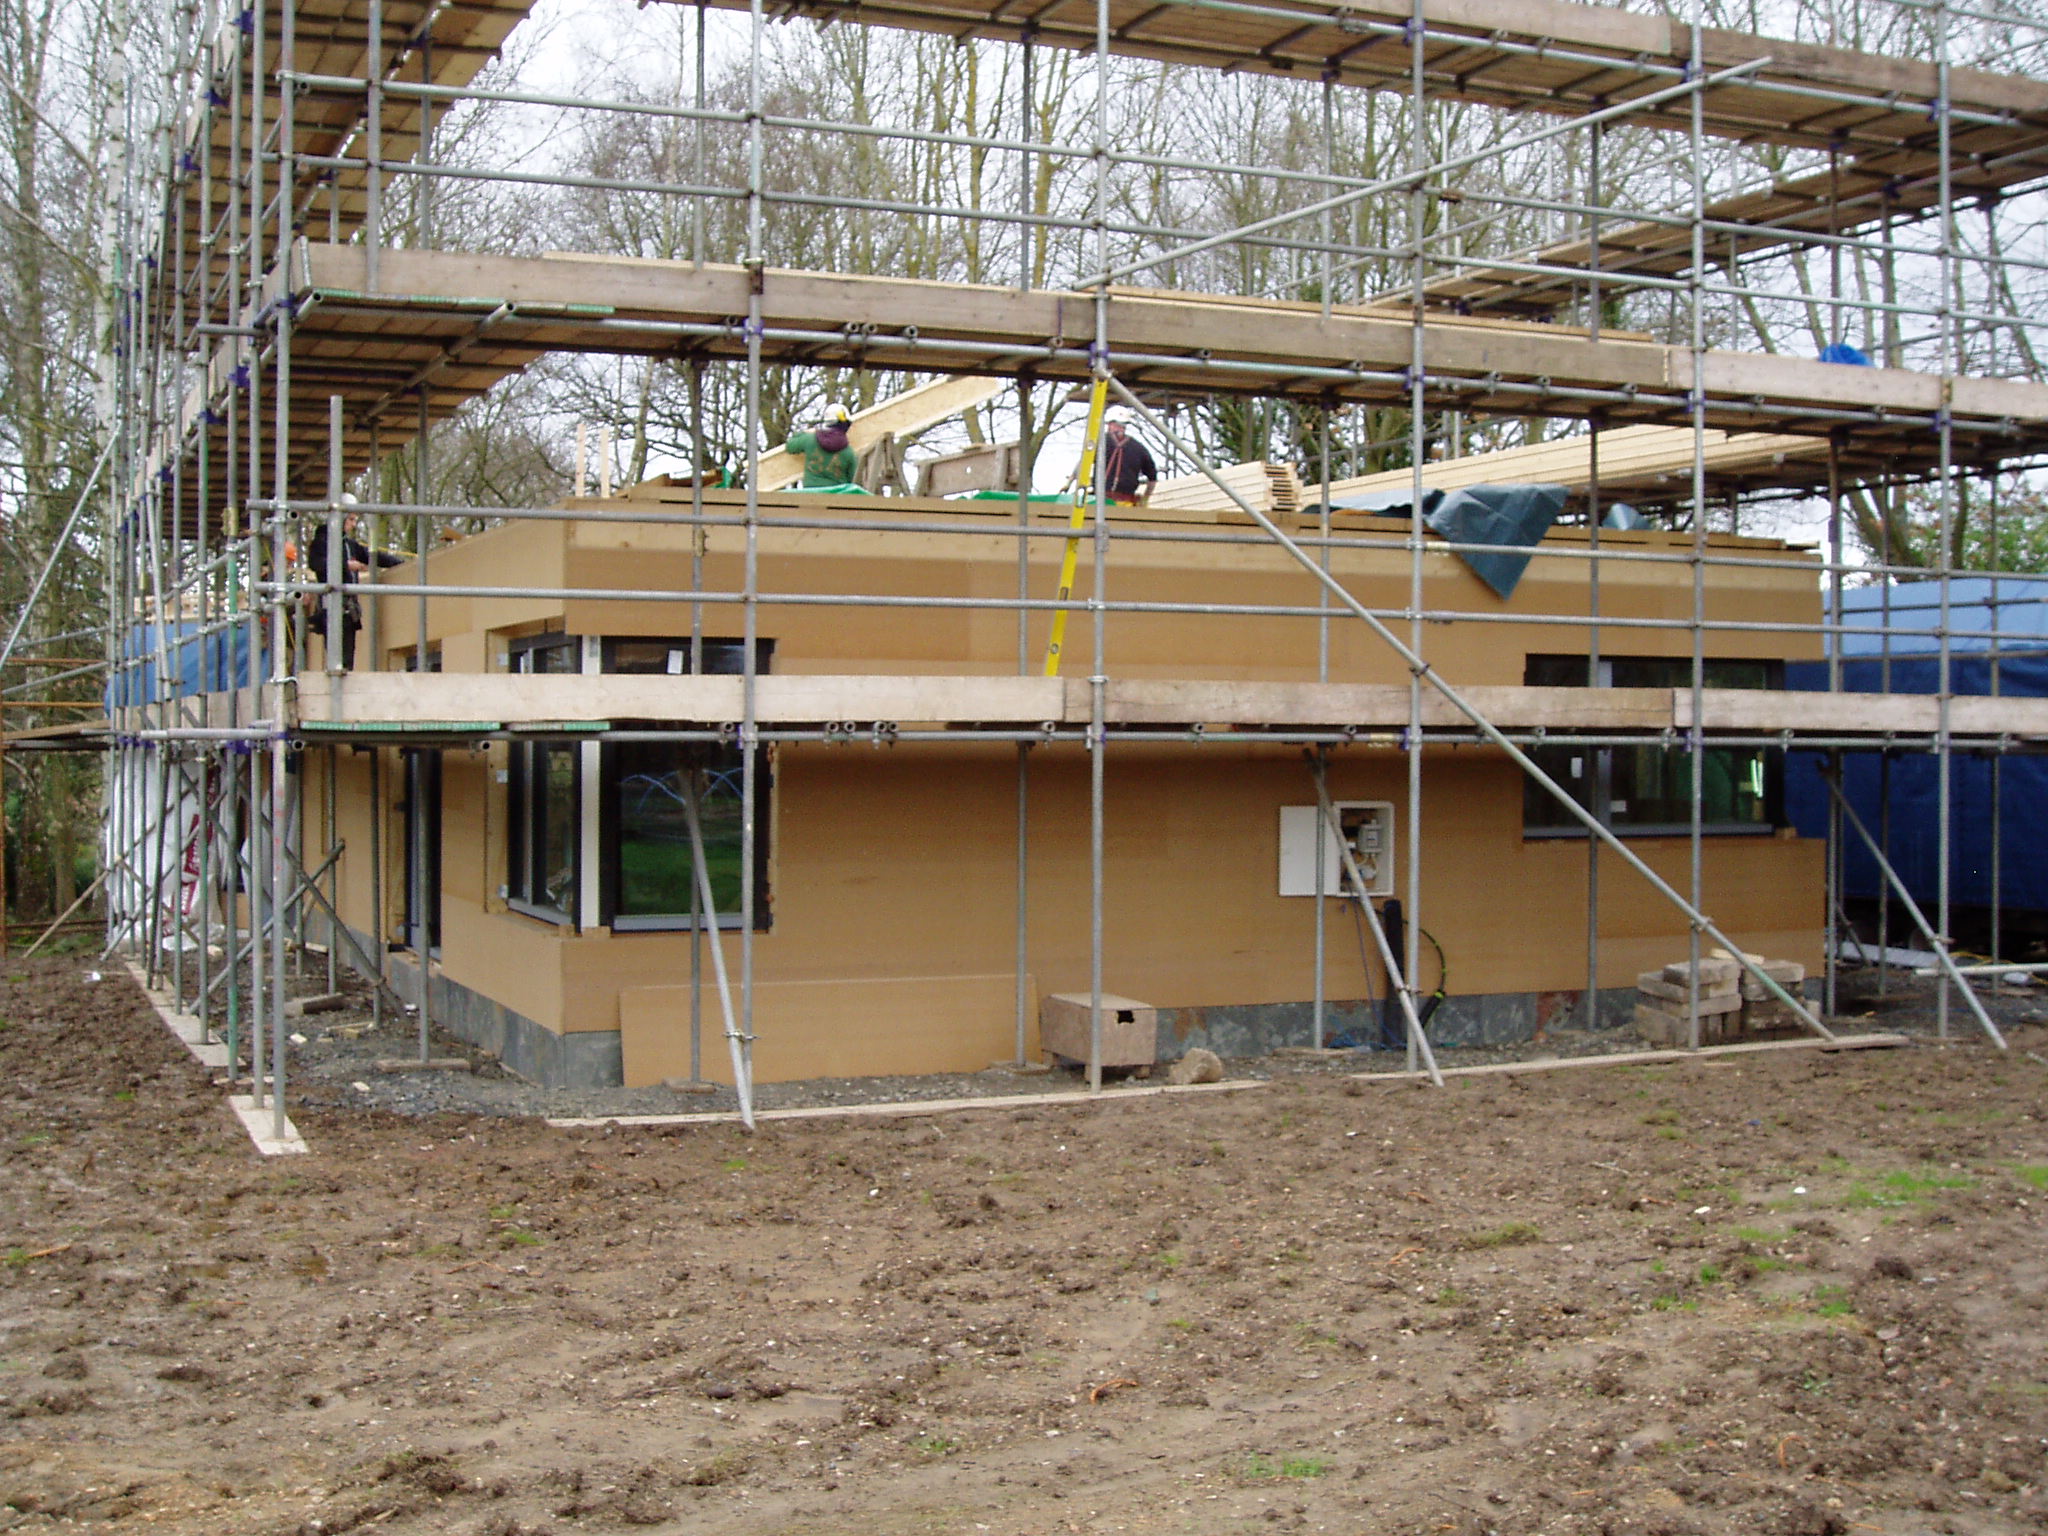
And then on Friday afternoon they started on the first floor I-beams and amazingly two-thirds of them were up in one afternoon

Month: January 2016
Oh dear – windows
We thought we were doing so well with the windows – they arrived in time for the build and they seem to be the correct number and size, but in true “Grand Designs” fashion we have encountered a little problem. All bar two of the opening windows and the patio door have their hinges on the wrong side.
As far as I can work out, it is a bit like the Mars Orbiter which missed Mars because one team worked in pound-seconds(Lb/s) and the other team worked in newton-seconds. This is what a window looks like at the plan stage – it is viewed from the outside and the point of the dotted V shows where the hinge is.  Unfortunately the window manufacturer does it different. The windows are viewed from the inside and the V point is where the handle is. Some-where along the supply line the drawings were incorrectly converted, though not consistently as not all the windows are wrong.
Fortunately we can work round it – two opening windows are fortunately the same size and can be switched. Other ones it did not really matter which way they opened. The biggest change has been to the patio door where the drawings shown the door on the left (as viewed from the inside). And as you can see from the photo it is now on the right.
 We had a session making sure it would not impact on where furniture could be put and on the whole it seems it might be the better place for it any-way.
First Windows and Walls
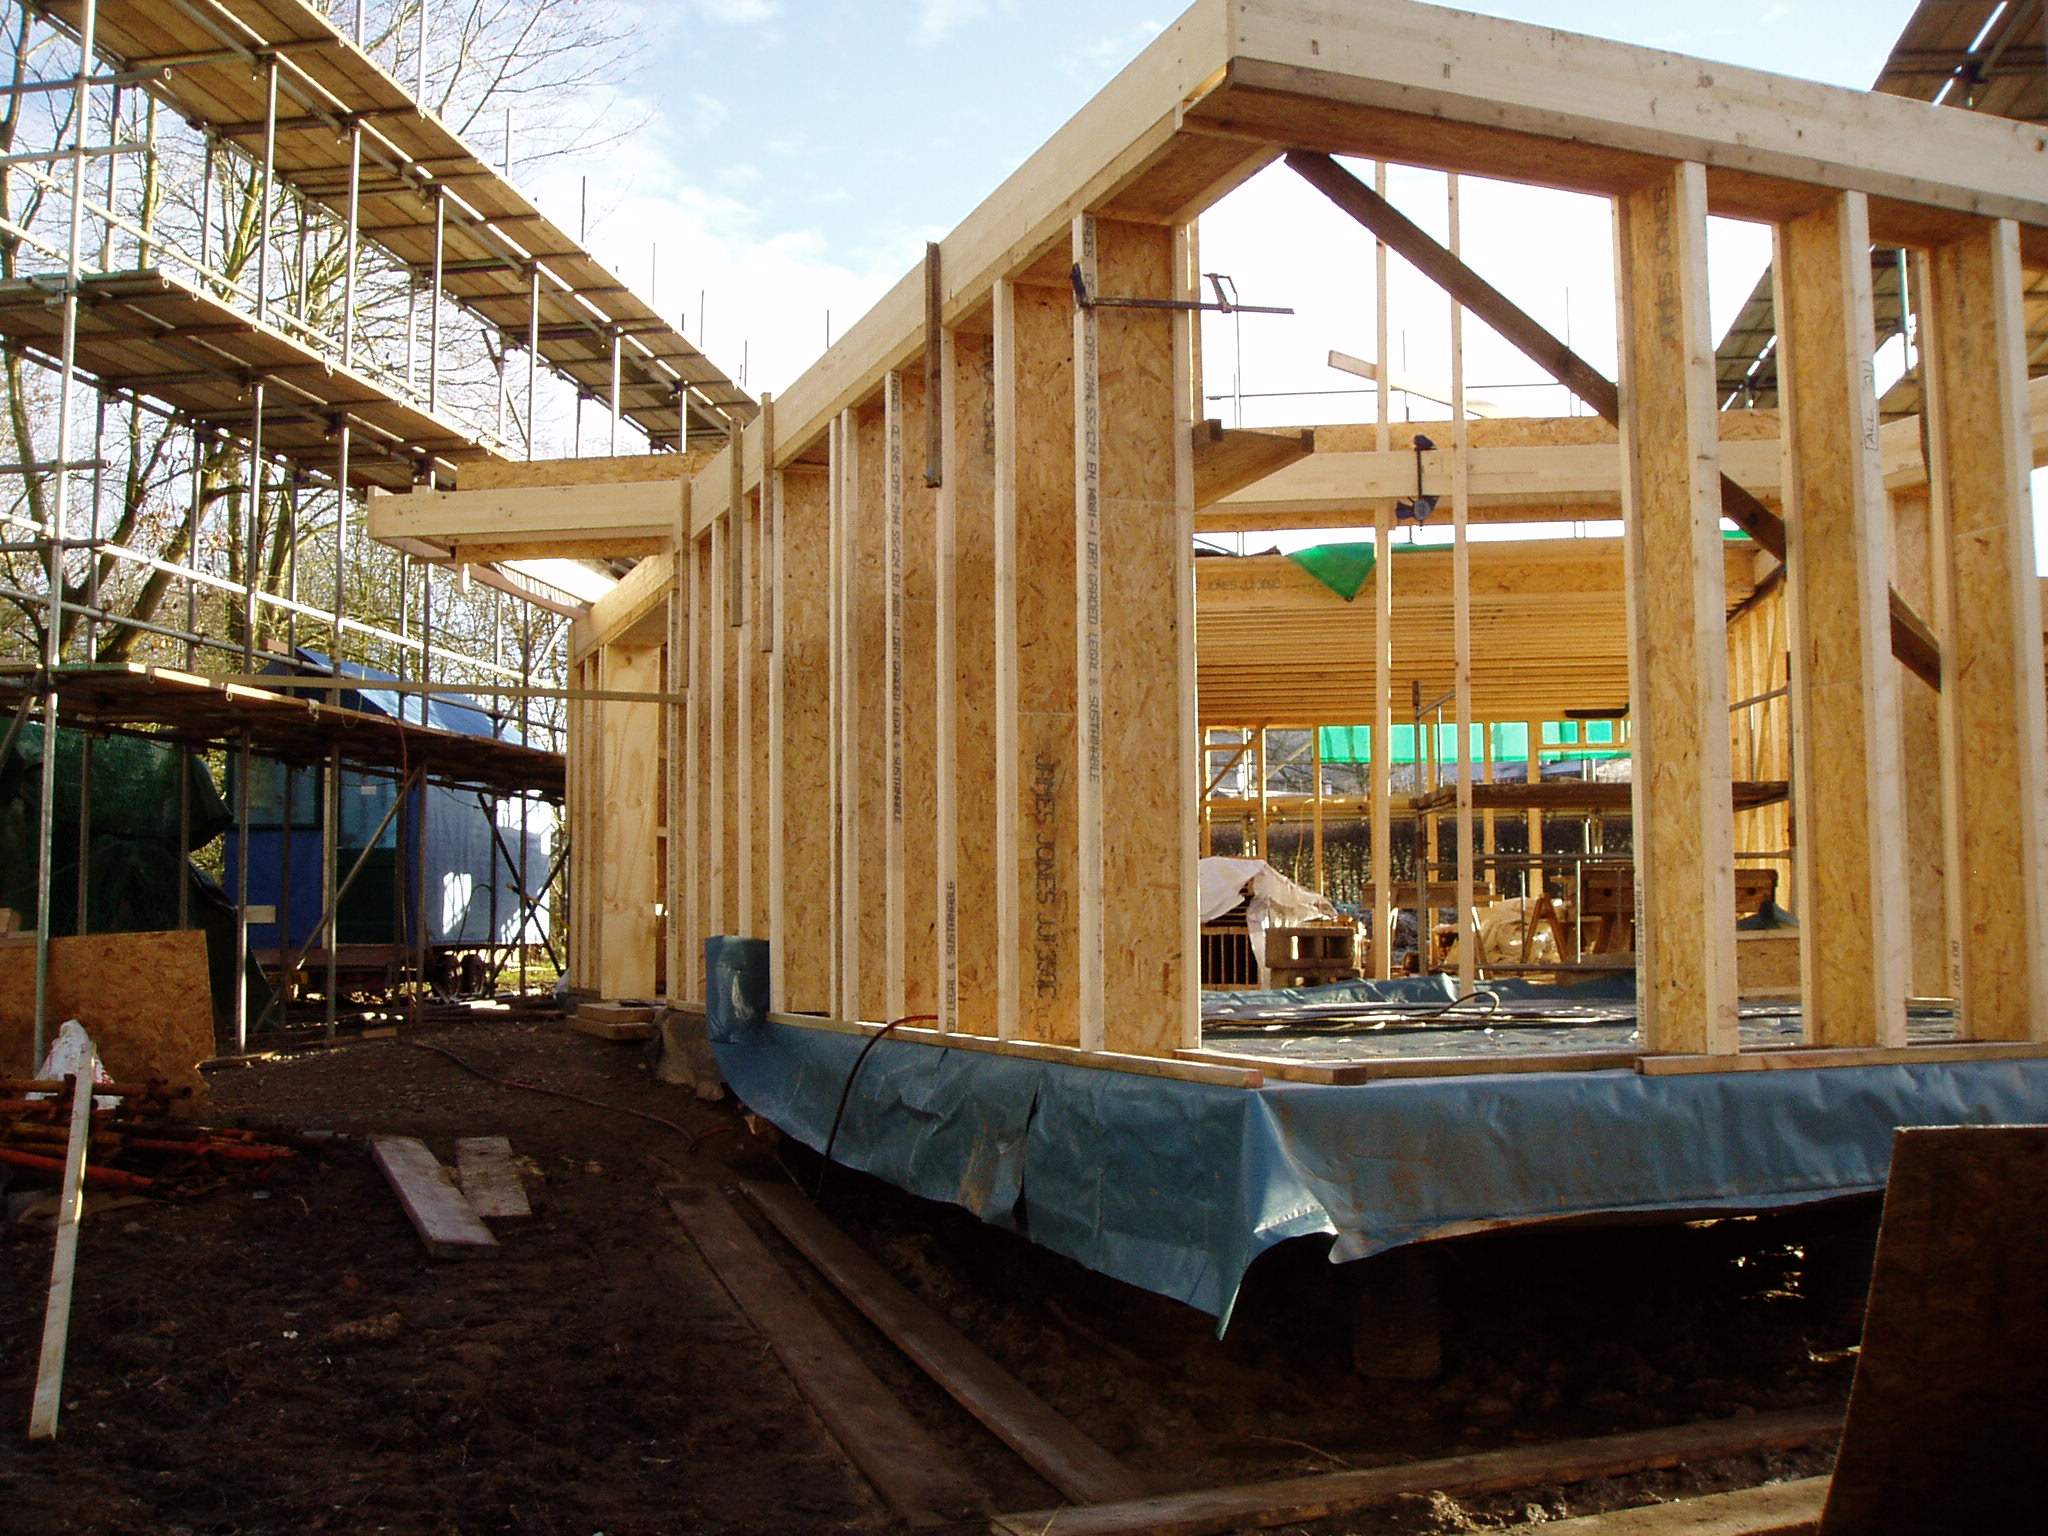
The biggest visual changes this week have been to Mike’s study, which now has a first layer of wall, a ceiling and three sets of windows.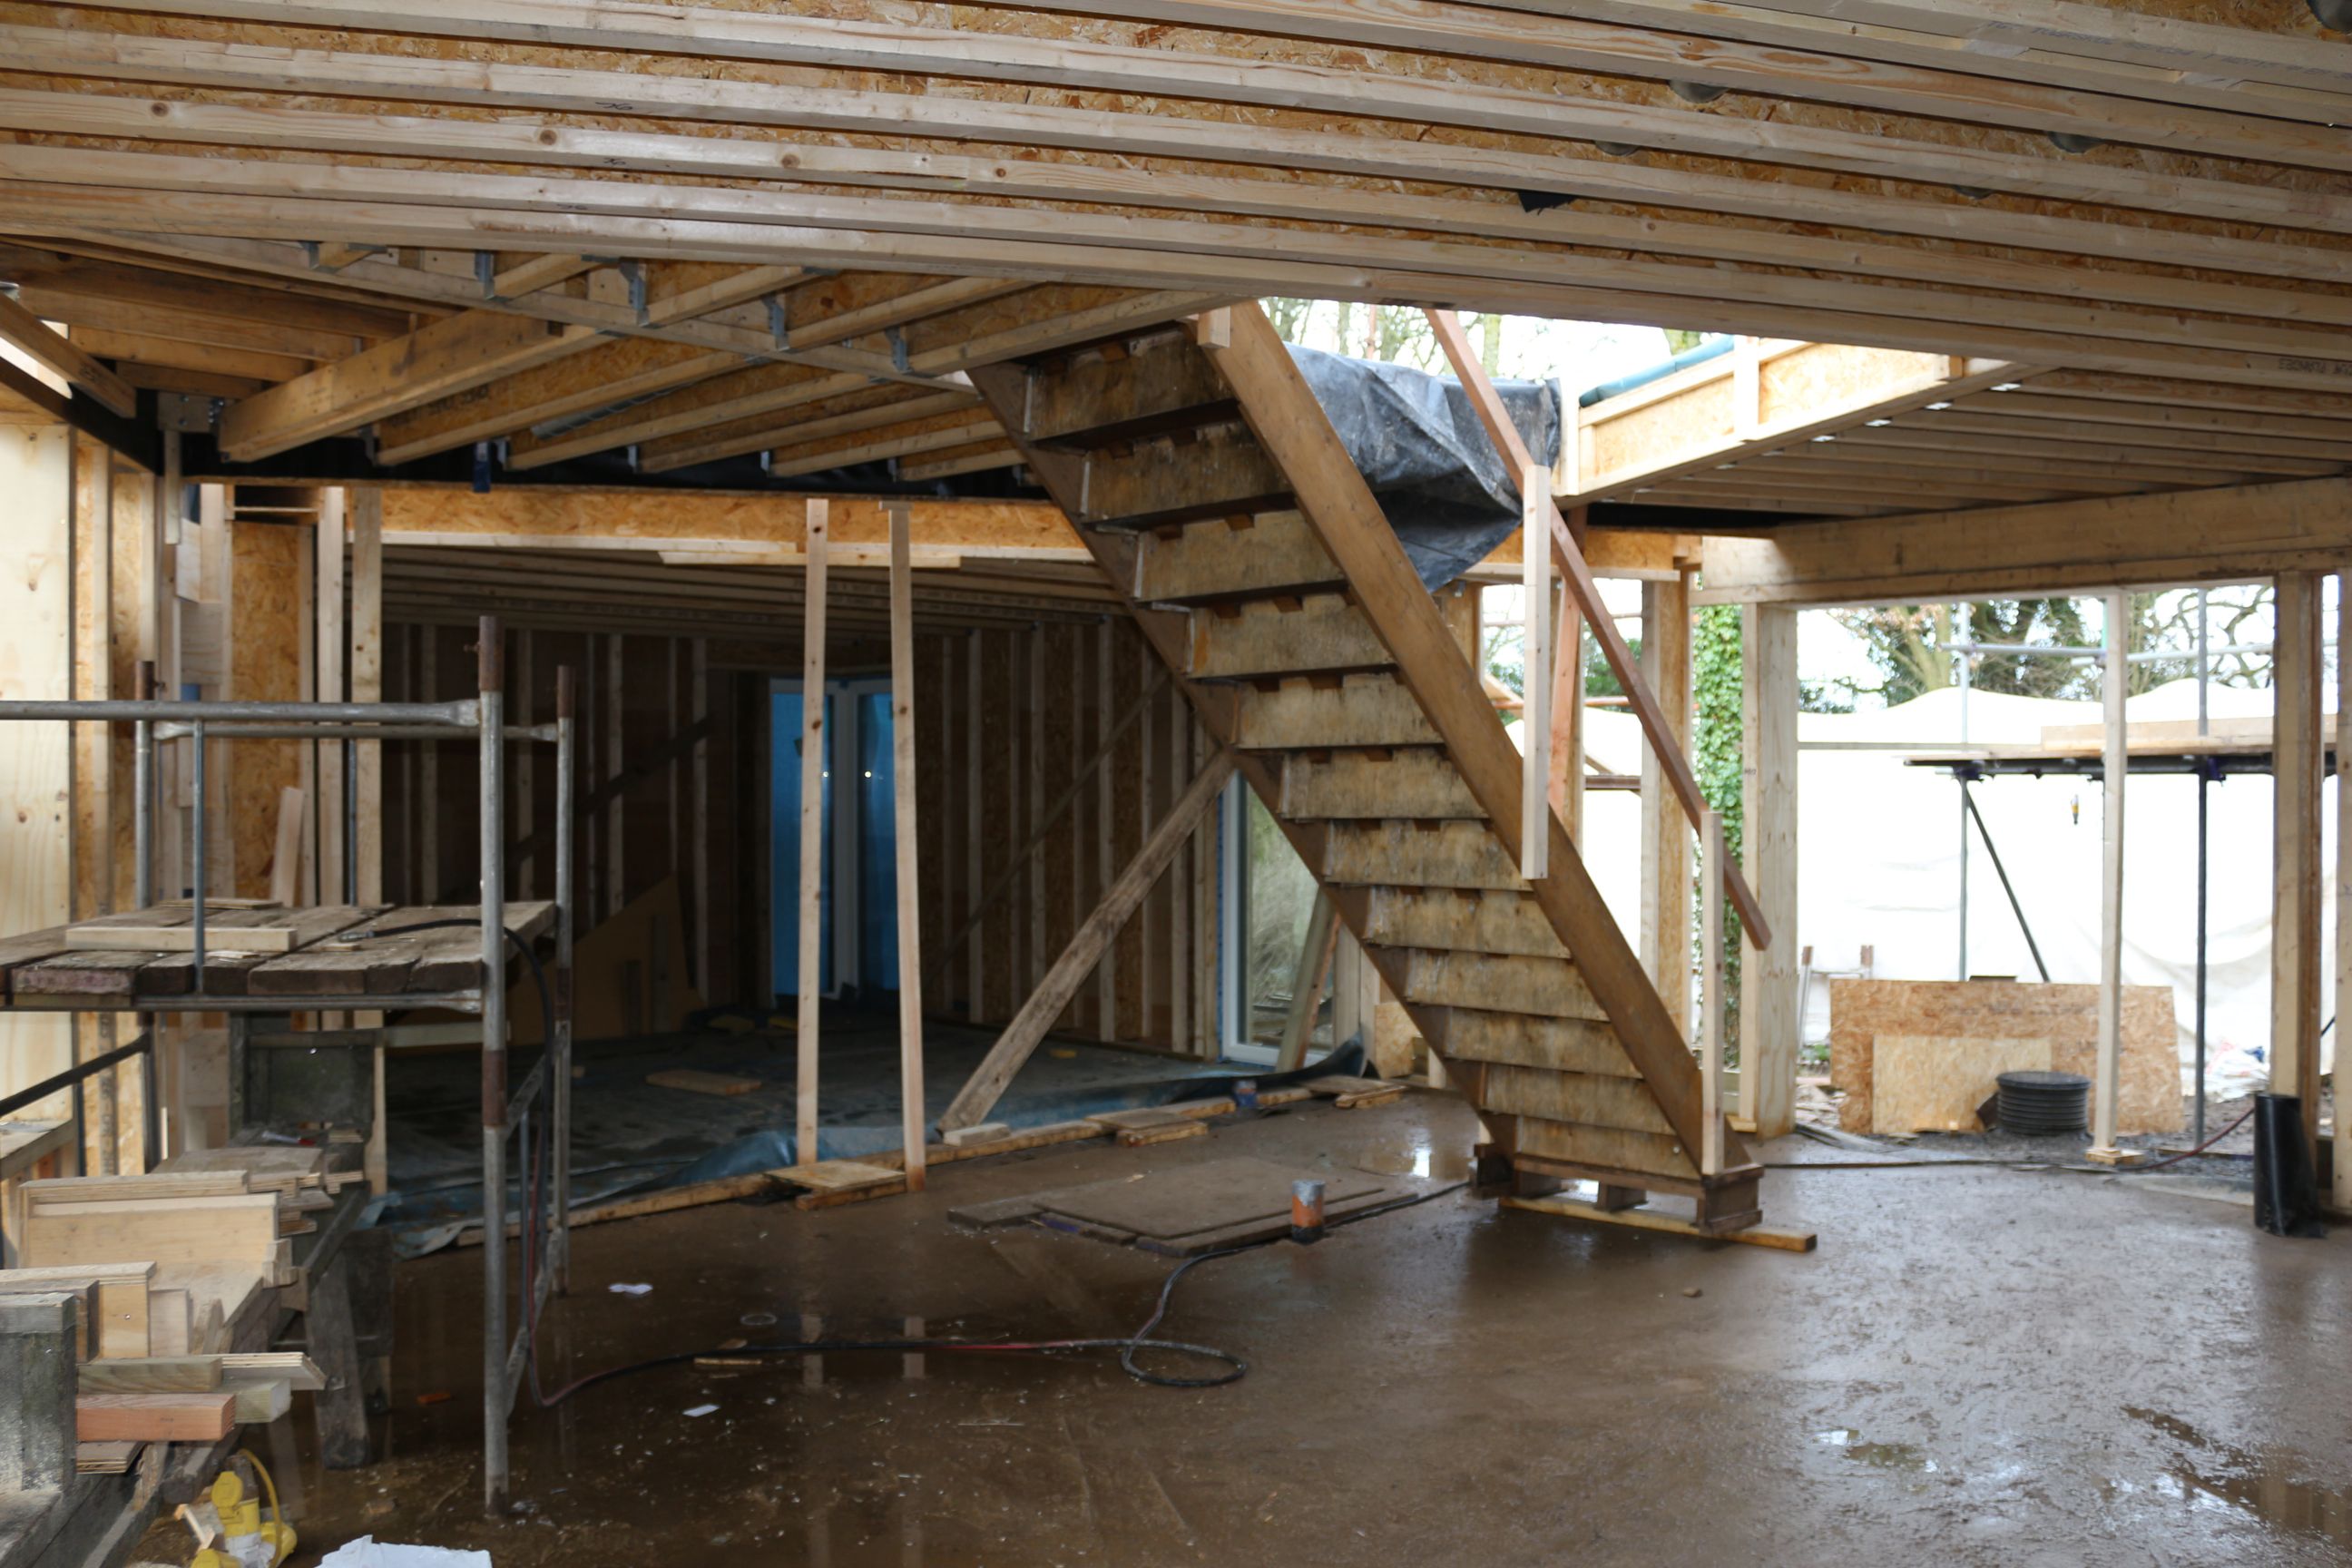 The dark space behind the temporary staircase is the study and you can just see one of the corner windows and the front window. The next photo shows the house from the front drive with the study window on the right. The front door will be where the big gap is on the left of the photo.
Taking Shape
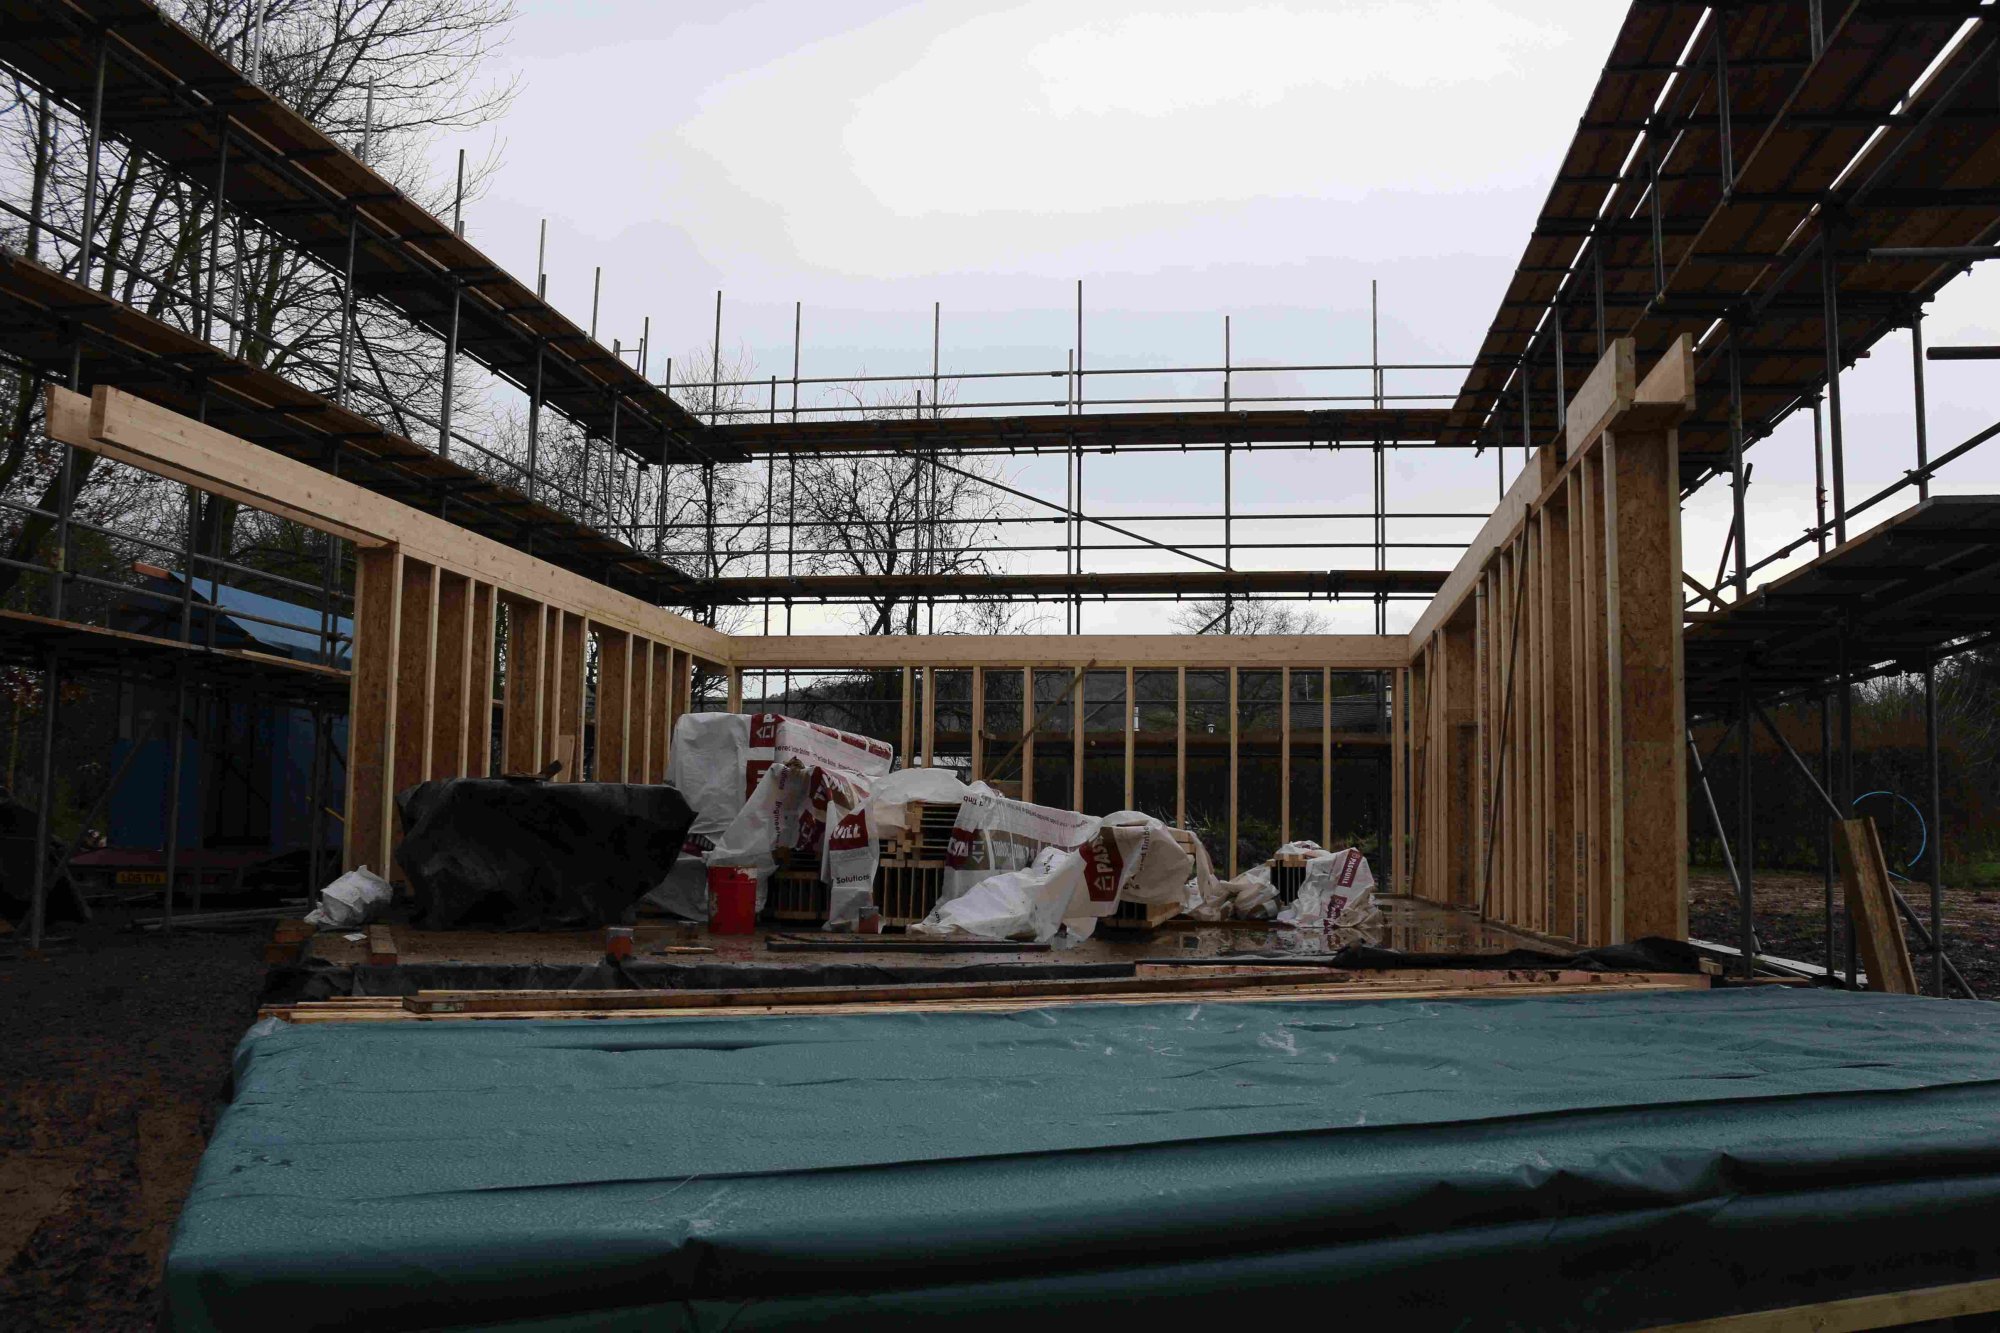
This week the frame has been working its way round the rest of the ground floor. If you look at the house plans you can see that the house is the intersection of two cubes, which makes for a tricky wall where the two cubes intersect. This is particularly true where the west wall of the first floor does not have a ground floor wall below. The first photo shows the beam running from north to south which will support the west first floor wall.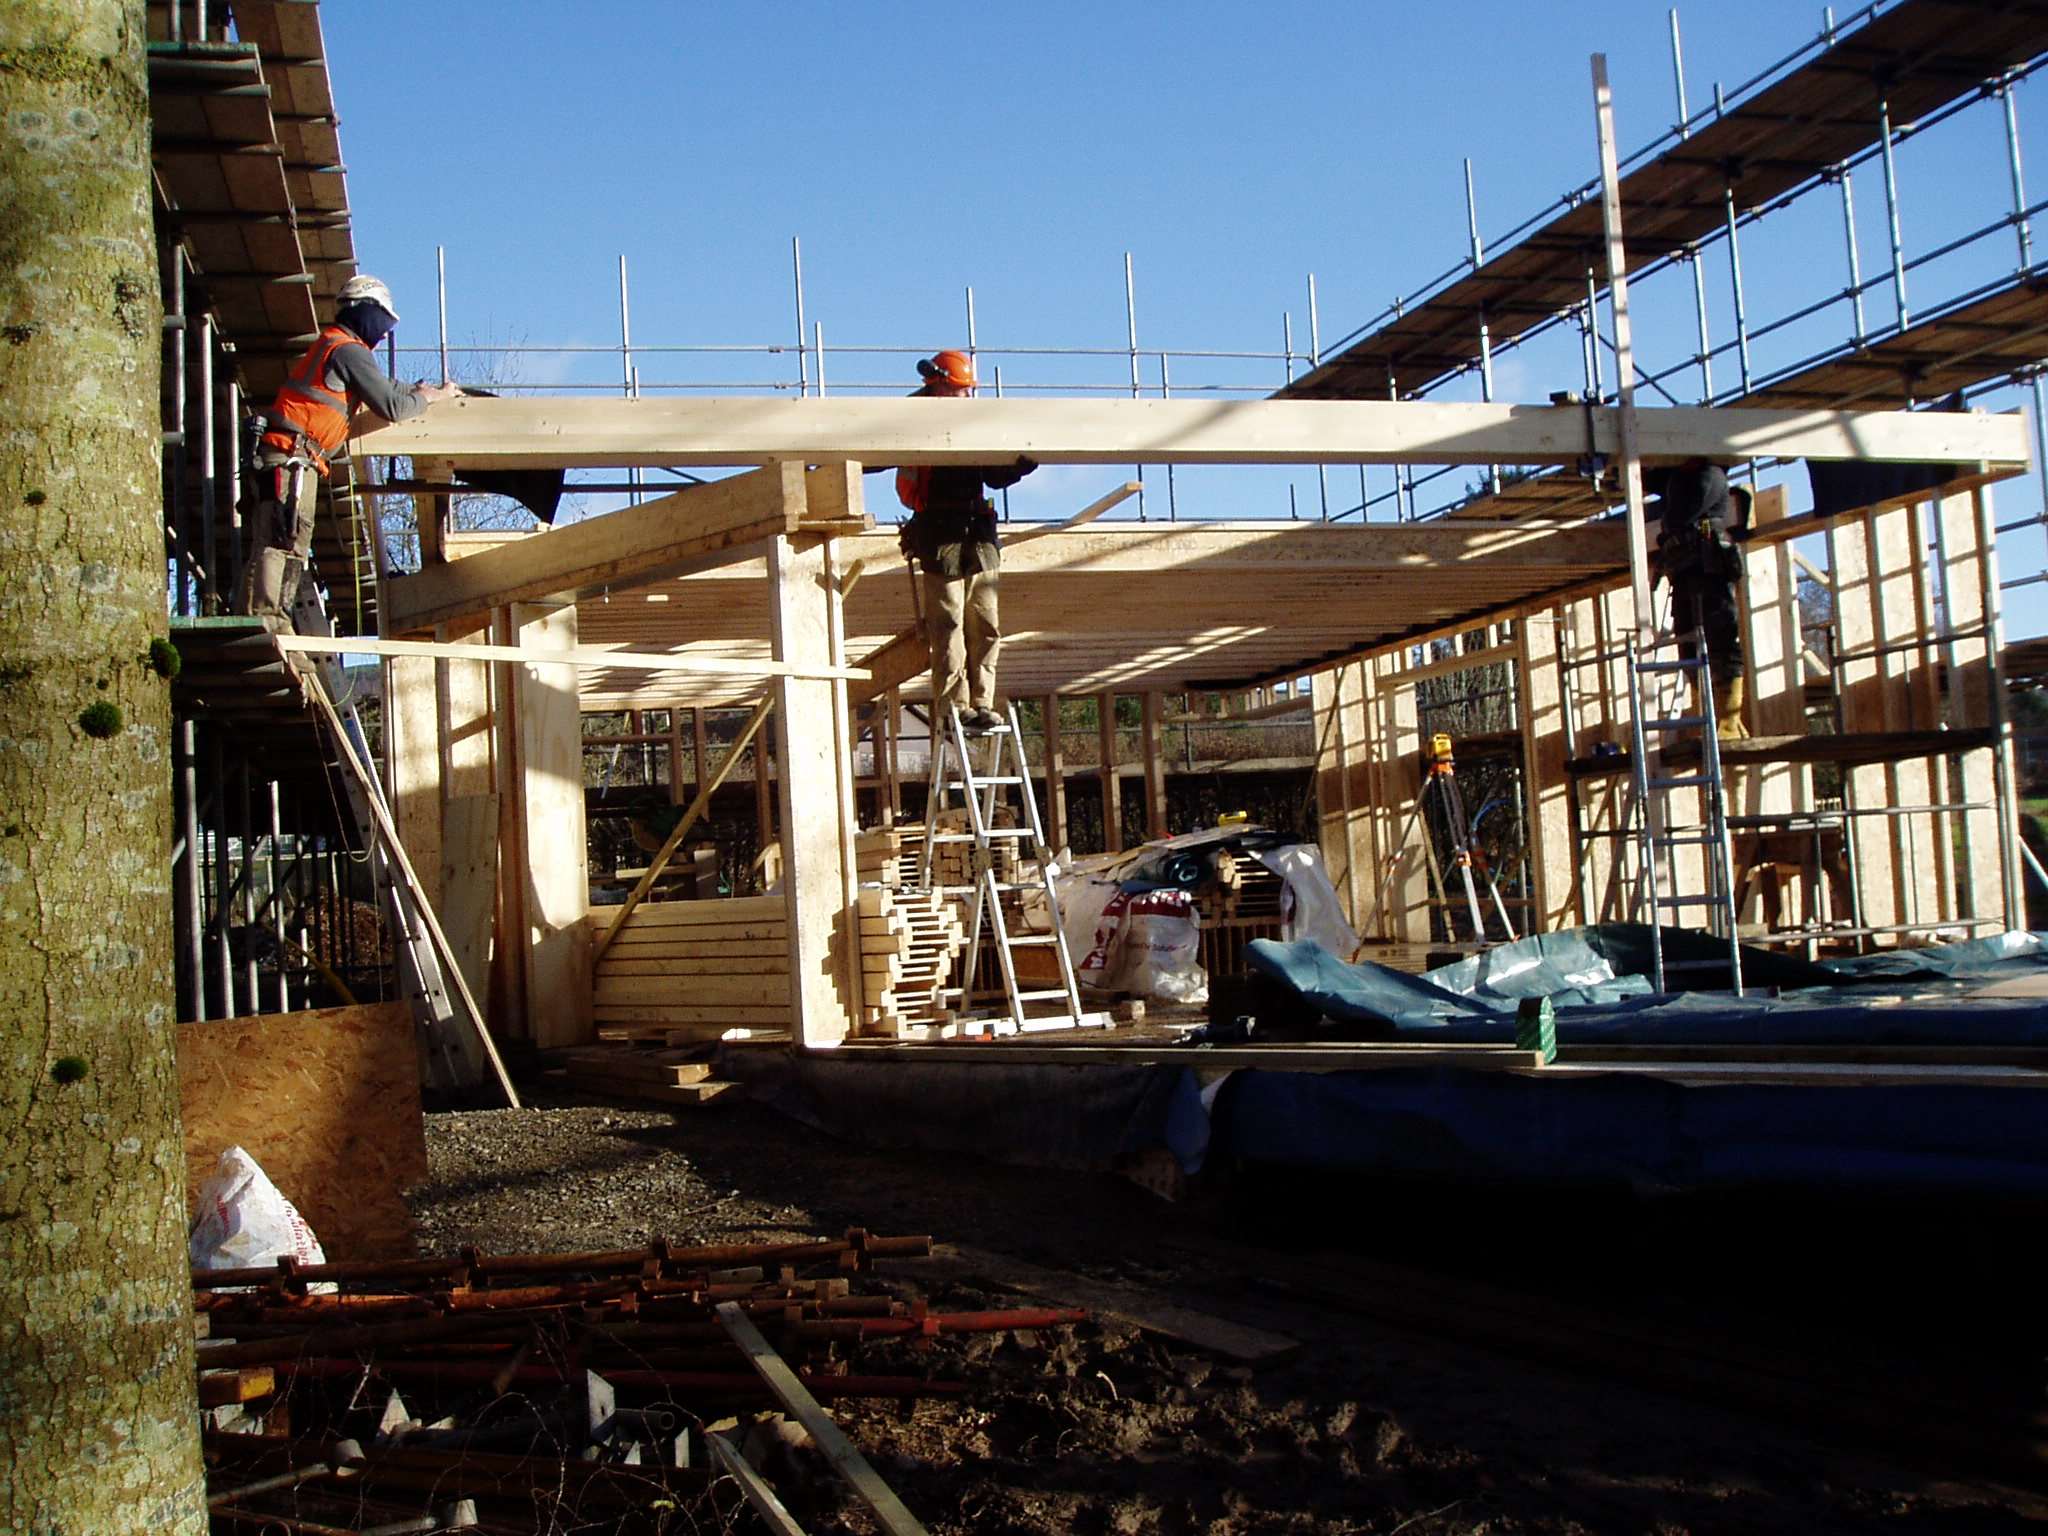

House Build has started
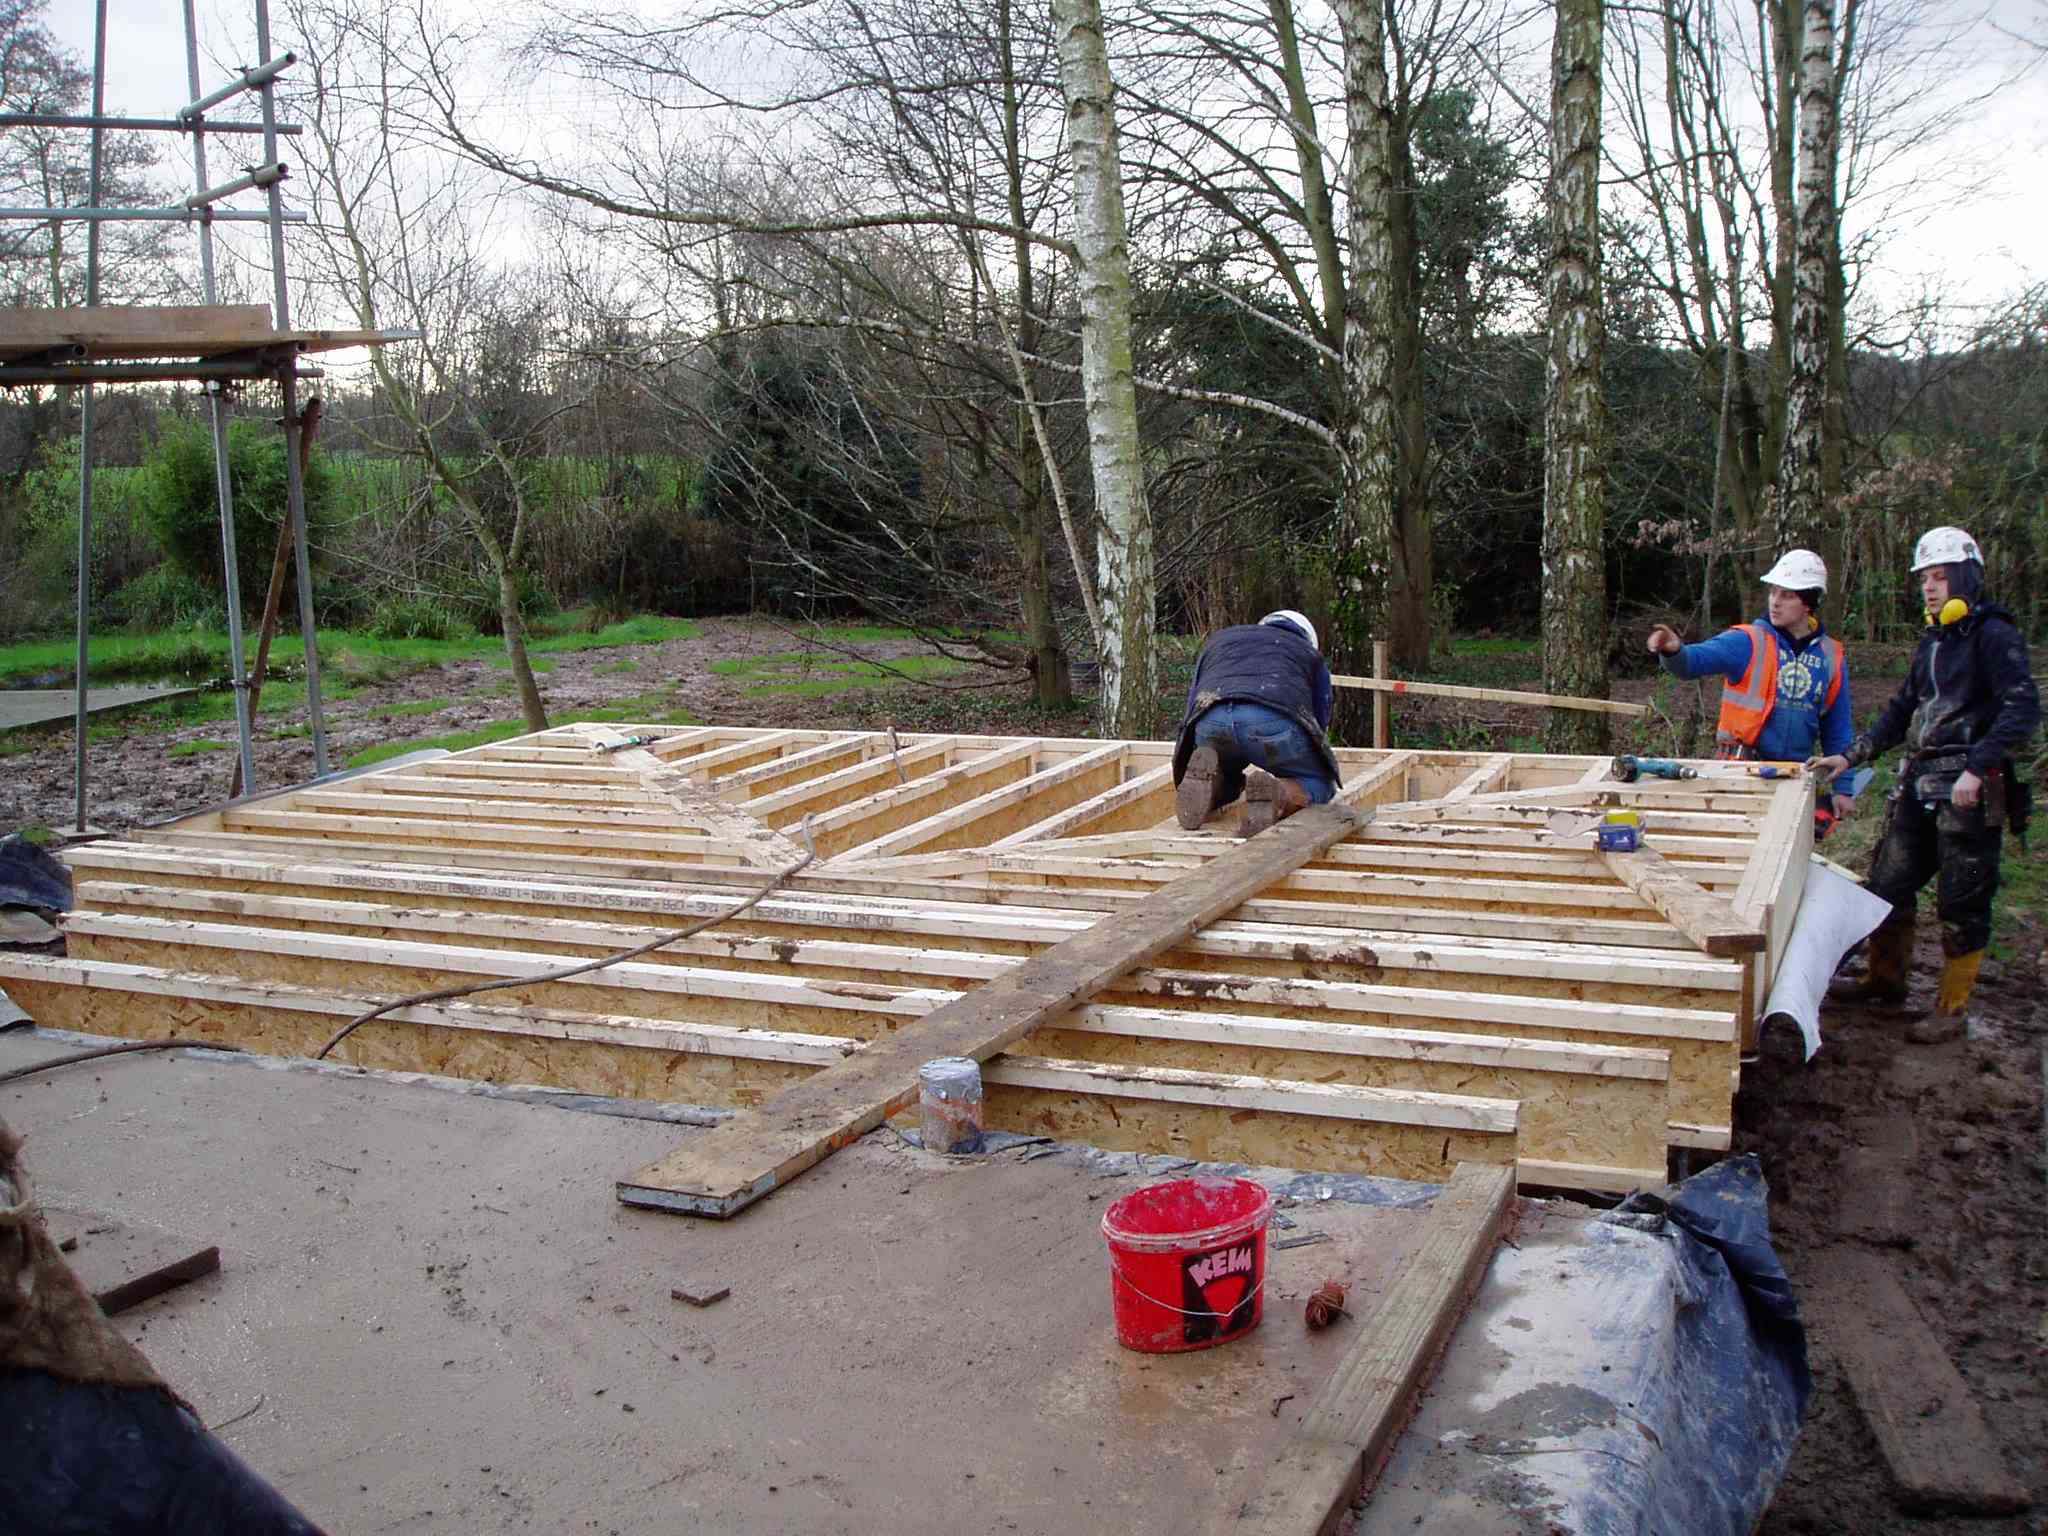
After weeks of ground preparation, the frame of the house has started going up. The photo shows the I-beams forming the frame of the ground floor. One side of the I-beam rests on the concrete foundation and then cantilevers over the insulating polystyrene which surrounds the concrete. Stacked up on the concrete floor is the rest of the house in kit-form.