Time for a bit of a general catch-up. The biggest difference internally has been the building of the block walls at the back of the living area. If all goes to plan these should act as a thermal mass and smooth out temperature swings. 
Siobhan, who is an Australian architectural assistant from Architype, has been visiting the site each week so as to get experience in how houses are constructed. She has written about her experiences on site on her blog and created this nice exploded diagram of the ground floor build of the house.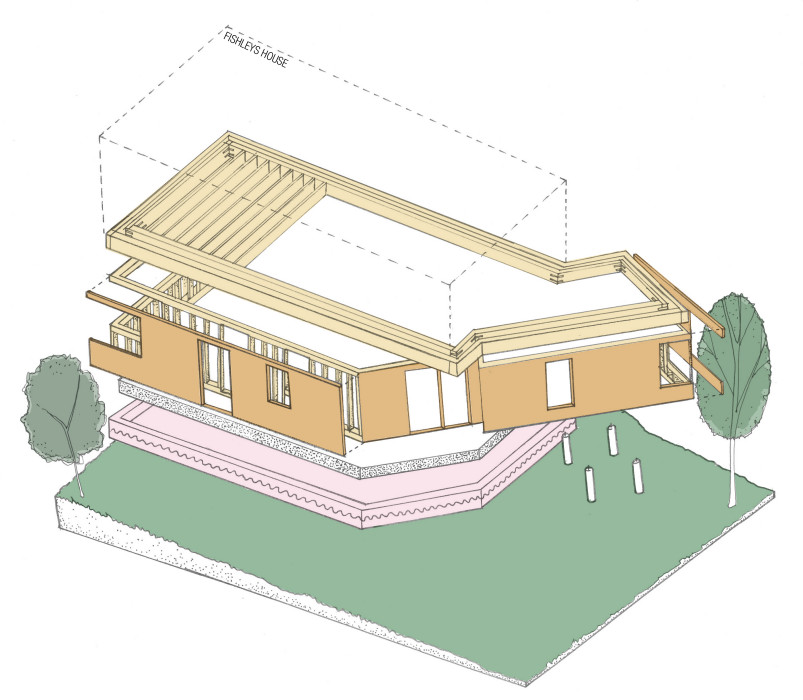
The build also had a write-up on the Passivhaus Trust website. So welcome to new readers of our blog who have subscribed as a result of the article.
And finally sweeping the floor for the air test last week, showed that some-one had walked over the wet concrete, but was it Ella or next door’s small cat – Lillian.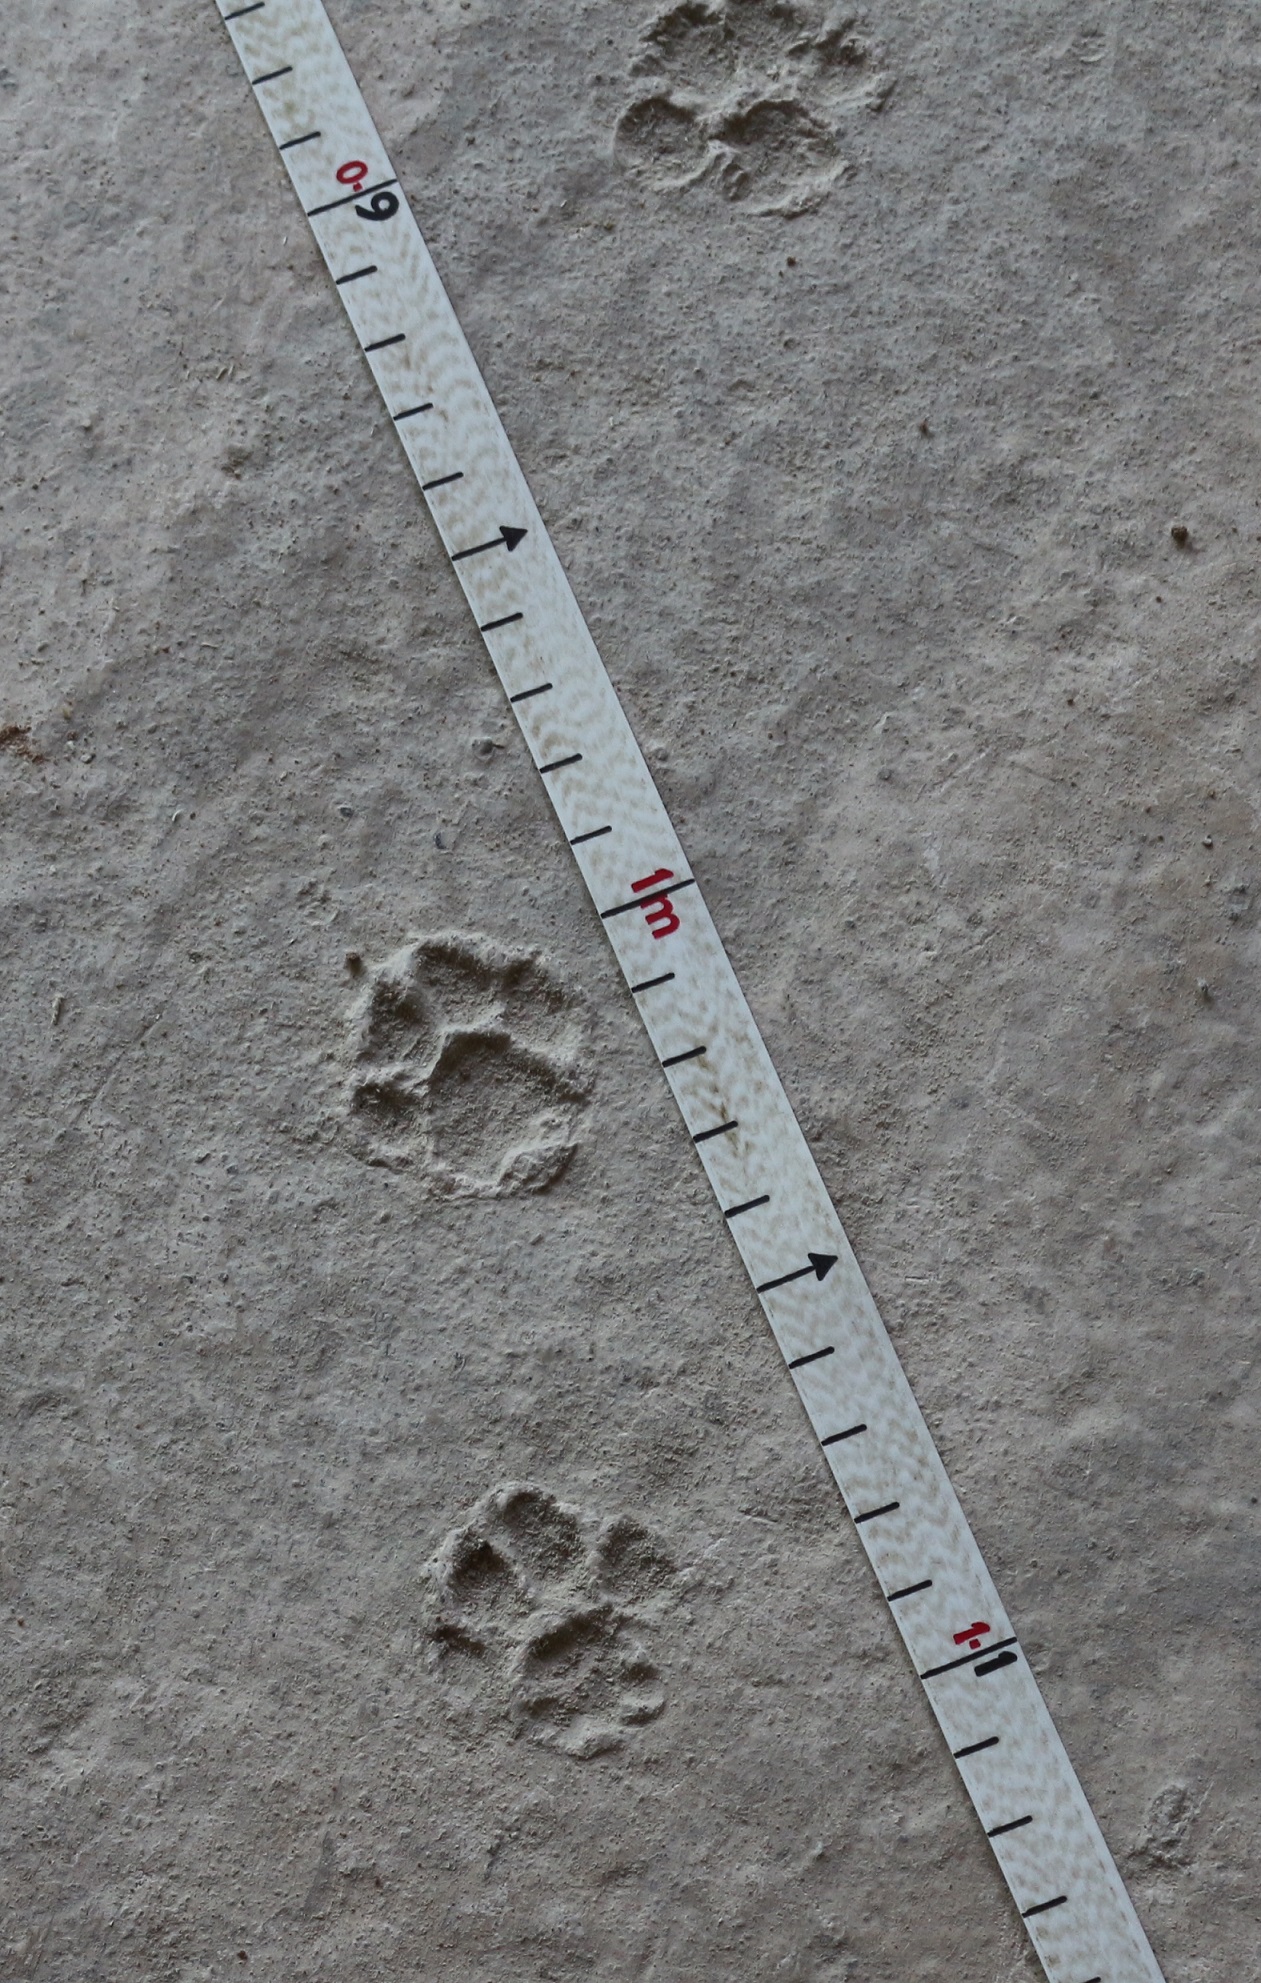
Air Test Day
Monday was an important day with the first air test on the shell of the house. The previous few days had been spent making sure all the joints inside and out were suitably taped
So on Monday, a blower was installed where the front door will go. The idea being that the blower blows air from inside to outside and this sucks the air from outside to inside if there are any gaps. And how do you tell if there are any gaps? Answer – by using incense sticks. We smelled very fragrant afterwards.
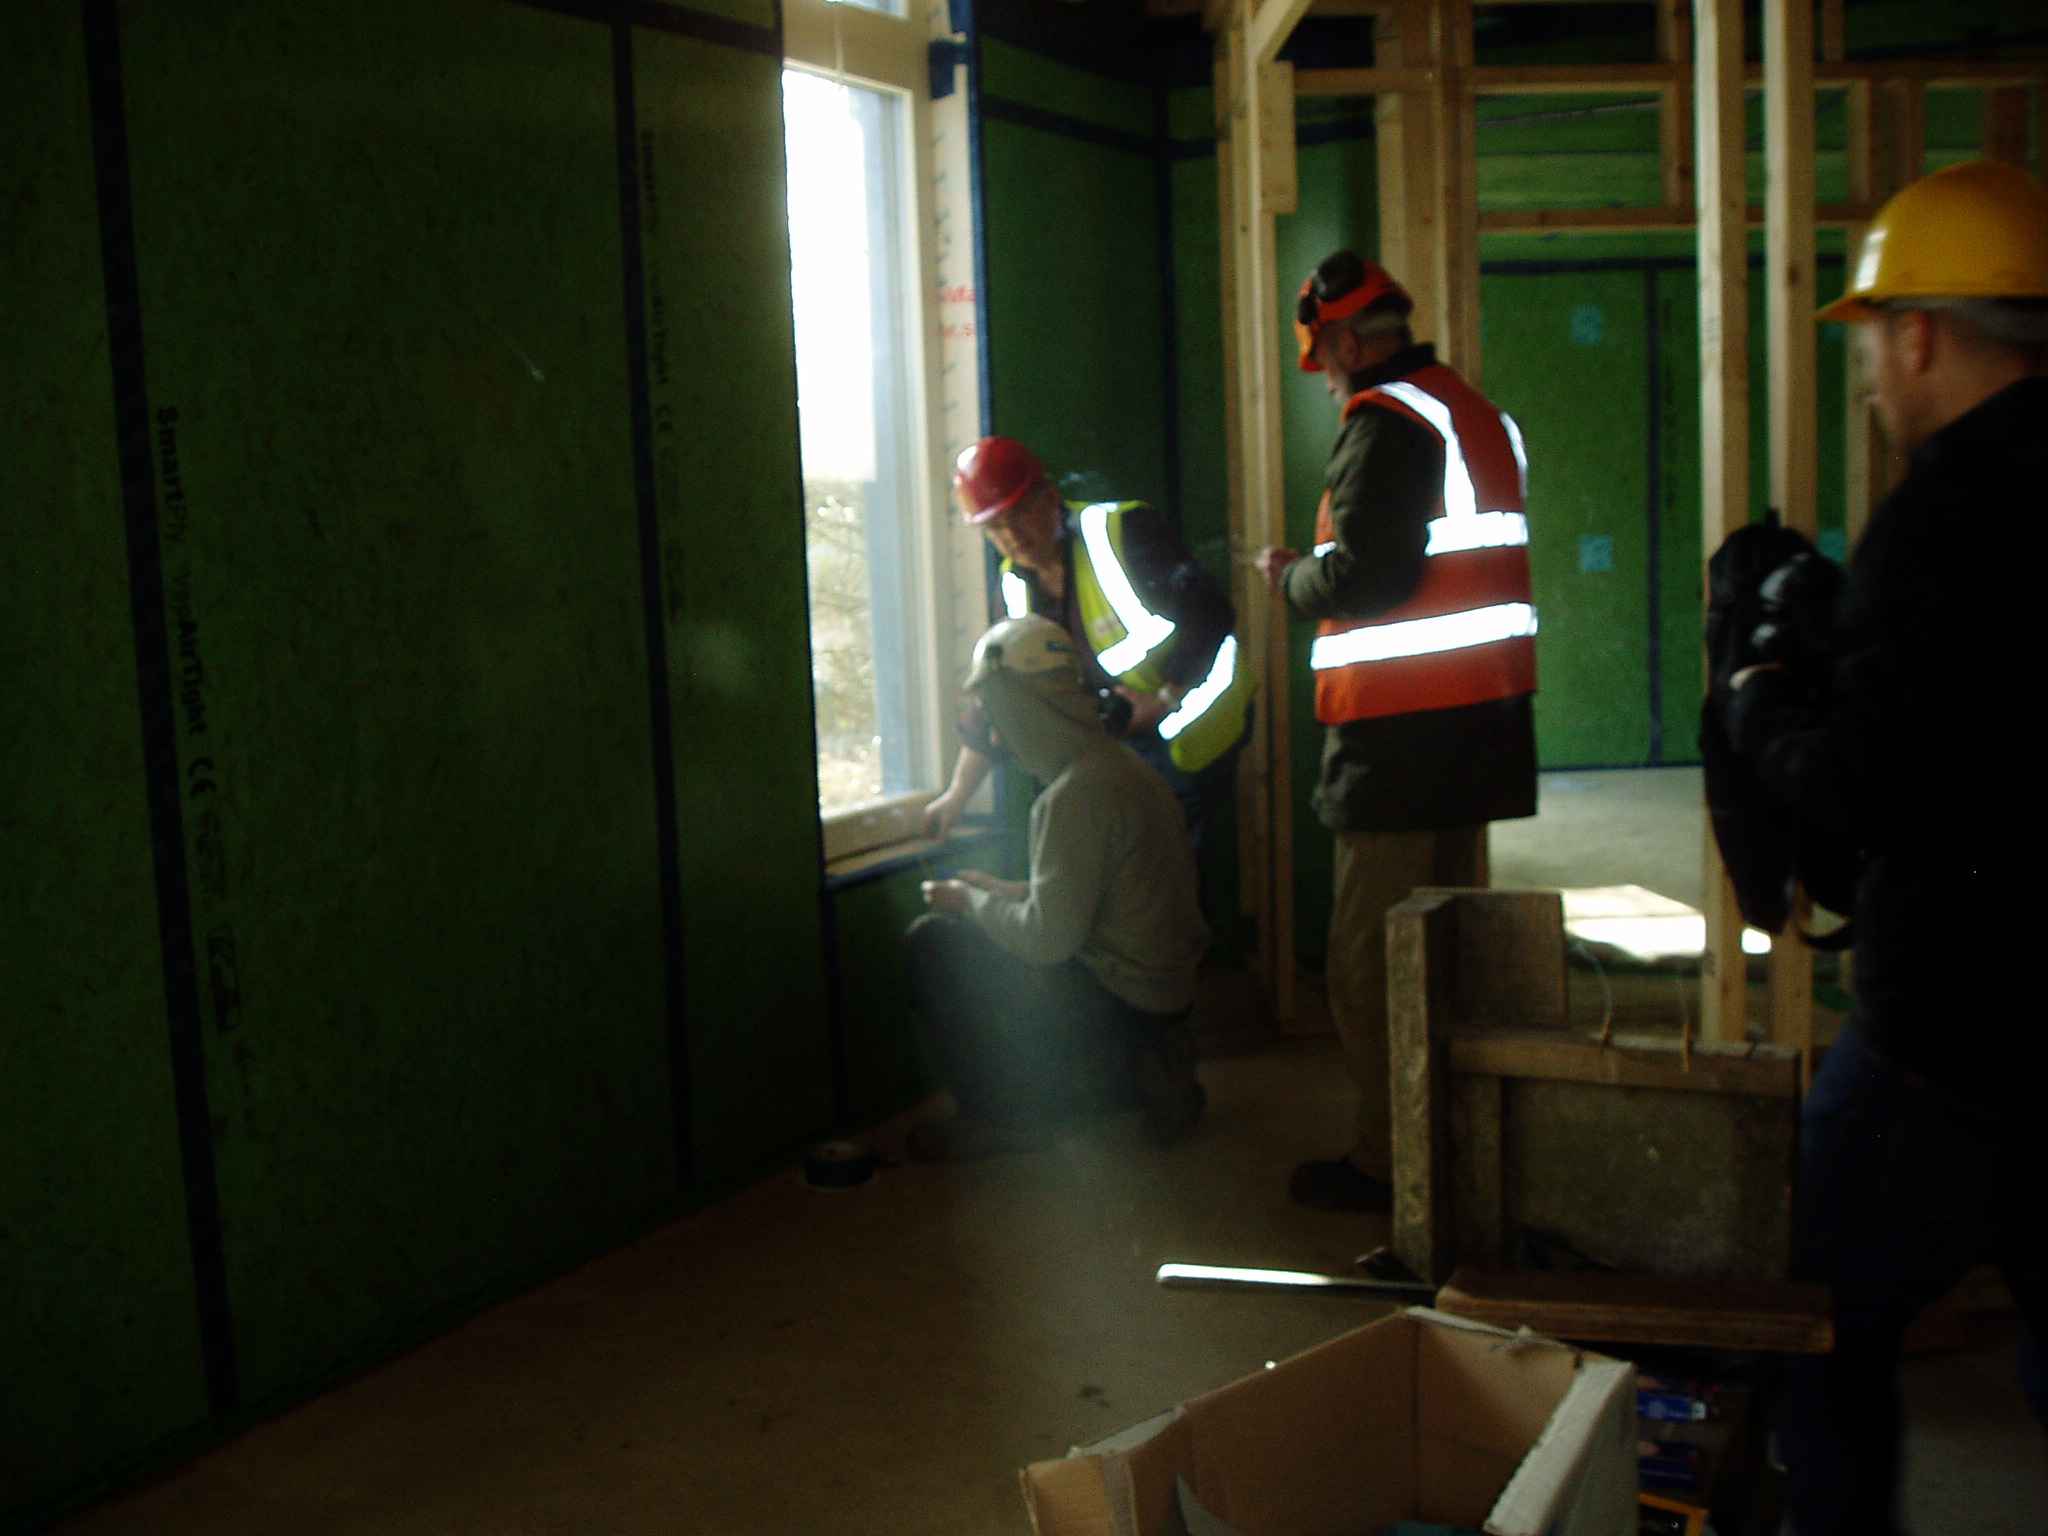 There are some more photos on George’s twitter feed at https://twitter.com/hashtag/fishleys
The results: 0.2 ach (air changes per hour) which every-one was very happy with. Apparently the Passivhaus standard requires less than 0.6, but our house will require less than 0.3 because of the number of windows. And that was including the cat flap.
And finally, Henry and Dan decided to play a joke on Mike by telling him that there was a big leak in the most awkward section of the ceiling where the pod meets the house.
MVHR Installation
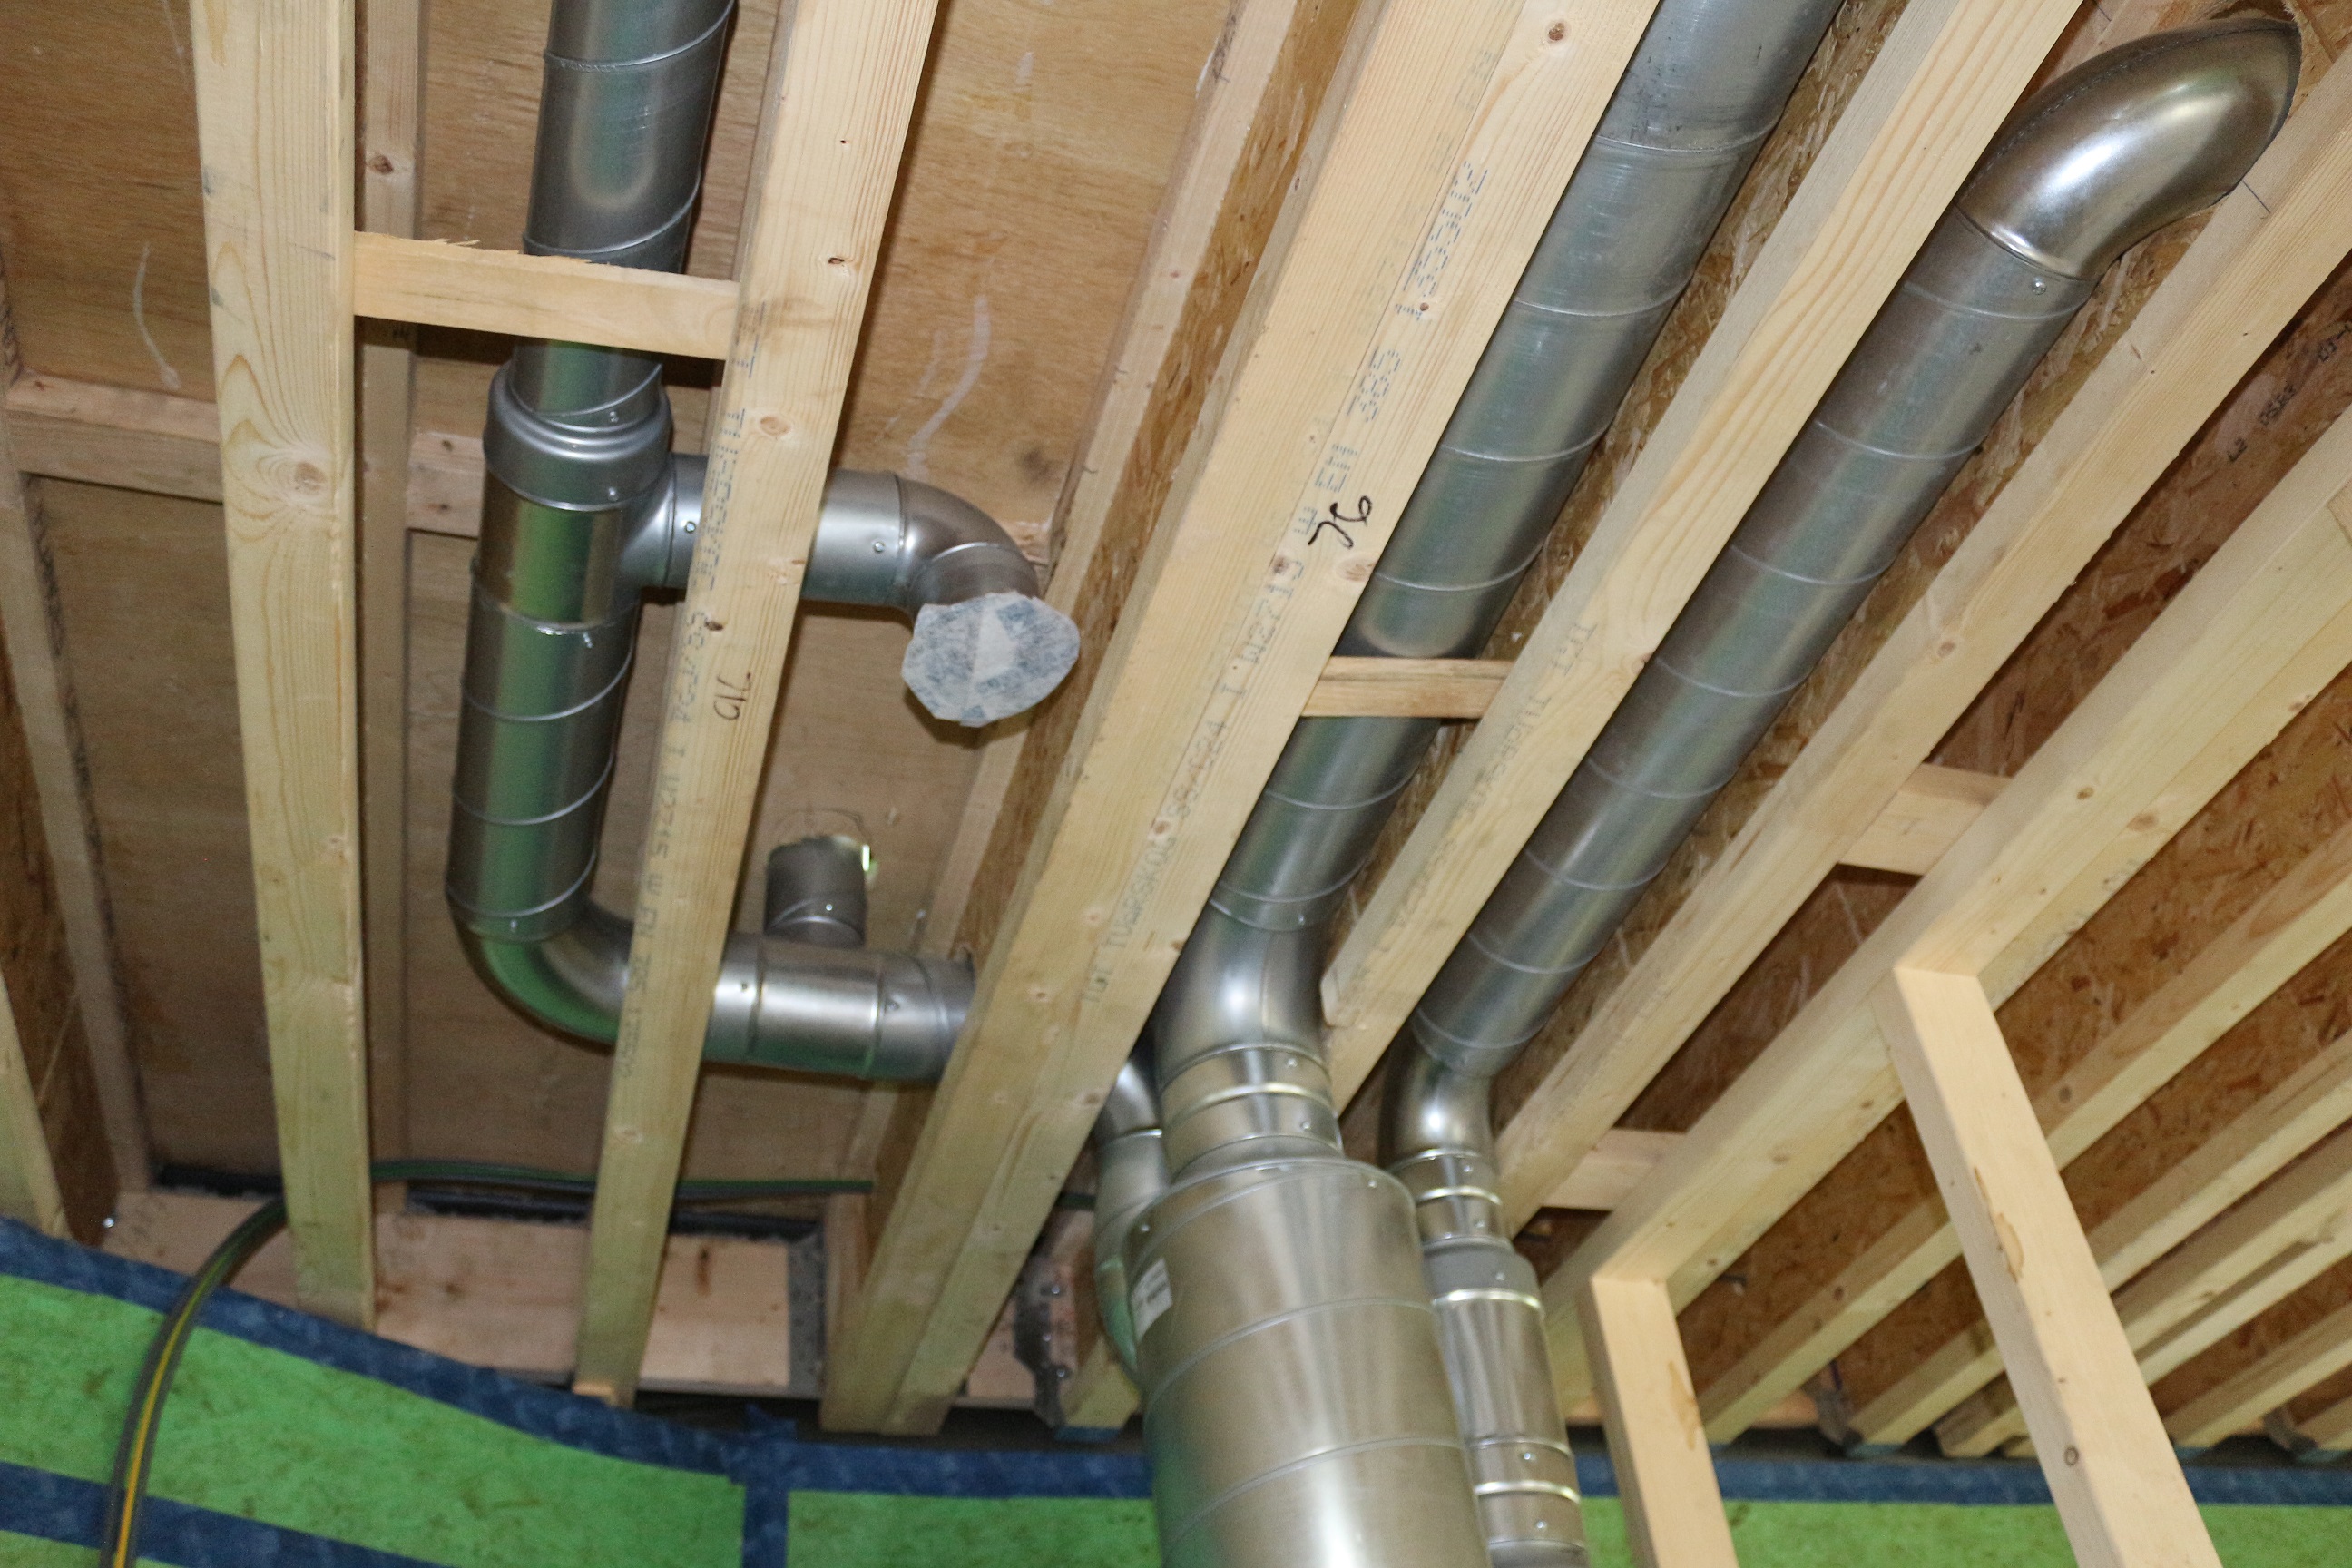
The Mechanical Ventilation and Heat Recovery unit is a vital part of a passivhaus. With an airtight house you need a way for fresh air to get in, whilst at the same time not loosing the heat in the house. Ours is a Paul Novus 300 which sits in the coat cupboard by the front door.  Warm moist air will be extracted from the bathroom, shower room and the kitchen. This enters the unit via one of the silver pipes, warms up the incoming air and the goes to the outside world via one of the black pipes. Meanwhile fresh air is brought in through the other black pipe and after being warmed goes out through the other silver pipe around the house.
So there is a lot of ducting as each room has either an extraction or supply vent.
 Upstairs the ducts come up through the airing cupboard and then into the two bedrooms. If you look closely to the left of the window where there is an upright post you can see the extraction vent for the bathroom. Looks rather like a periscope at the present
Insulating with Warmcel
This week has seen the rest of the house covered in the green OSB boards, whilst the Warmcel team started blowing the Warmcel into the gap between the inside and outside boards. The photo shows the hose through which the Warmcel is blown. The brown circles show where application still has to occur and the pale blue squares are the airtightness tapes put over the plugs which are inserted after filling.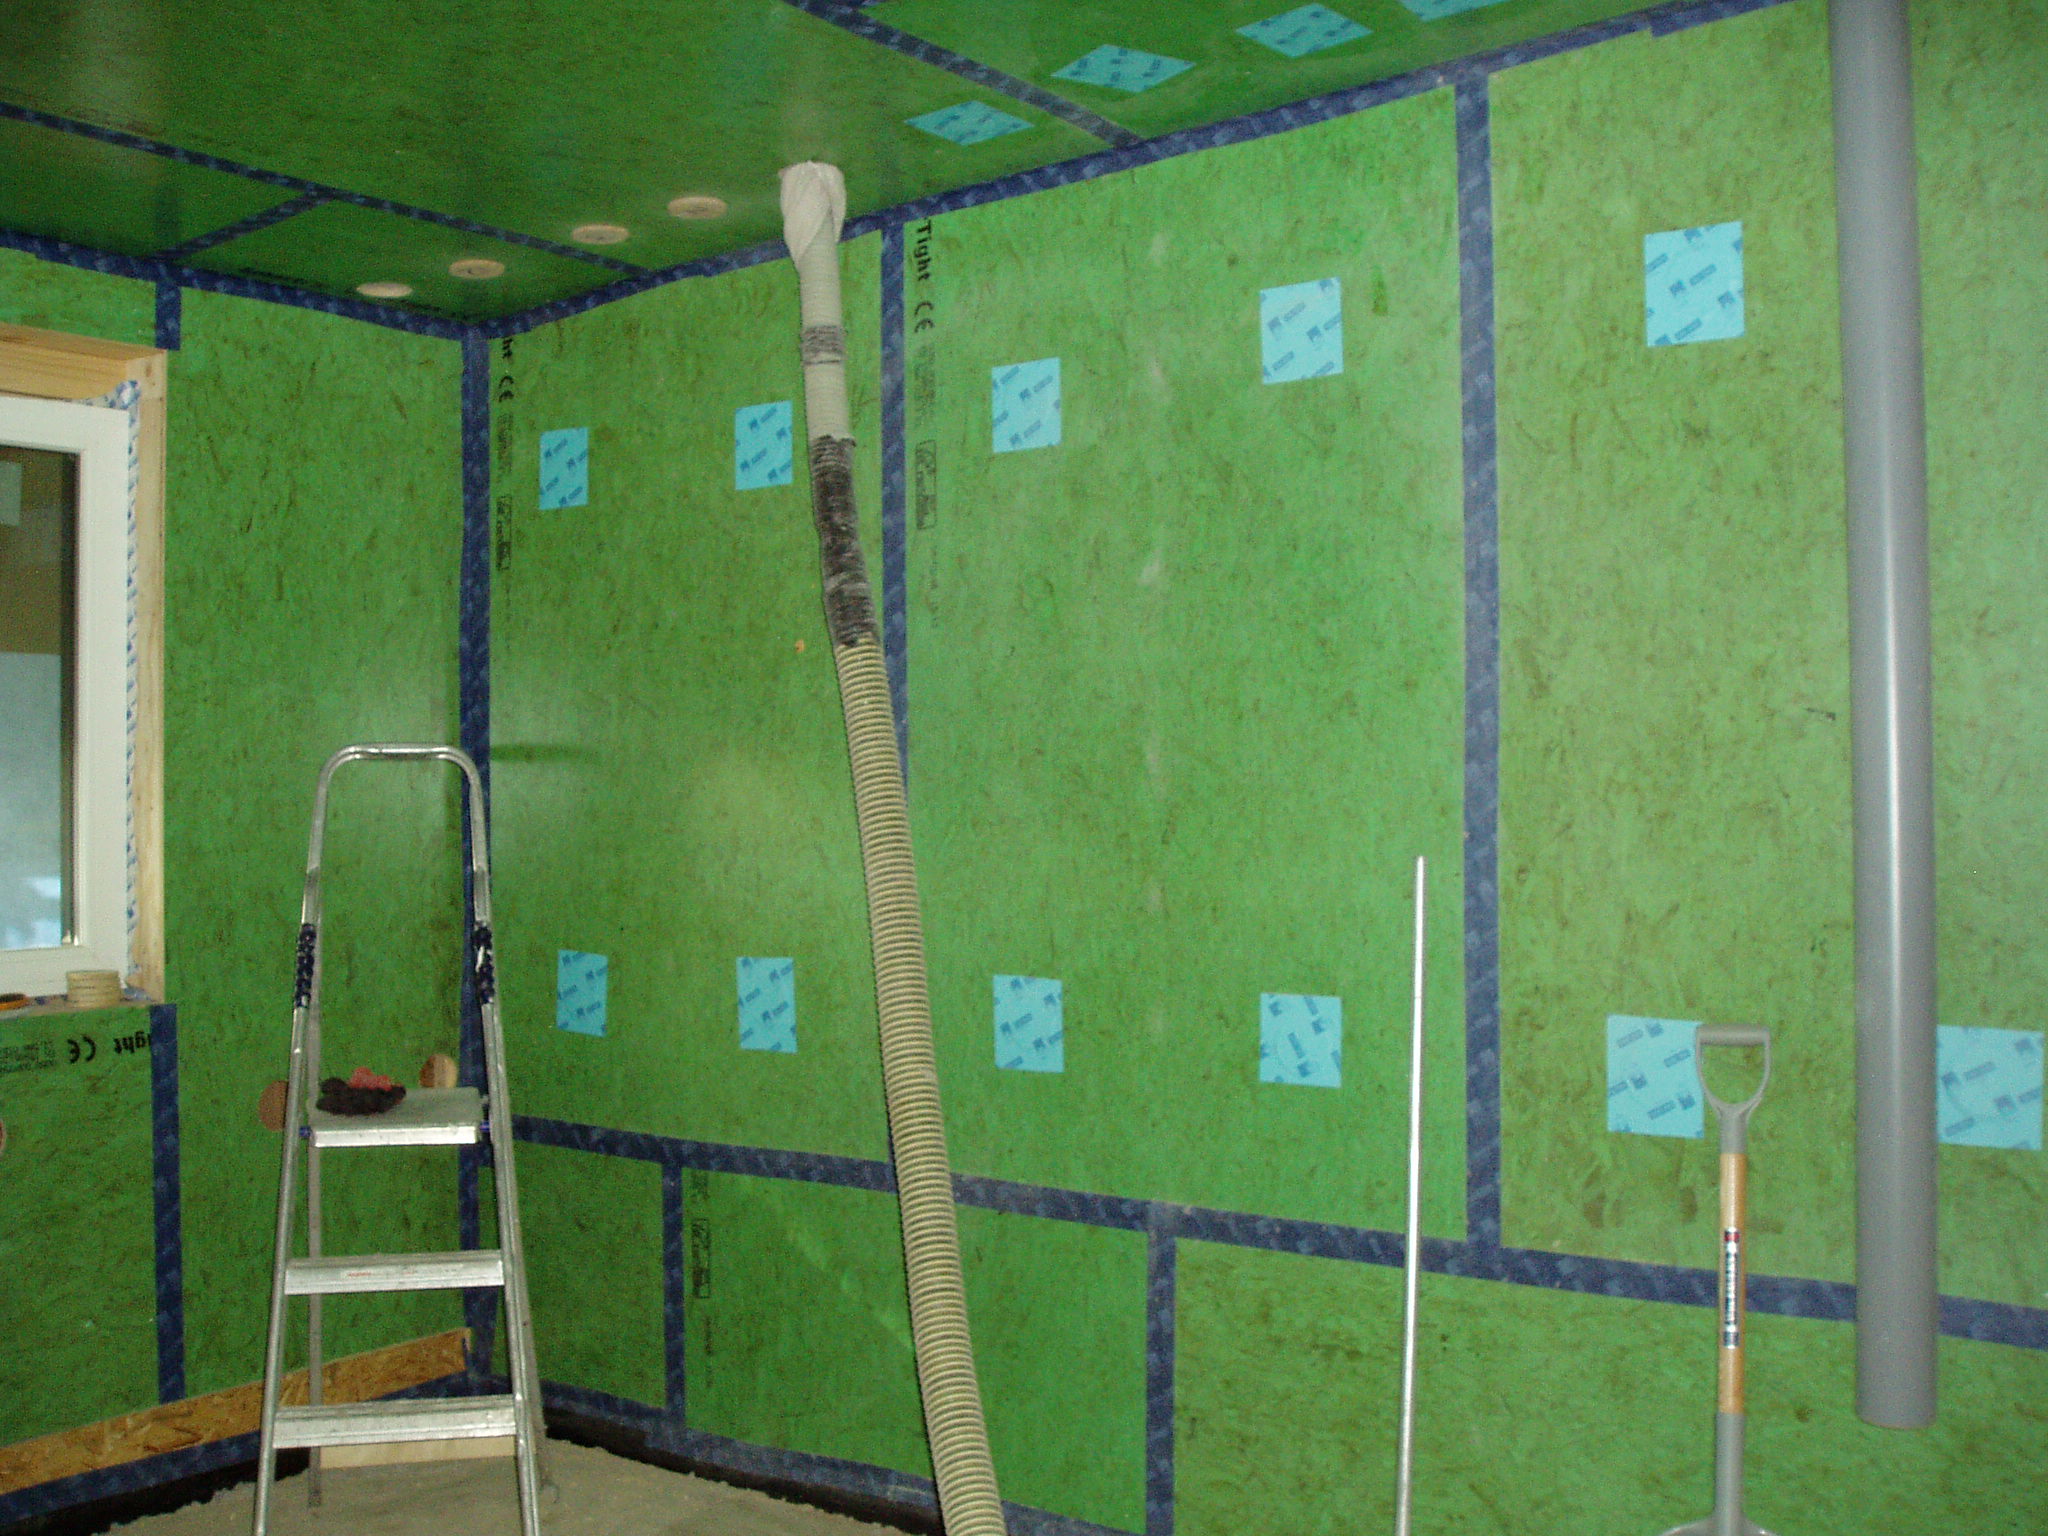 A lot as already gone in, but as you can see from the mountain of Warmcel bales there is still a lot more to go.
It has not been all insulation this week as the stud walls have gone up marking the two upstairs bedrooms. Our first chance to get a feel for what a room will feel like.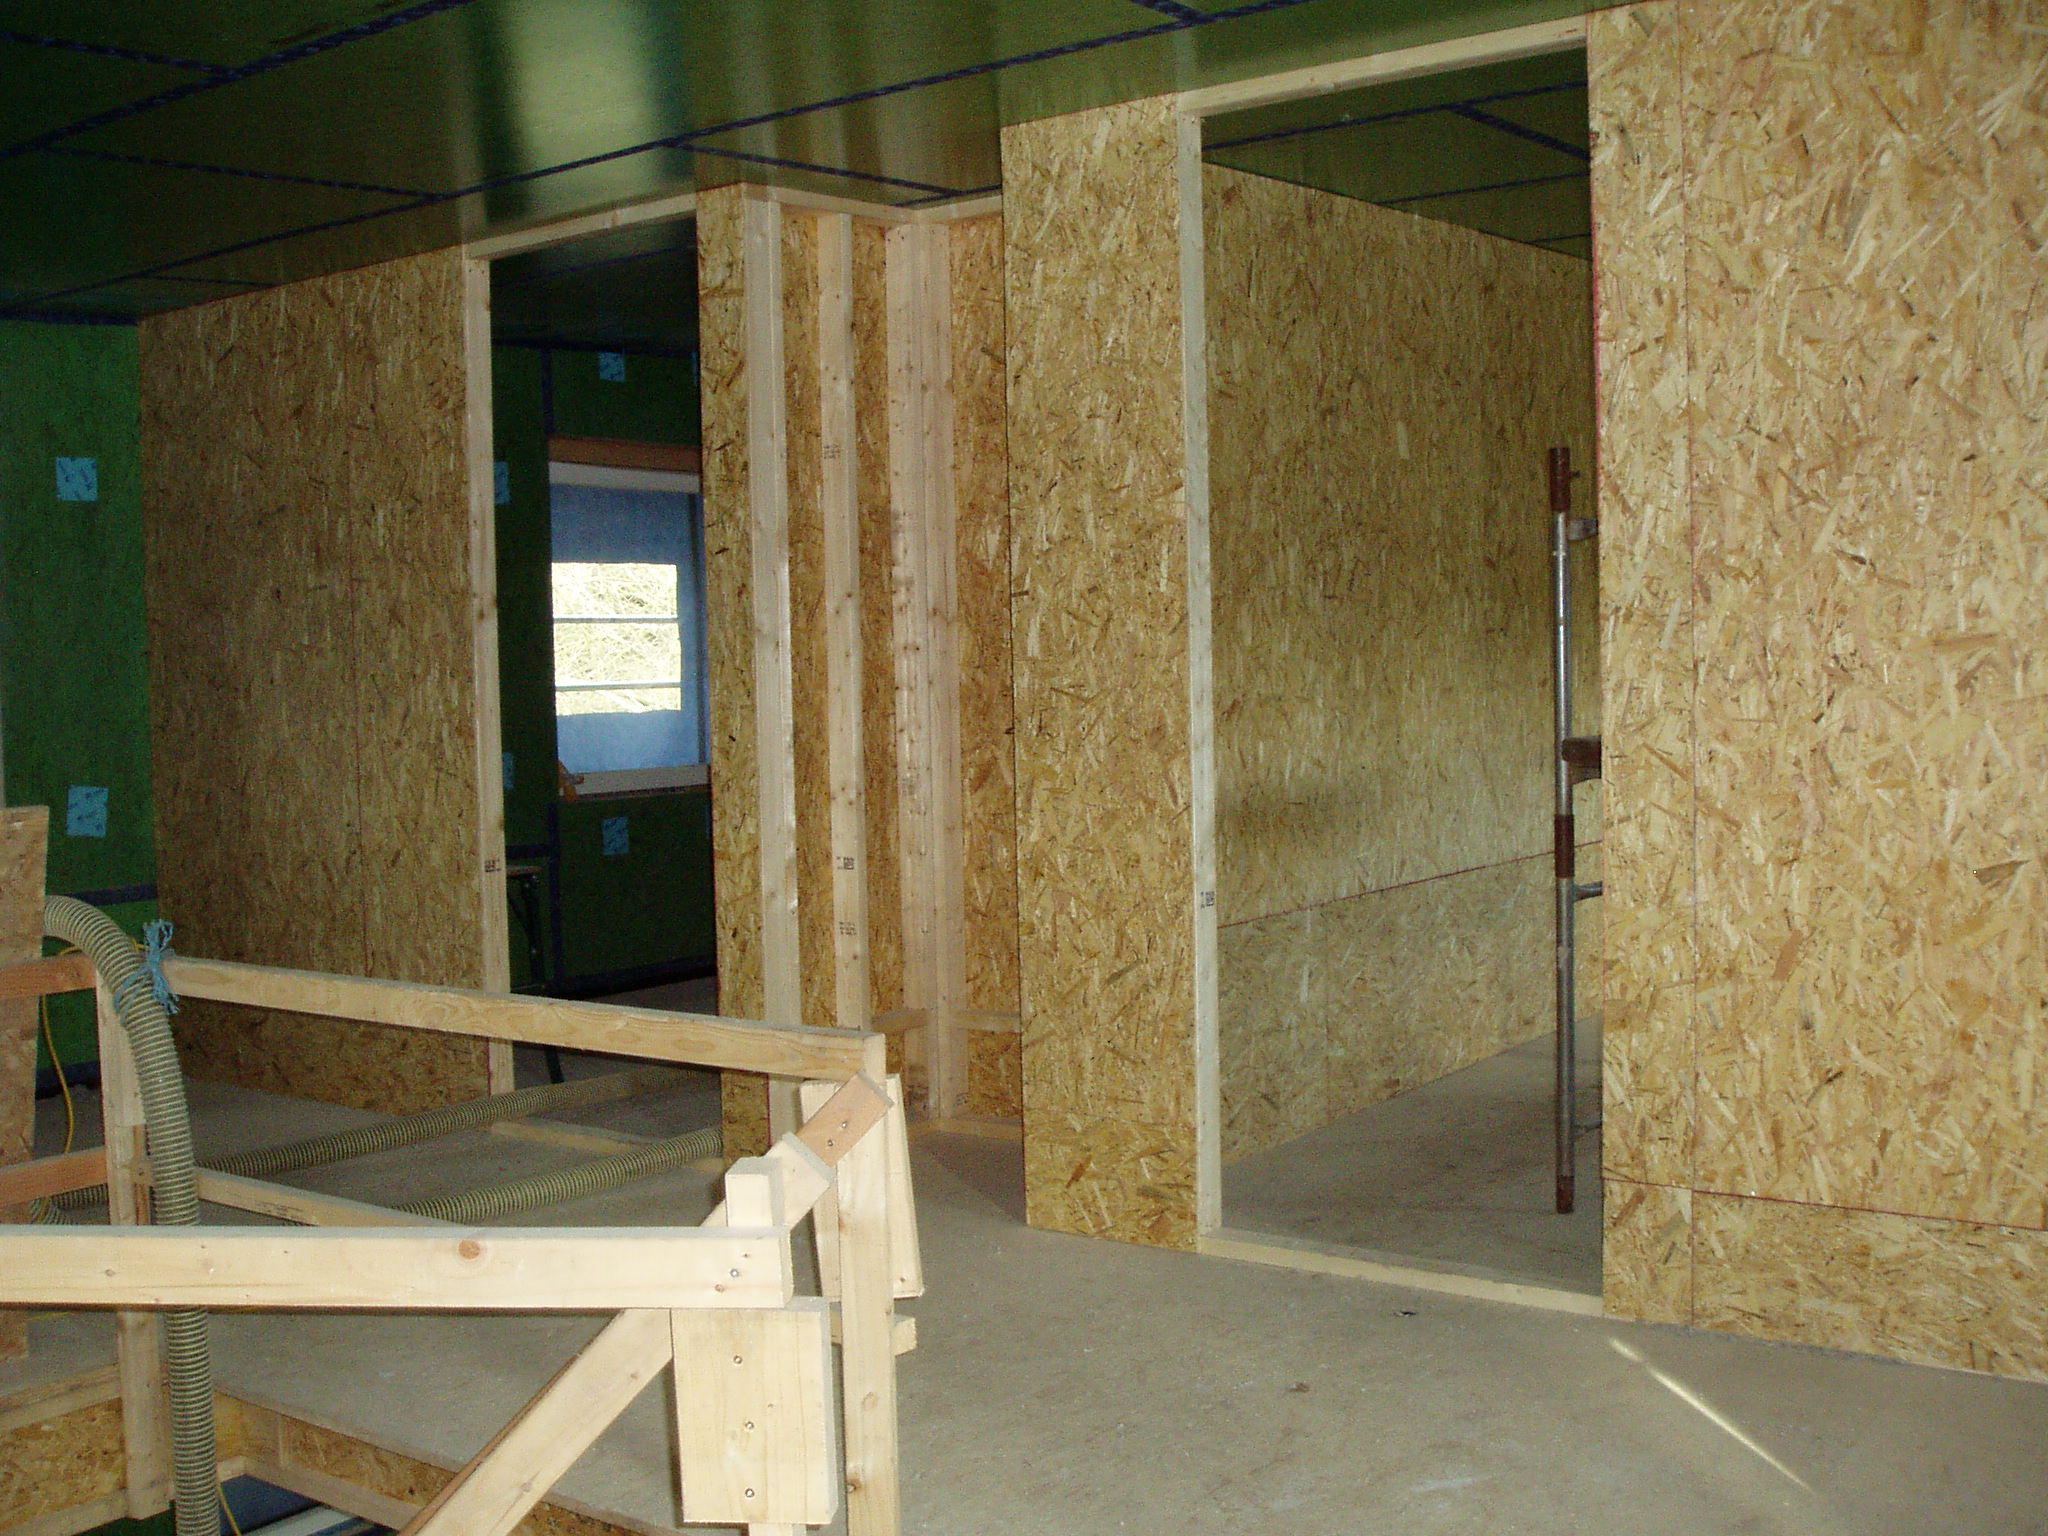
And finally, on Friday the Colwall Orchard Group came back and planted another dozen plum and apple trees.
Green – but not as in eco
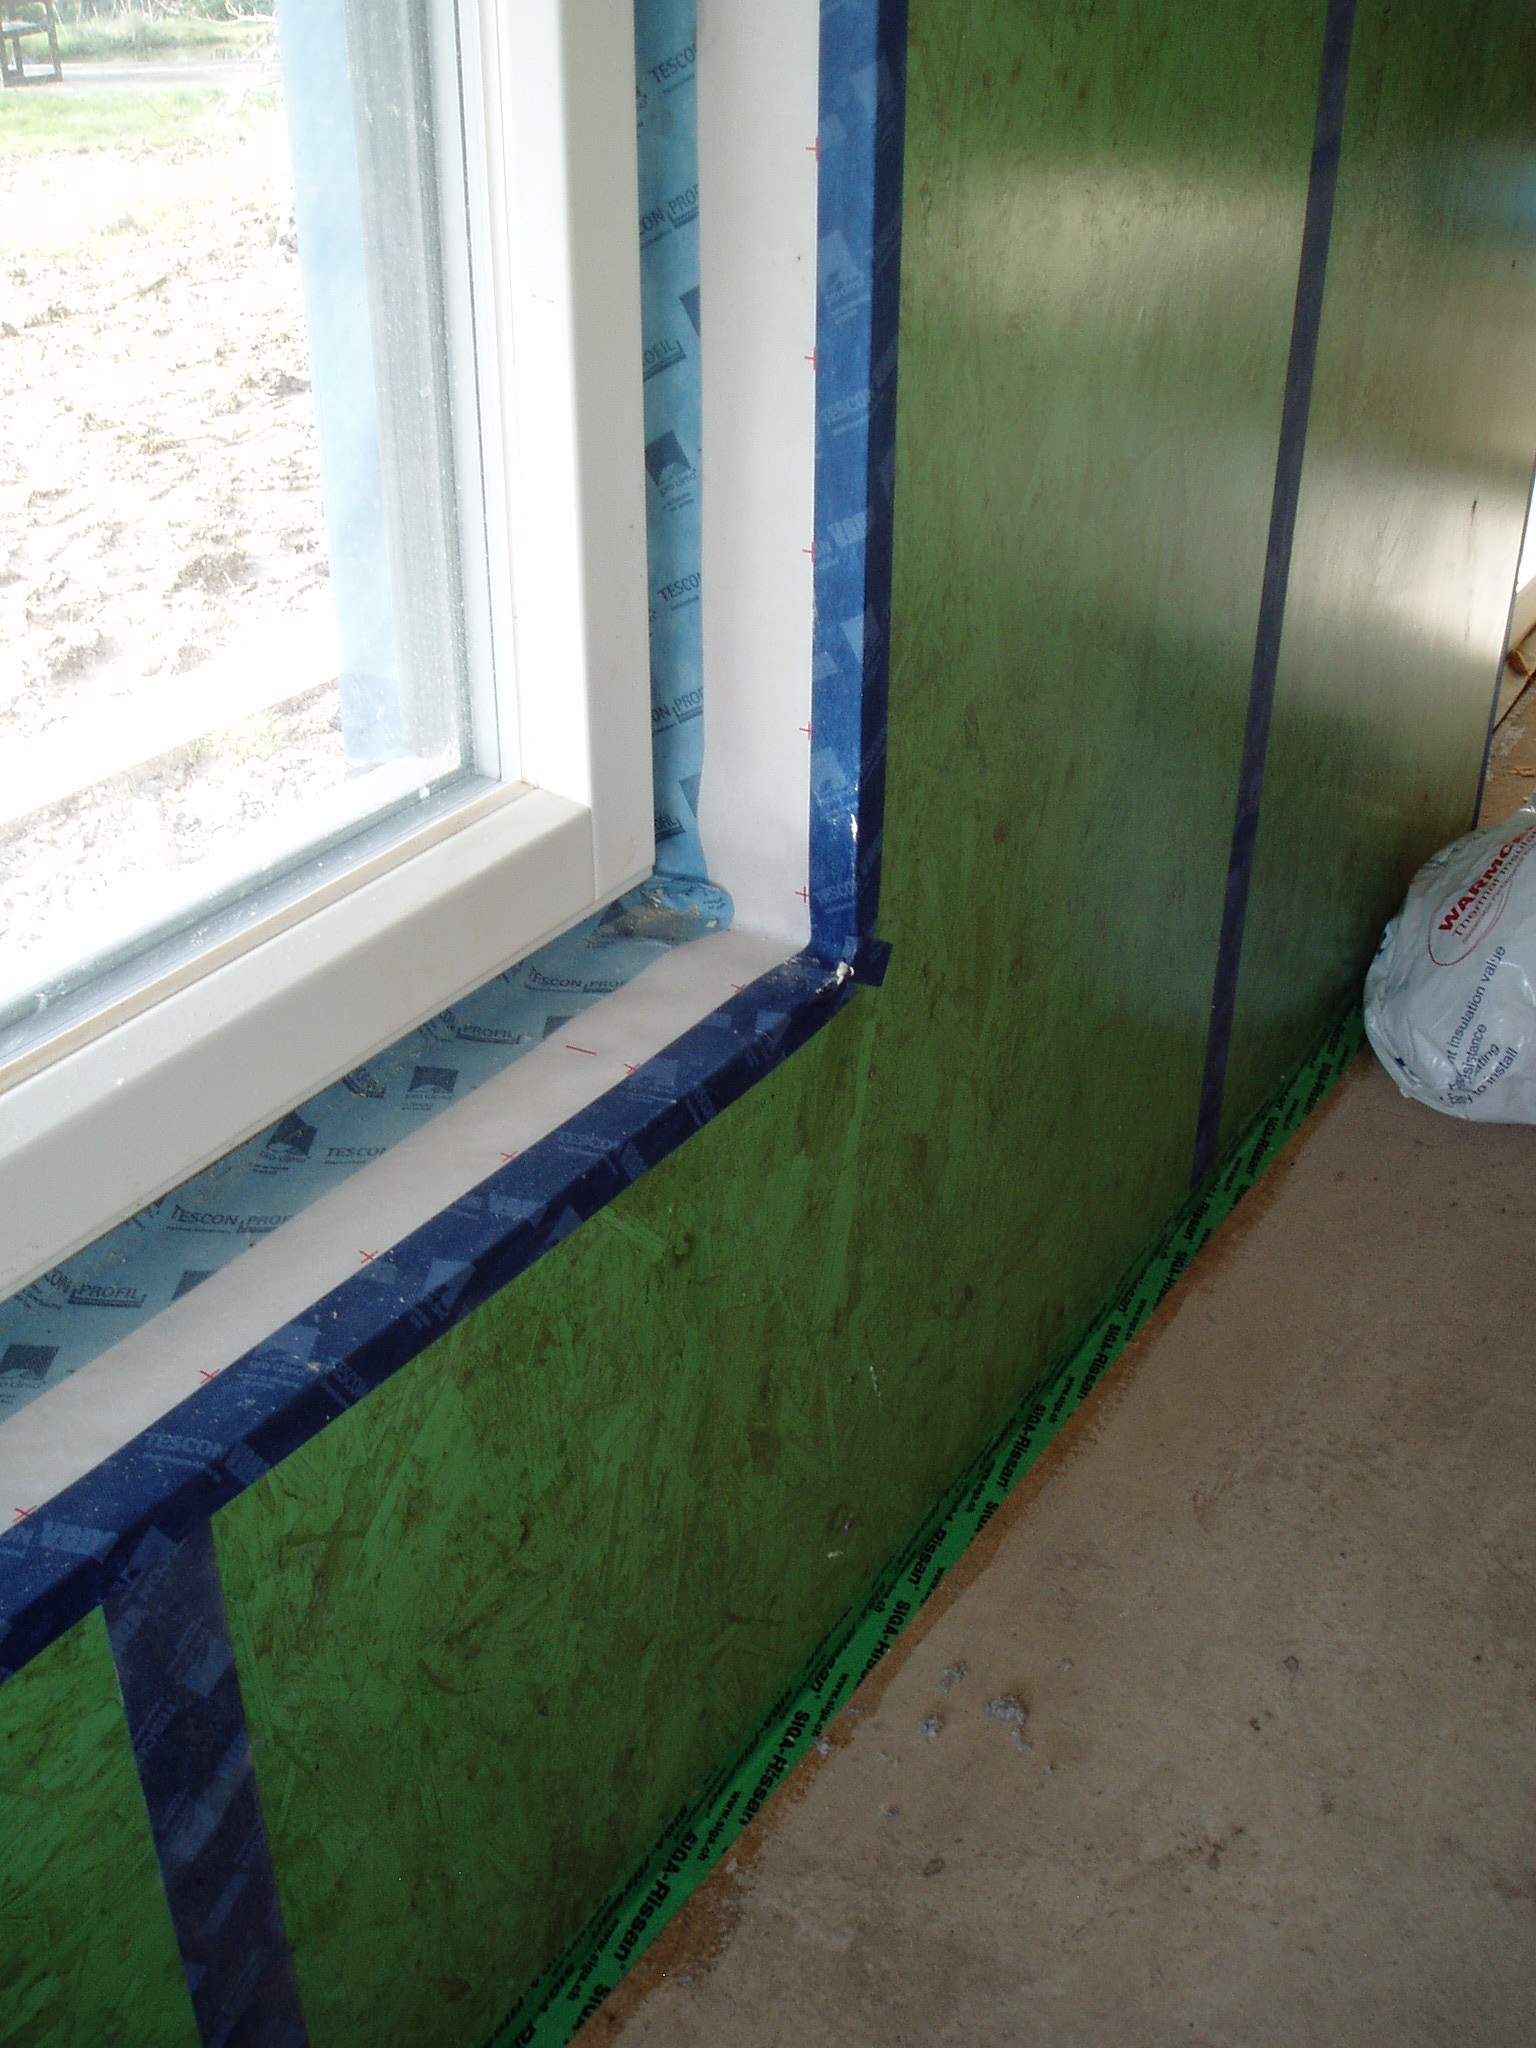
Whereas the outside of the house has gone blue, the inside is going a fetching green colour. The ceilings and walls are being covered in SmartPly VarPairTight: an OSB board which comes with an airtight layer already attached.  The blue tape seals the cracks between the boards to make it completely airtight.
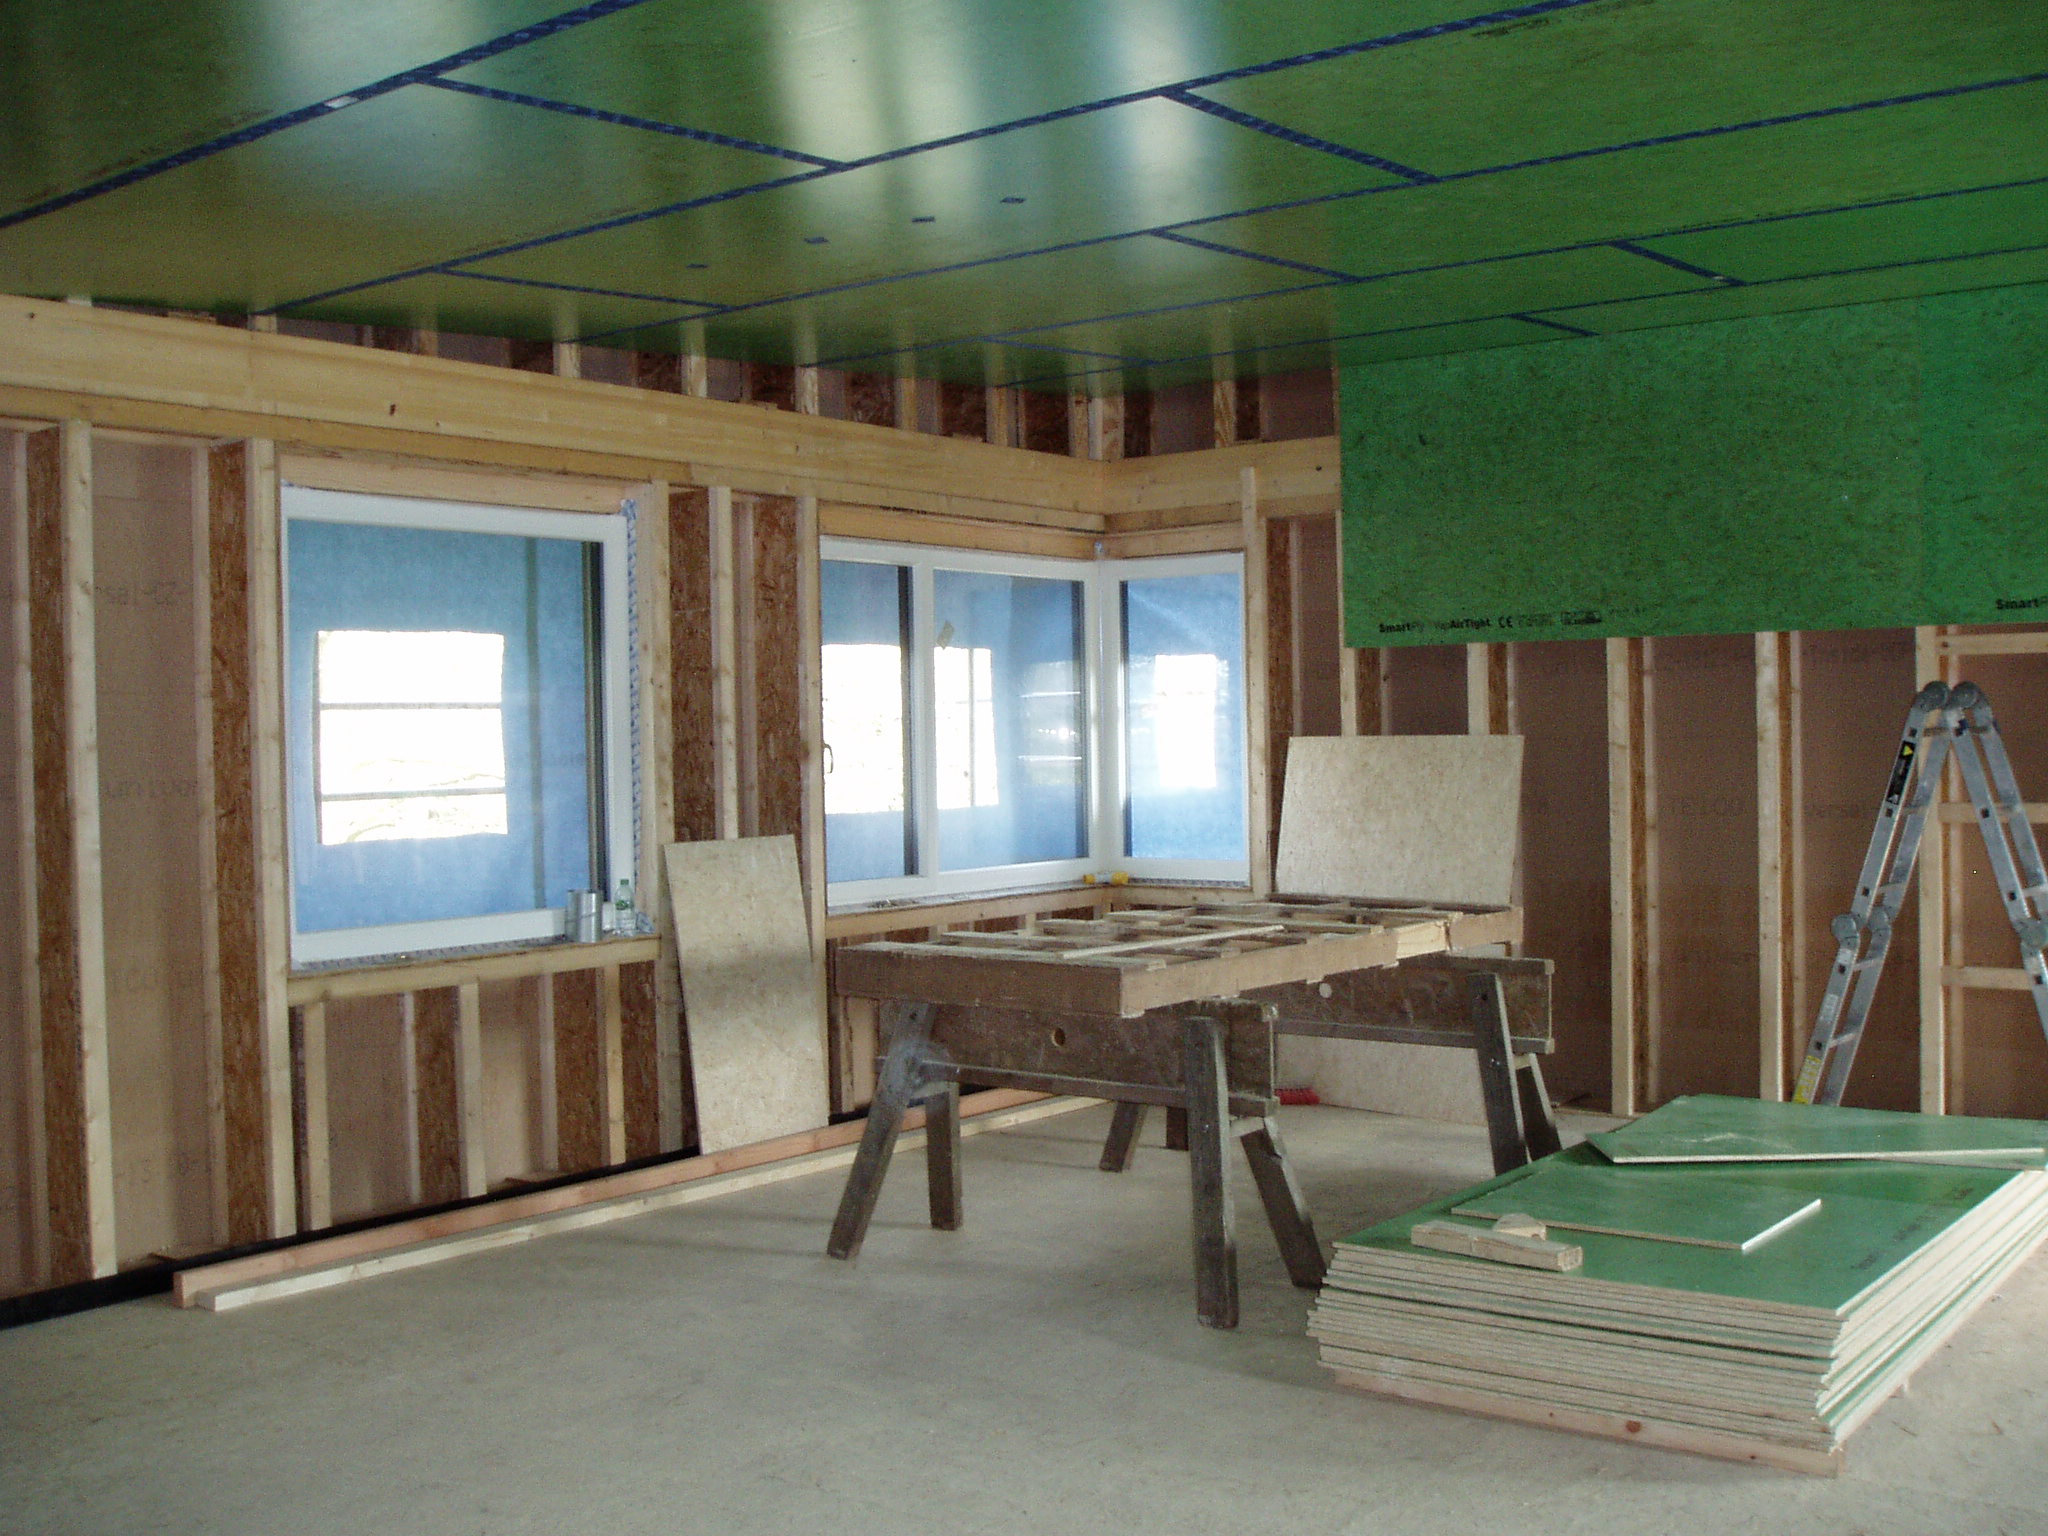 Once everything has been boarded the Warmcell people can start filling the gaps between the Ibeam joists with insulation.
Black and Blue – Weathertight
Since the last post, we have become weathertight with the last set of windows now up. The black of the title refers to the Resitrix rubber roofing which now covers both roofs.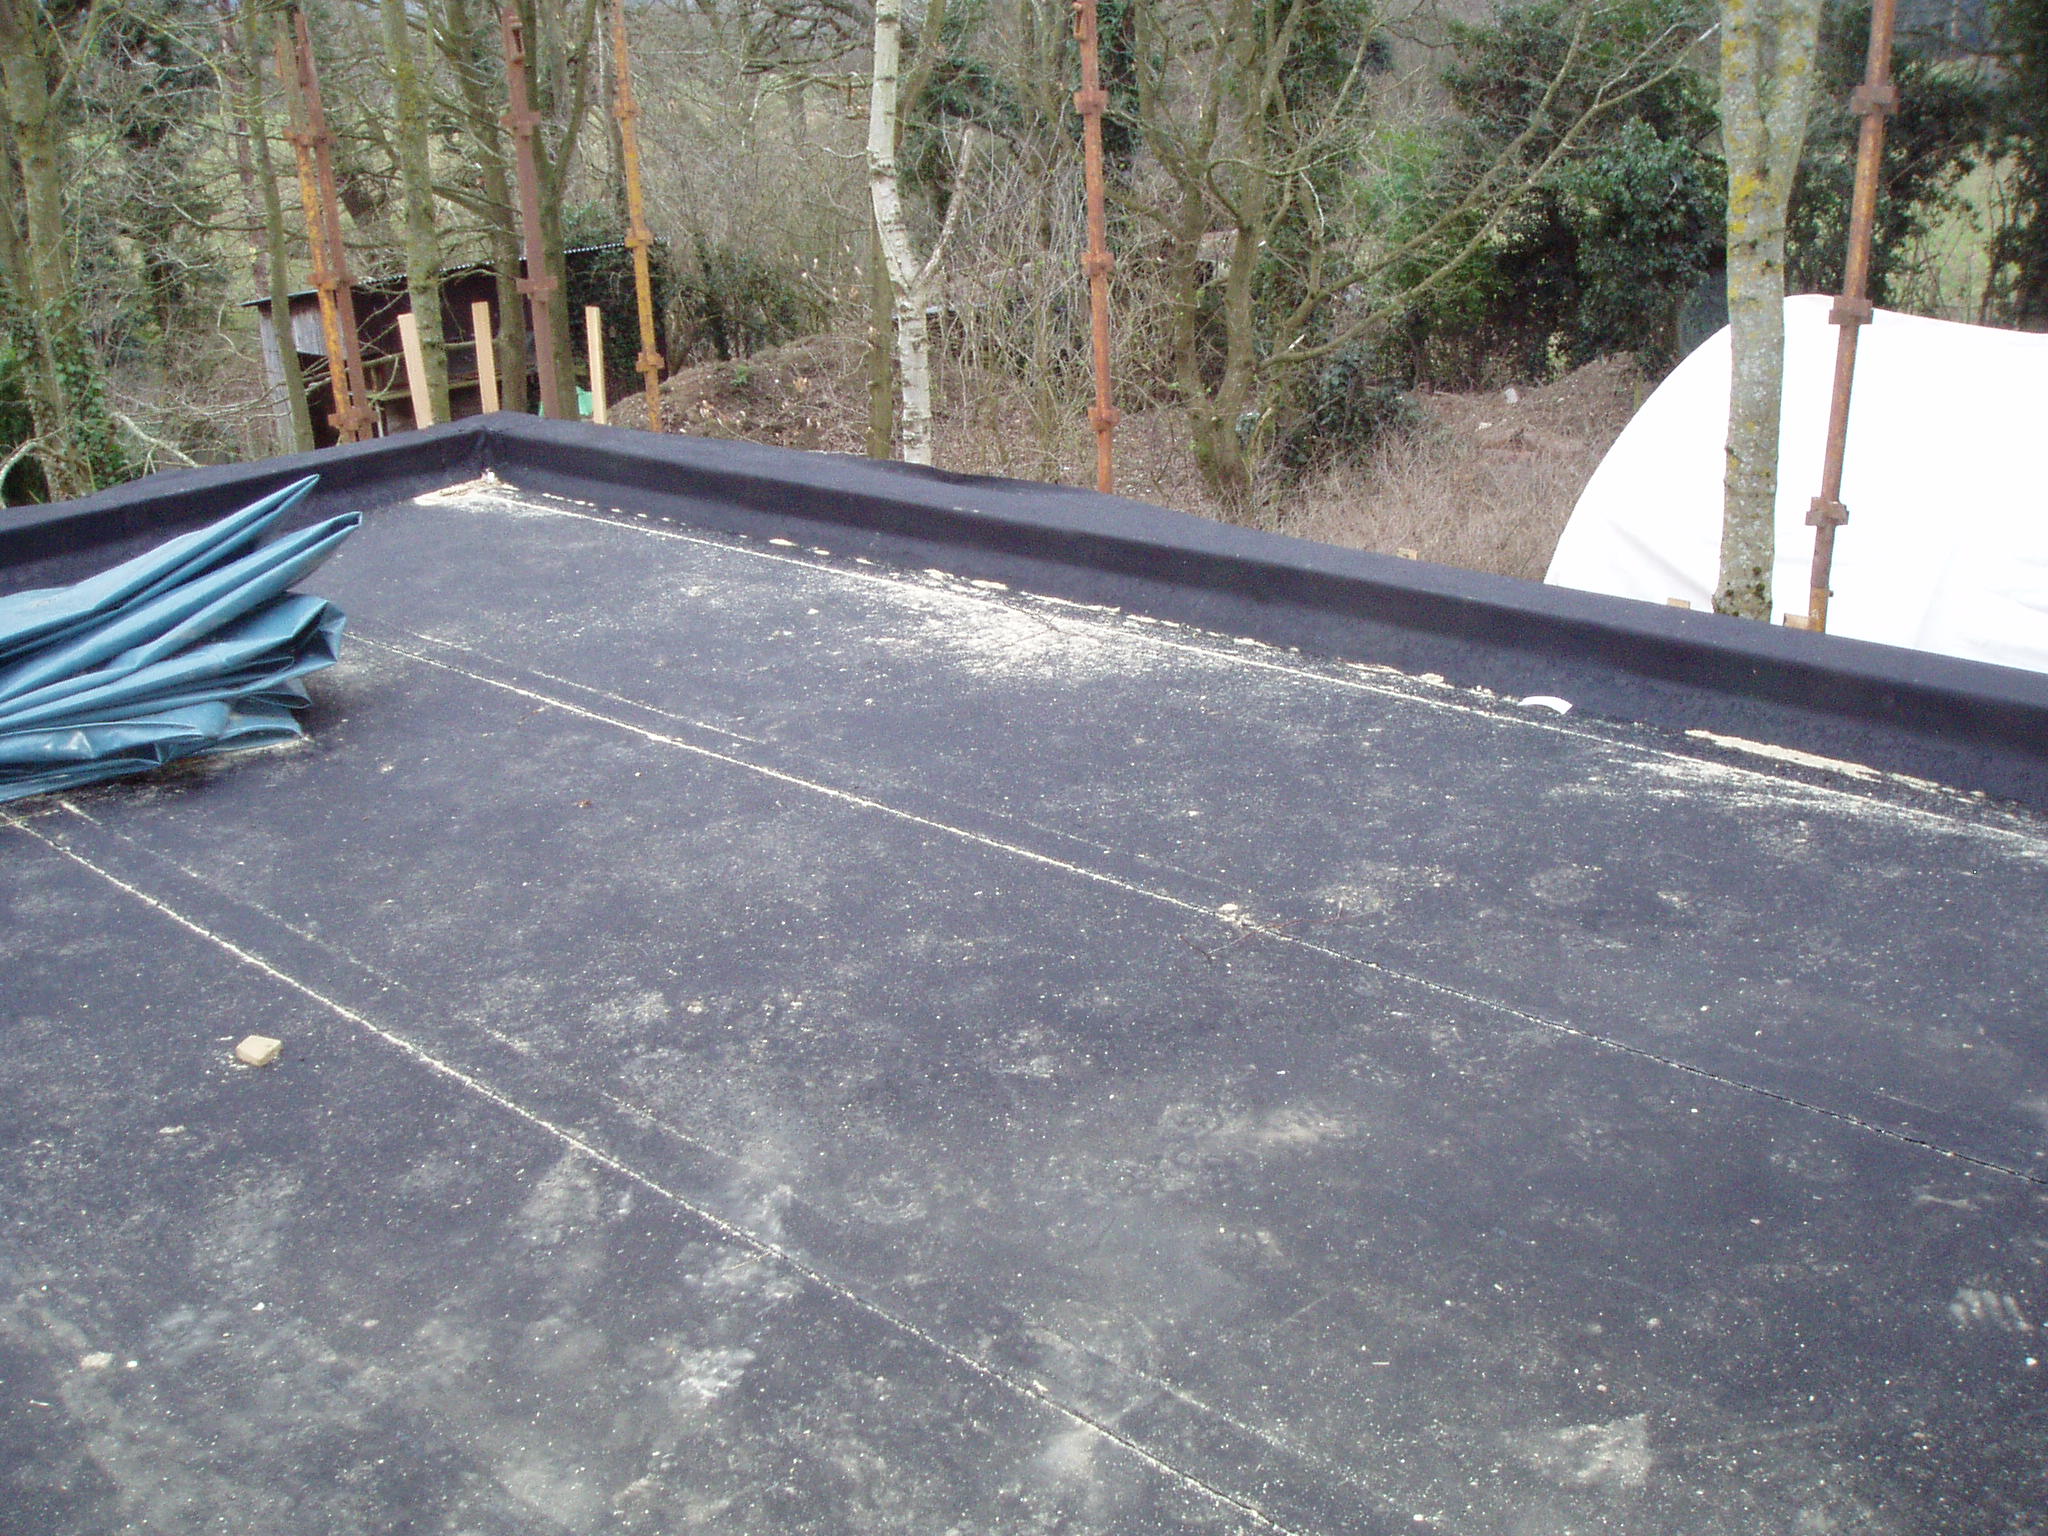
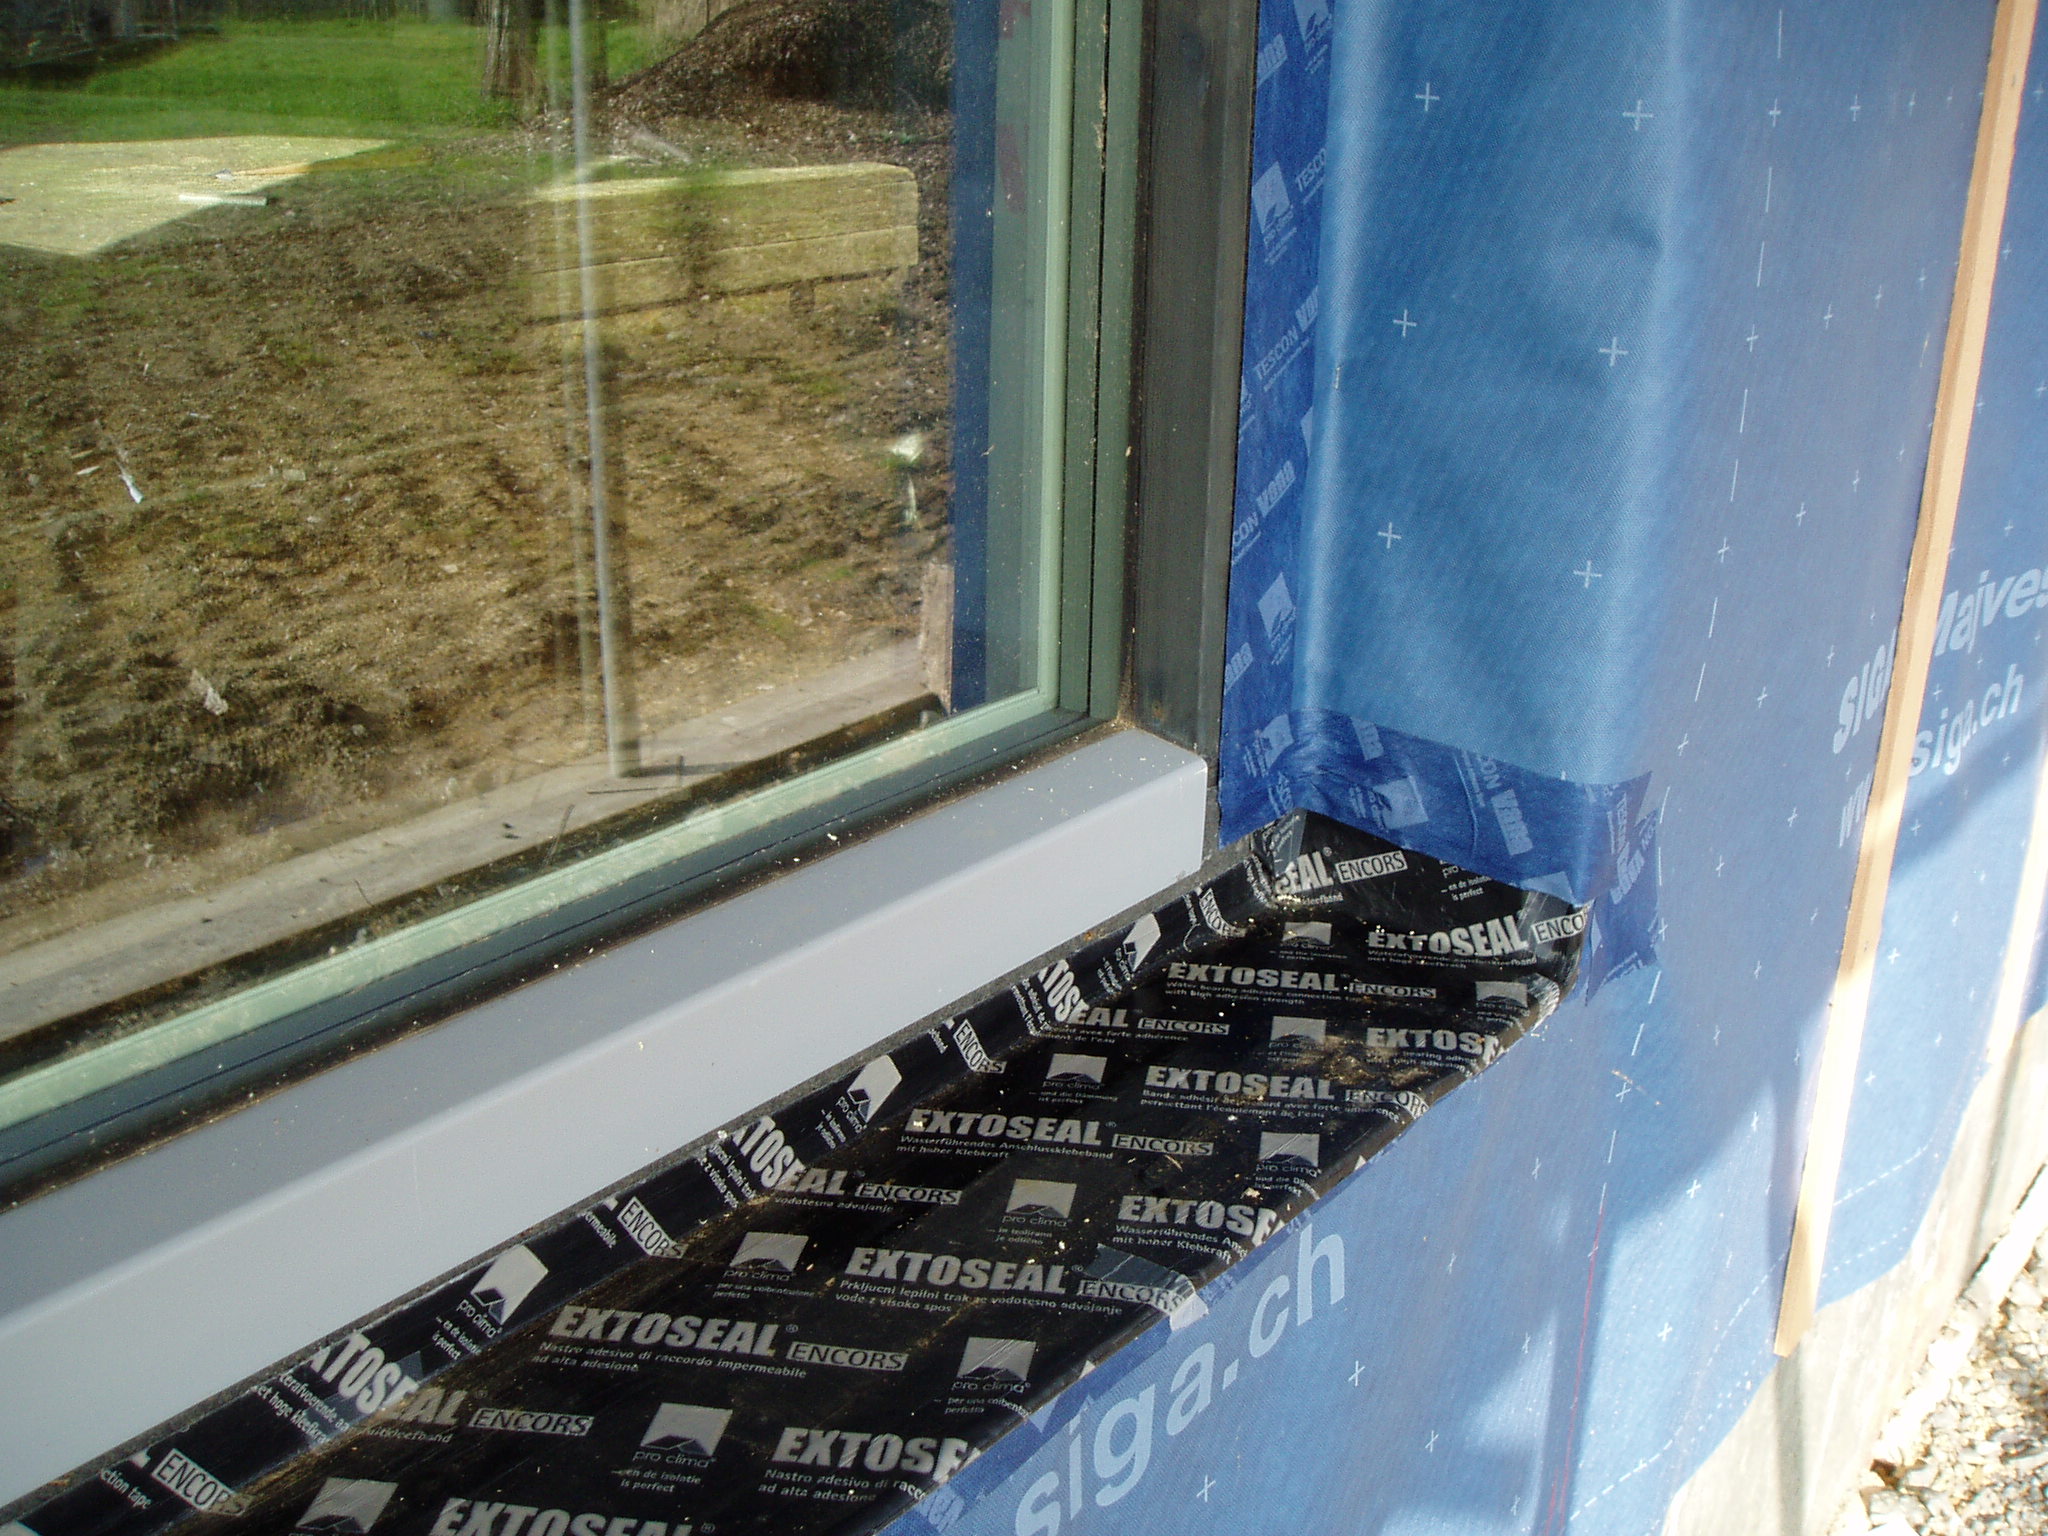
And the blue refers to the Siga Majvest blue rain and wind proof membrane that has been used to wrap the house up like a birthday present. This photo is of the North side where the front door is. Since the photo was taken small windows have been cut in the fabric, but quite a different look from the brown sheathing boards.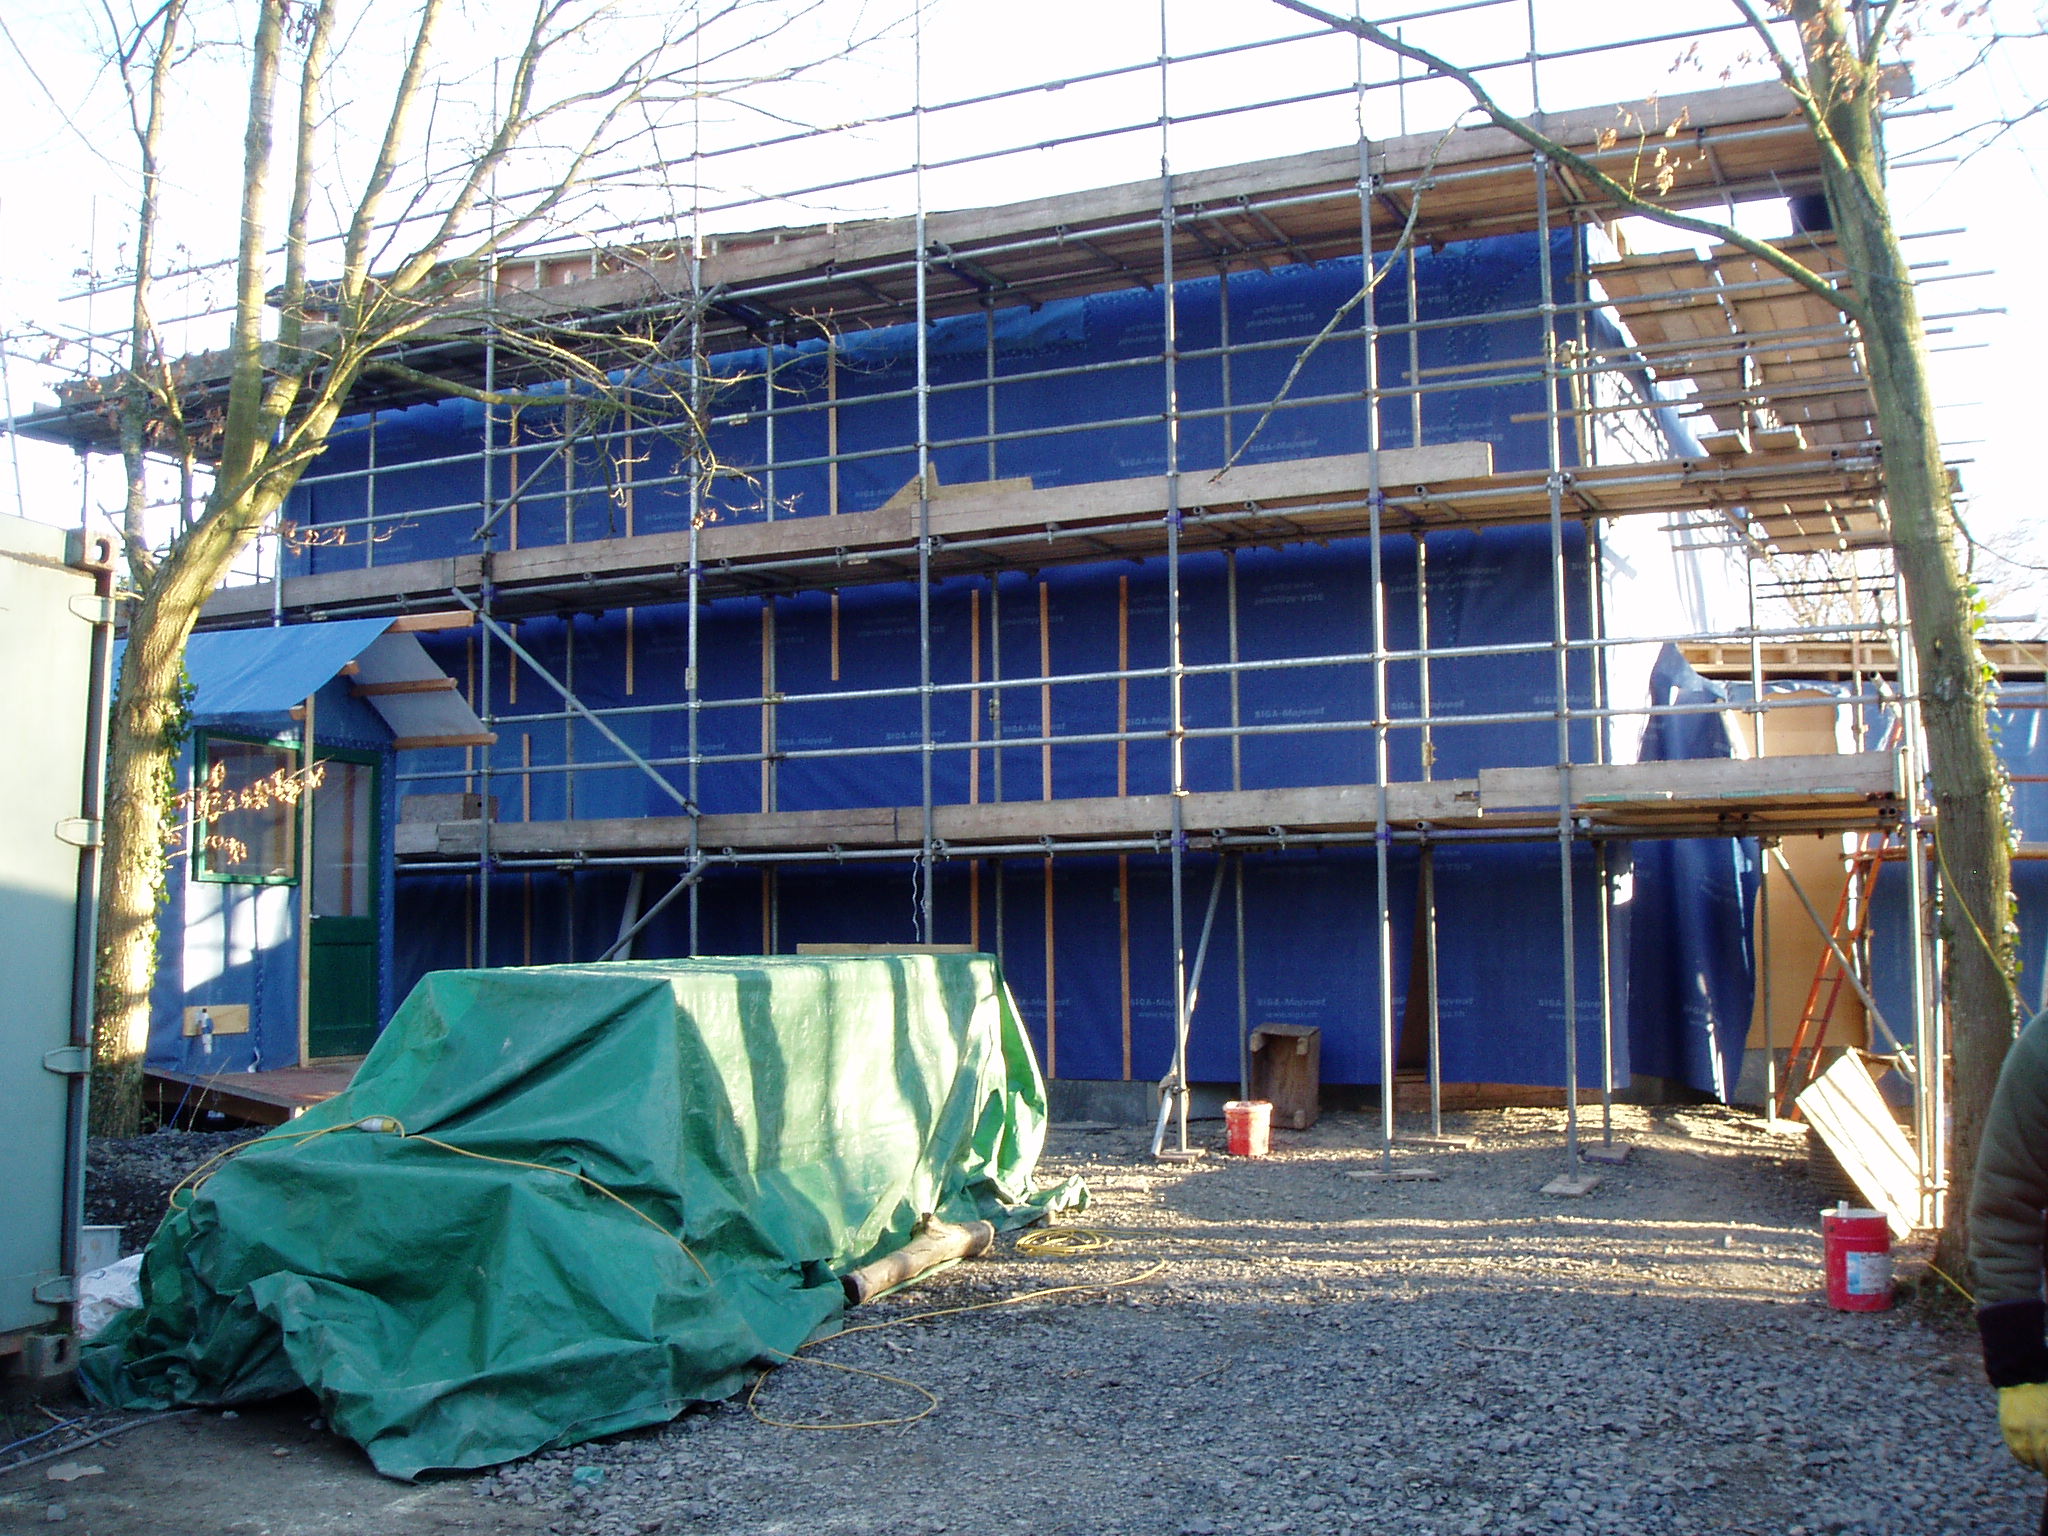
Weather-tight – almost
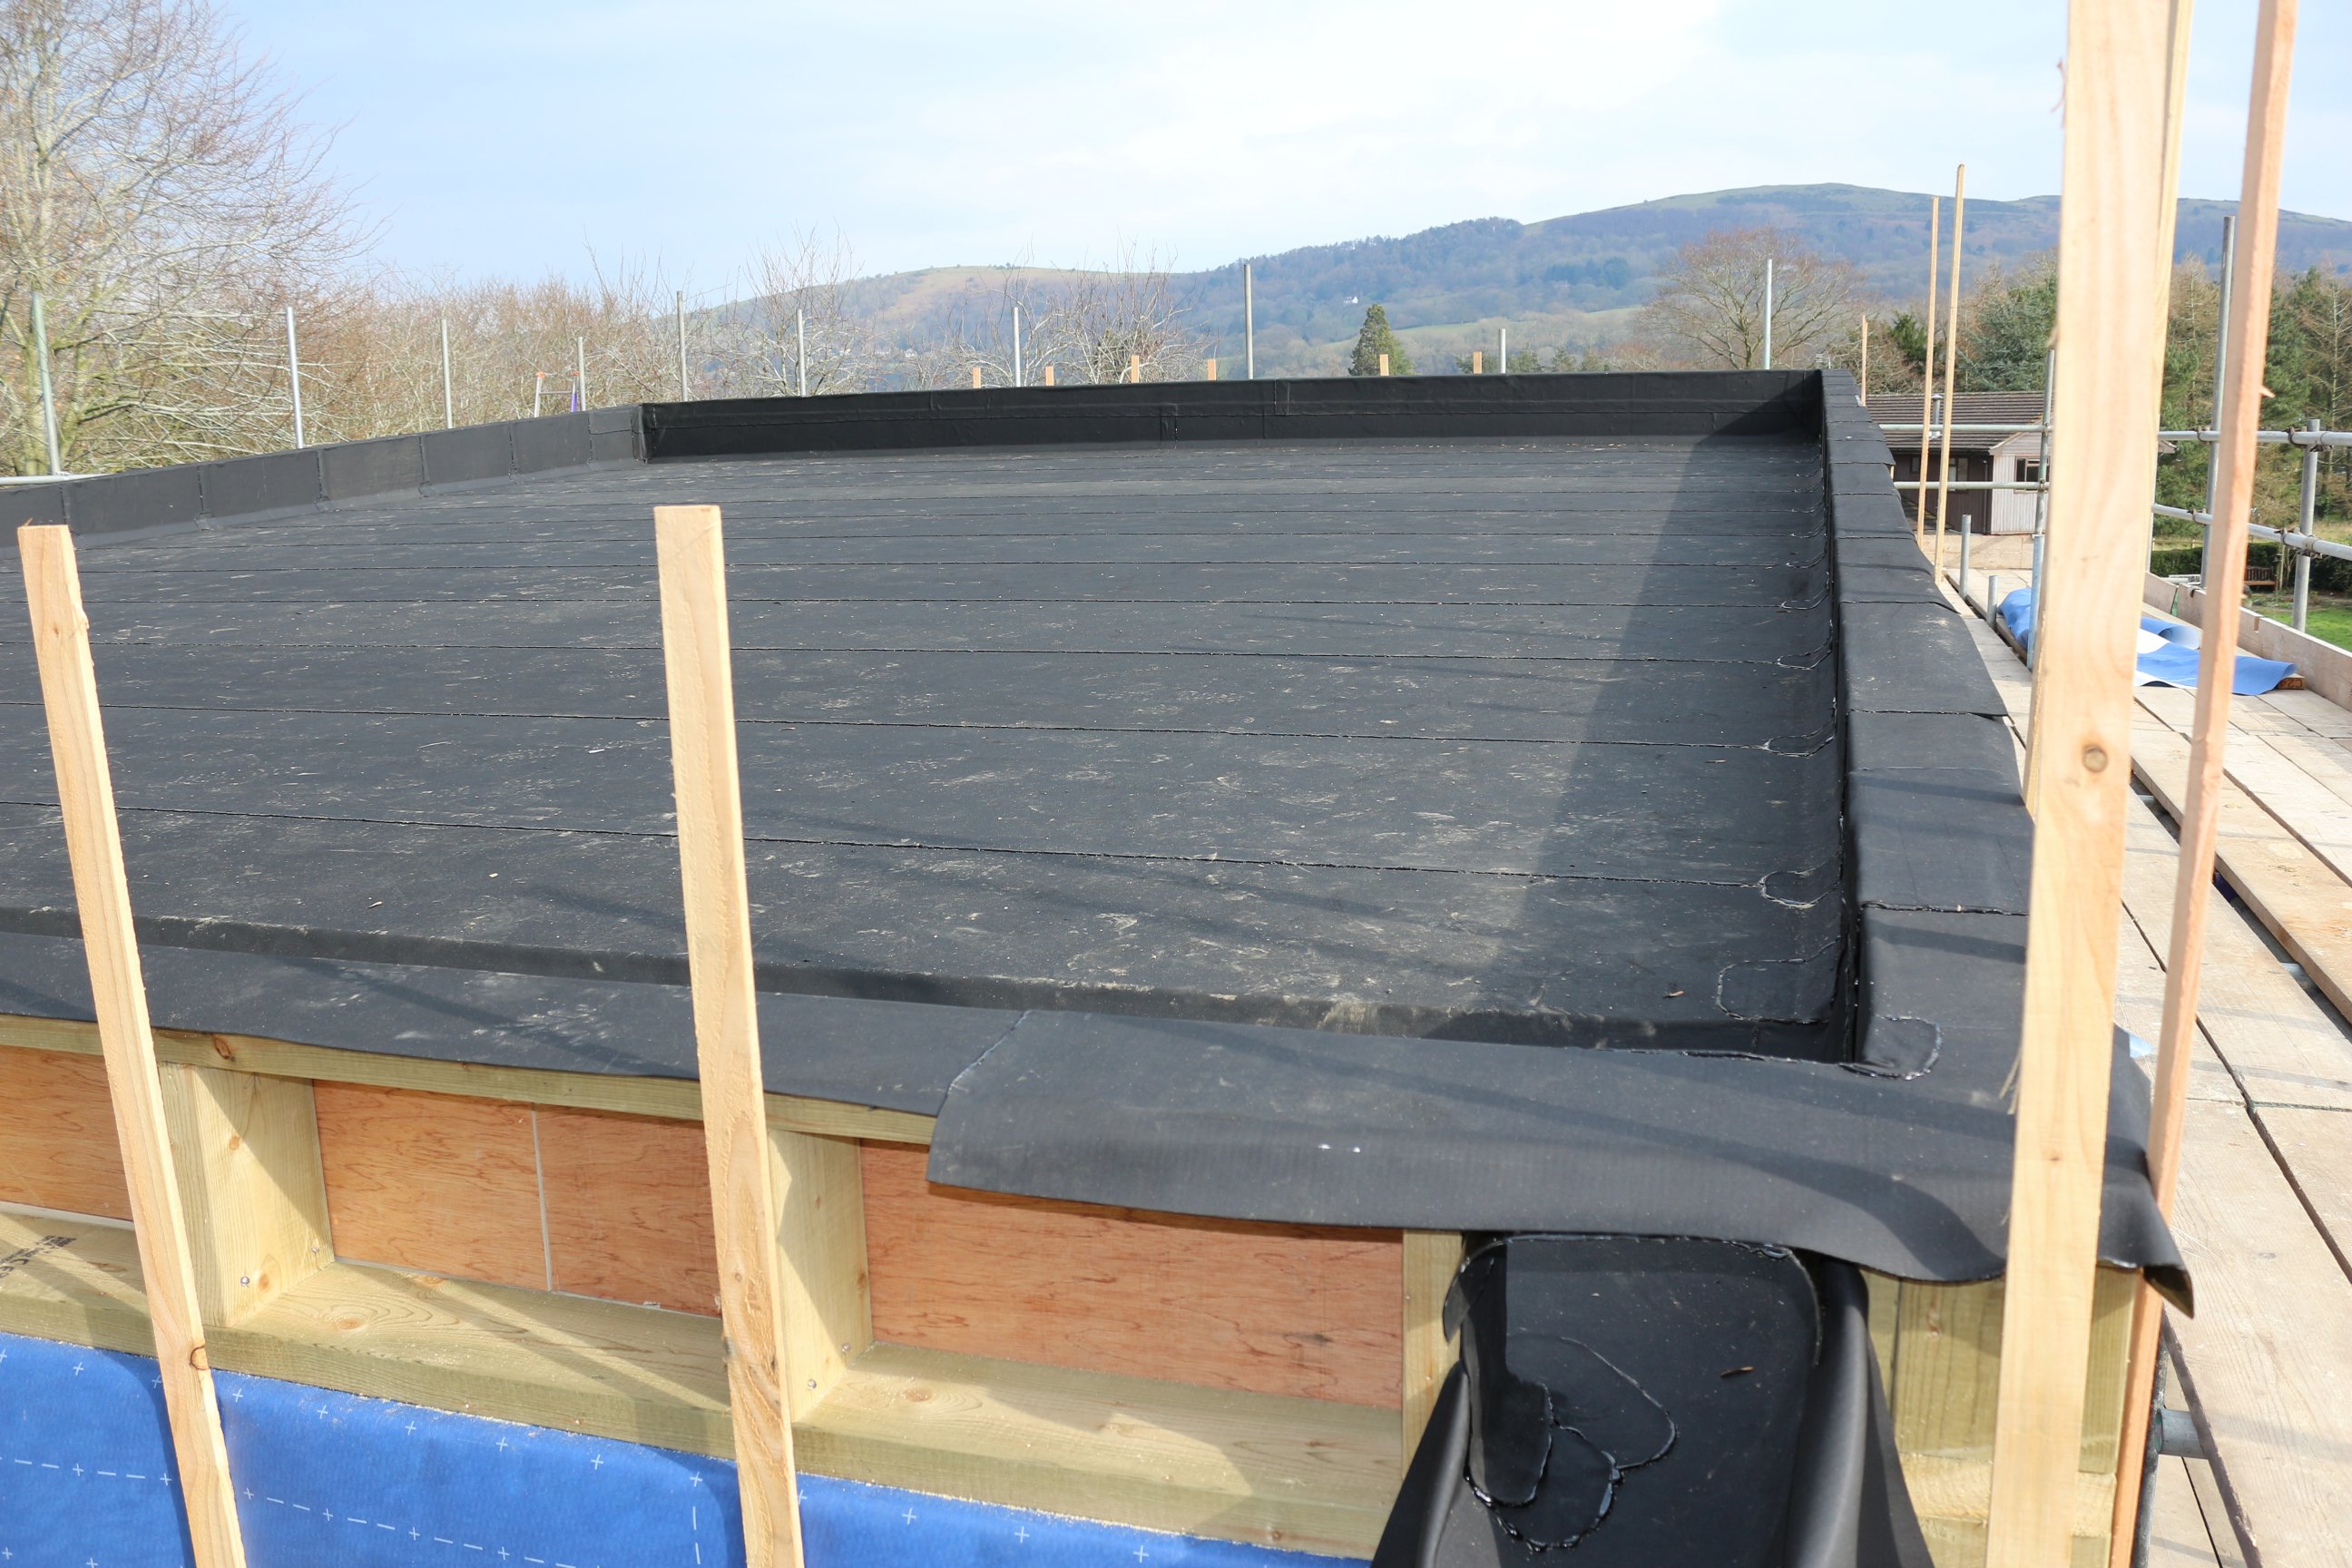
Last week saw the rest of the roof joists added along with a rainproof blue membrane. Nearly all the upstairs windows also went in. So now we are pretty much weather-tight with the exception of the tall two-storey window and the front door and window. Here is a picture of the main roof.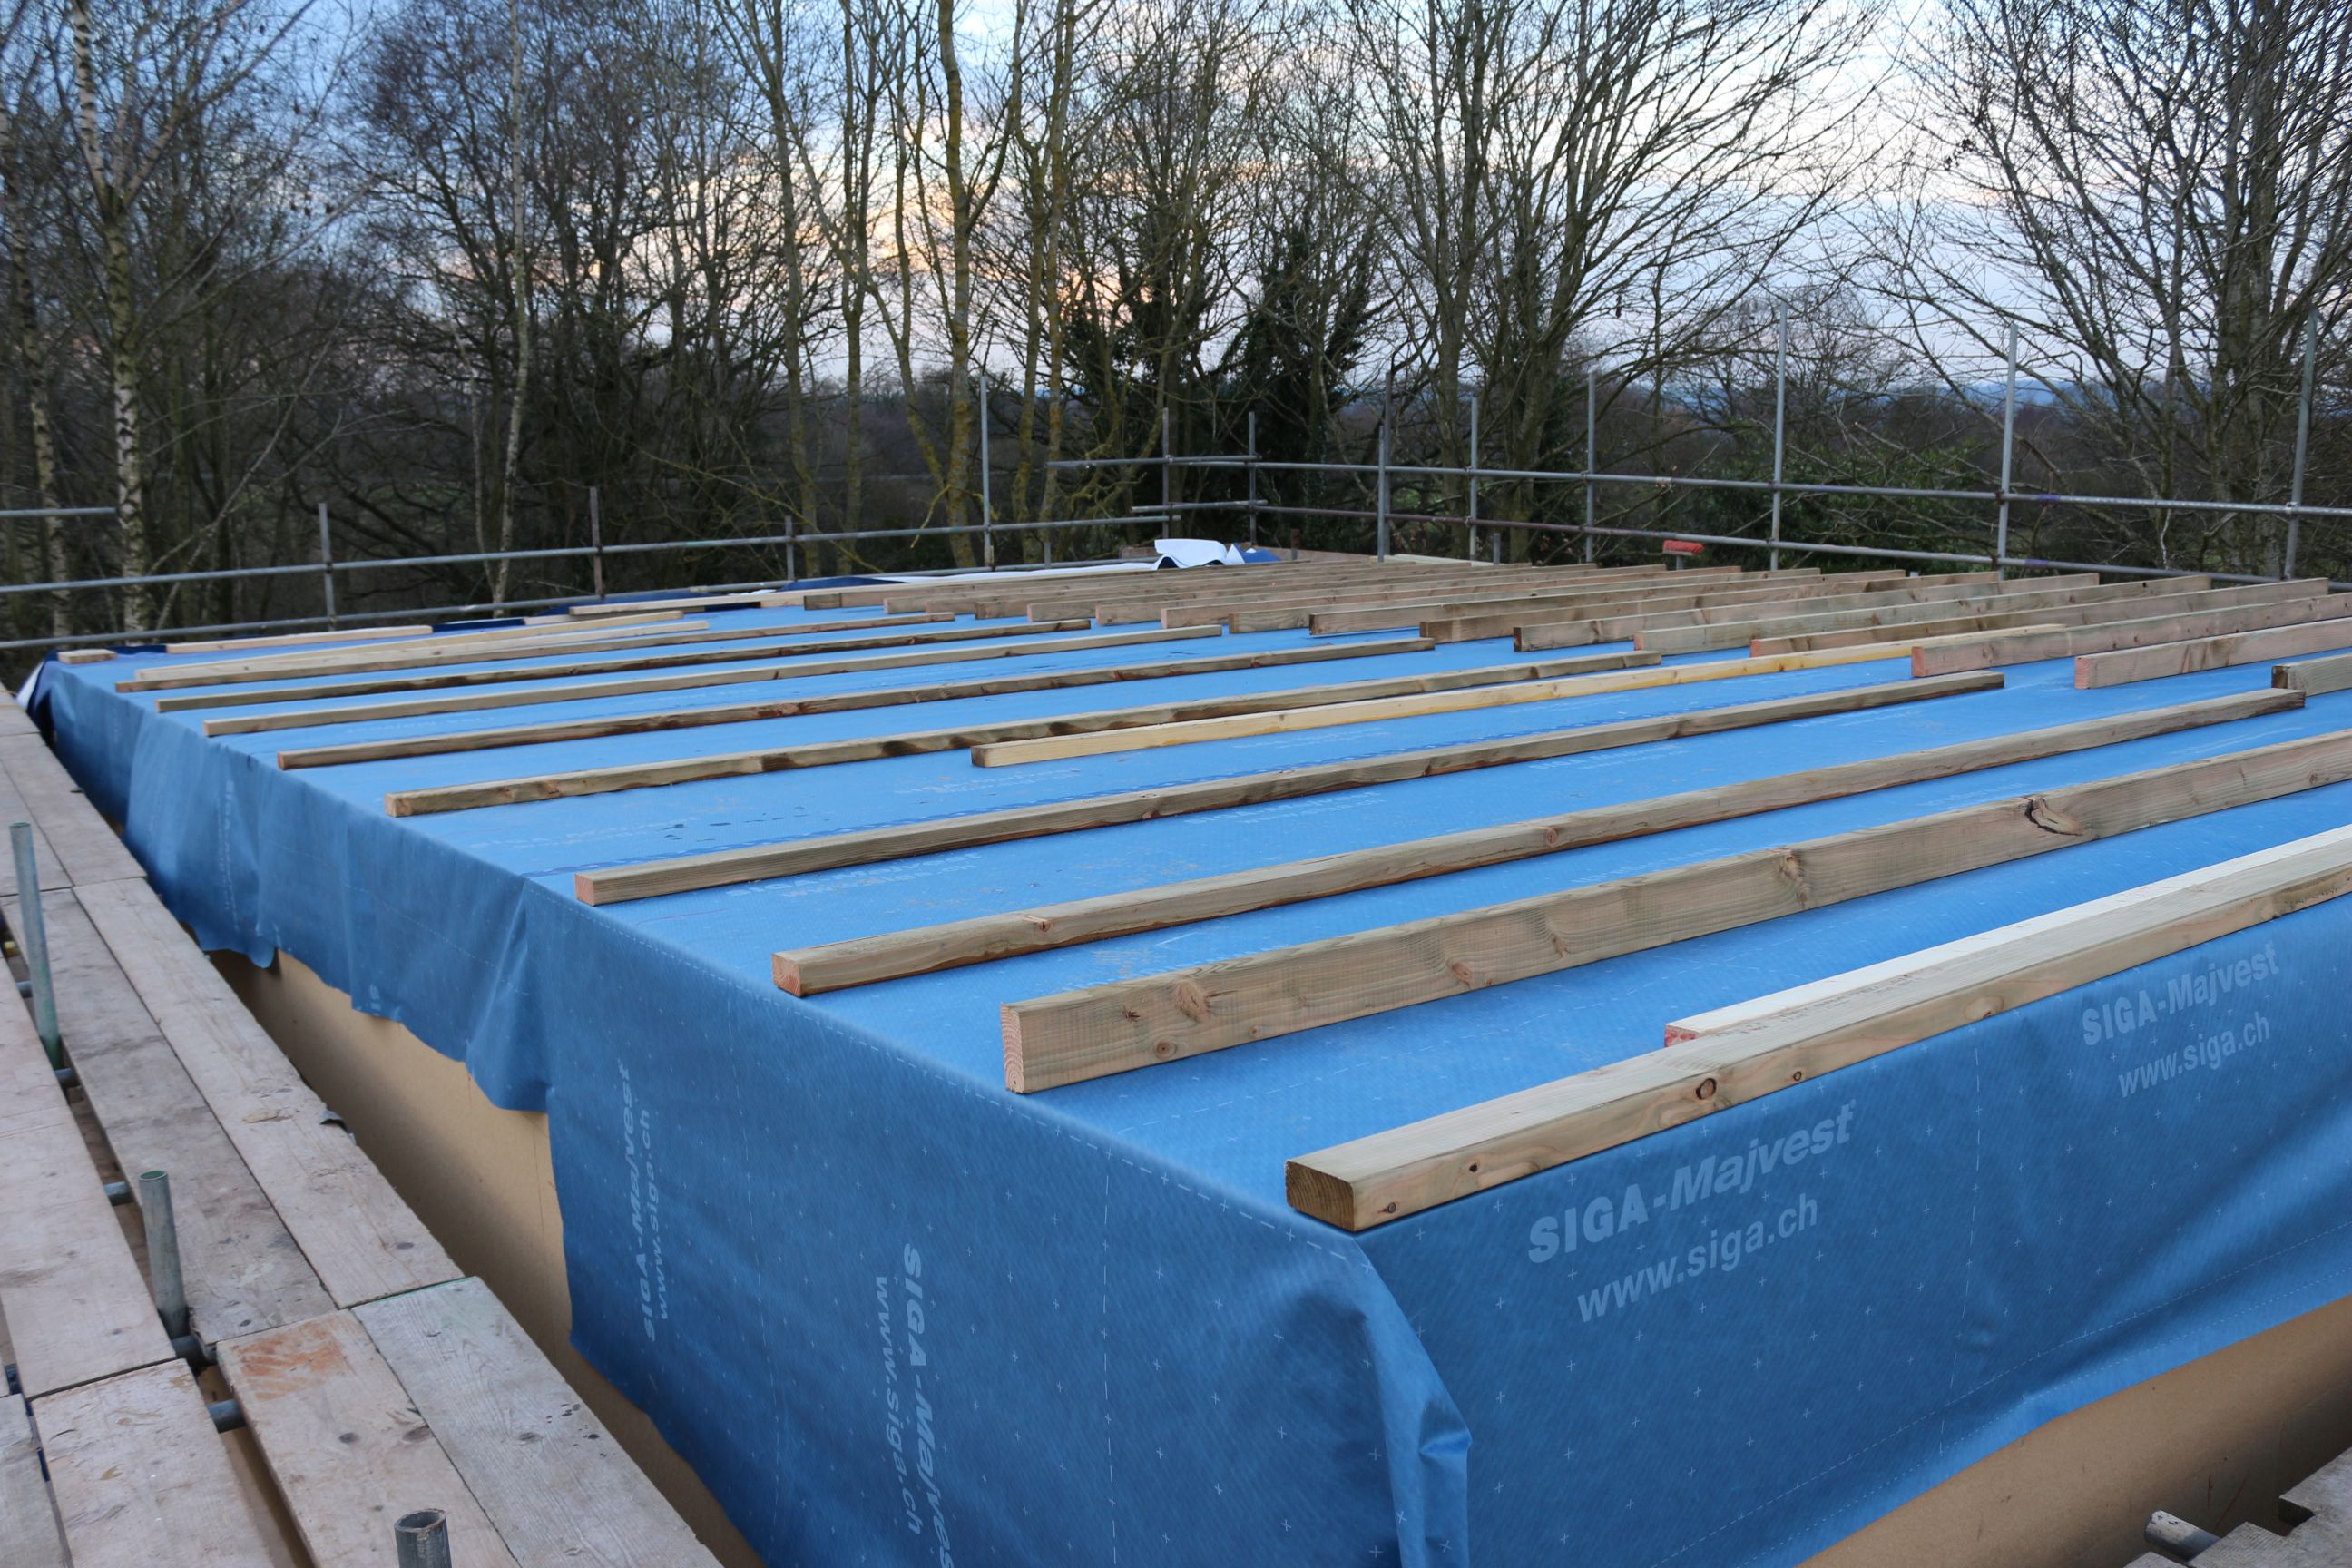
Now we can really begin to get an idea of the views from the windows – this is looking out of the landing window across the roof of Mike’s study.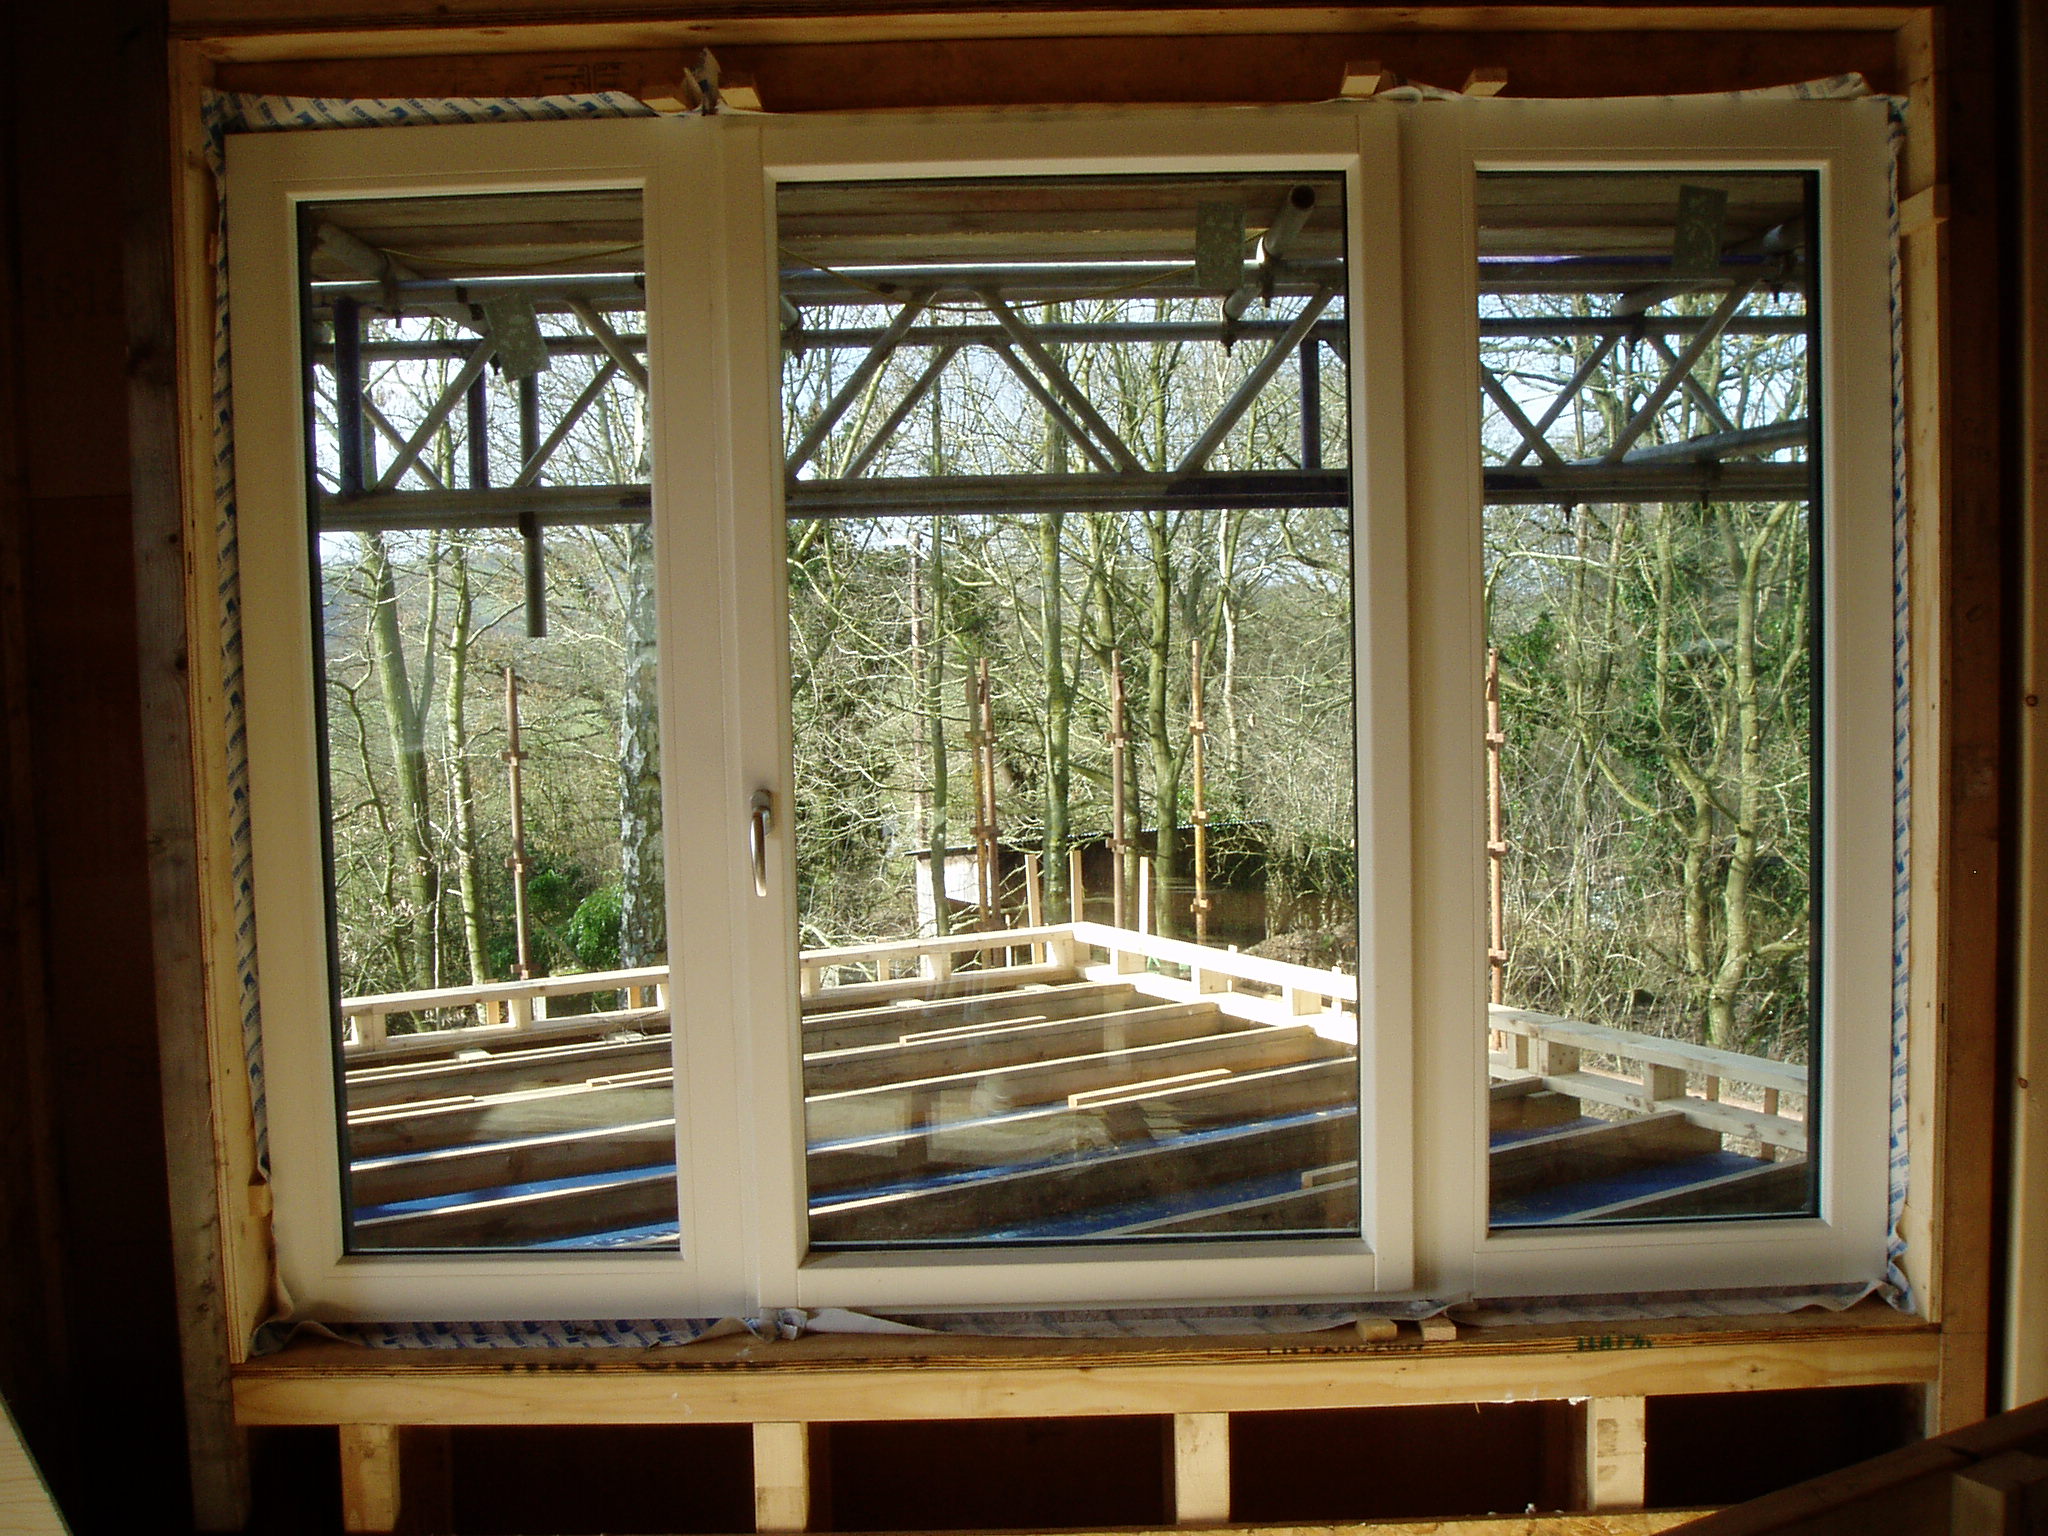
Battening down the hatches
Saturday brought 24 hours of continuous rain, which meant that the ground which had been drying out is back to being a quagmire again. On Friday the ground floor of the house had been swept dry, but by Sunday there were again puddles up to an inch deep across the whole area as the continuous rain had seeped through the temporary plastic sheeting and the joins in the floor sheets above.
And then on Monday storm Imogen arrived. Not so much rain this time, but sudden very strong gusts of wind. I visited the site, to find the scaffolders had returned and were tightening up all their joints. The plastic membrane around the pod was also being battened down to stop it flapping in the gusts. It was rather alarming to stand upstairs looking through the landing window at the swaying silver birch a few yards away. However house and trees are still standing and the main roof is now nearly water tight so we are ready for the next storm.
First Floor Walls
This week the first floor upright I-beams were completed and the walls were clad with the fibre board, so you really begin to get a feel for the shape of the building. 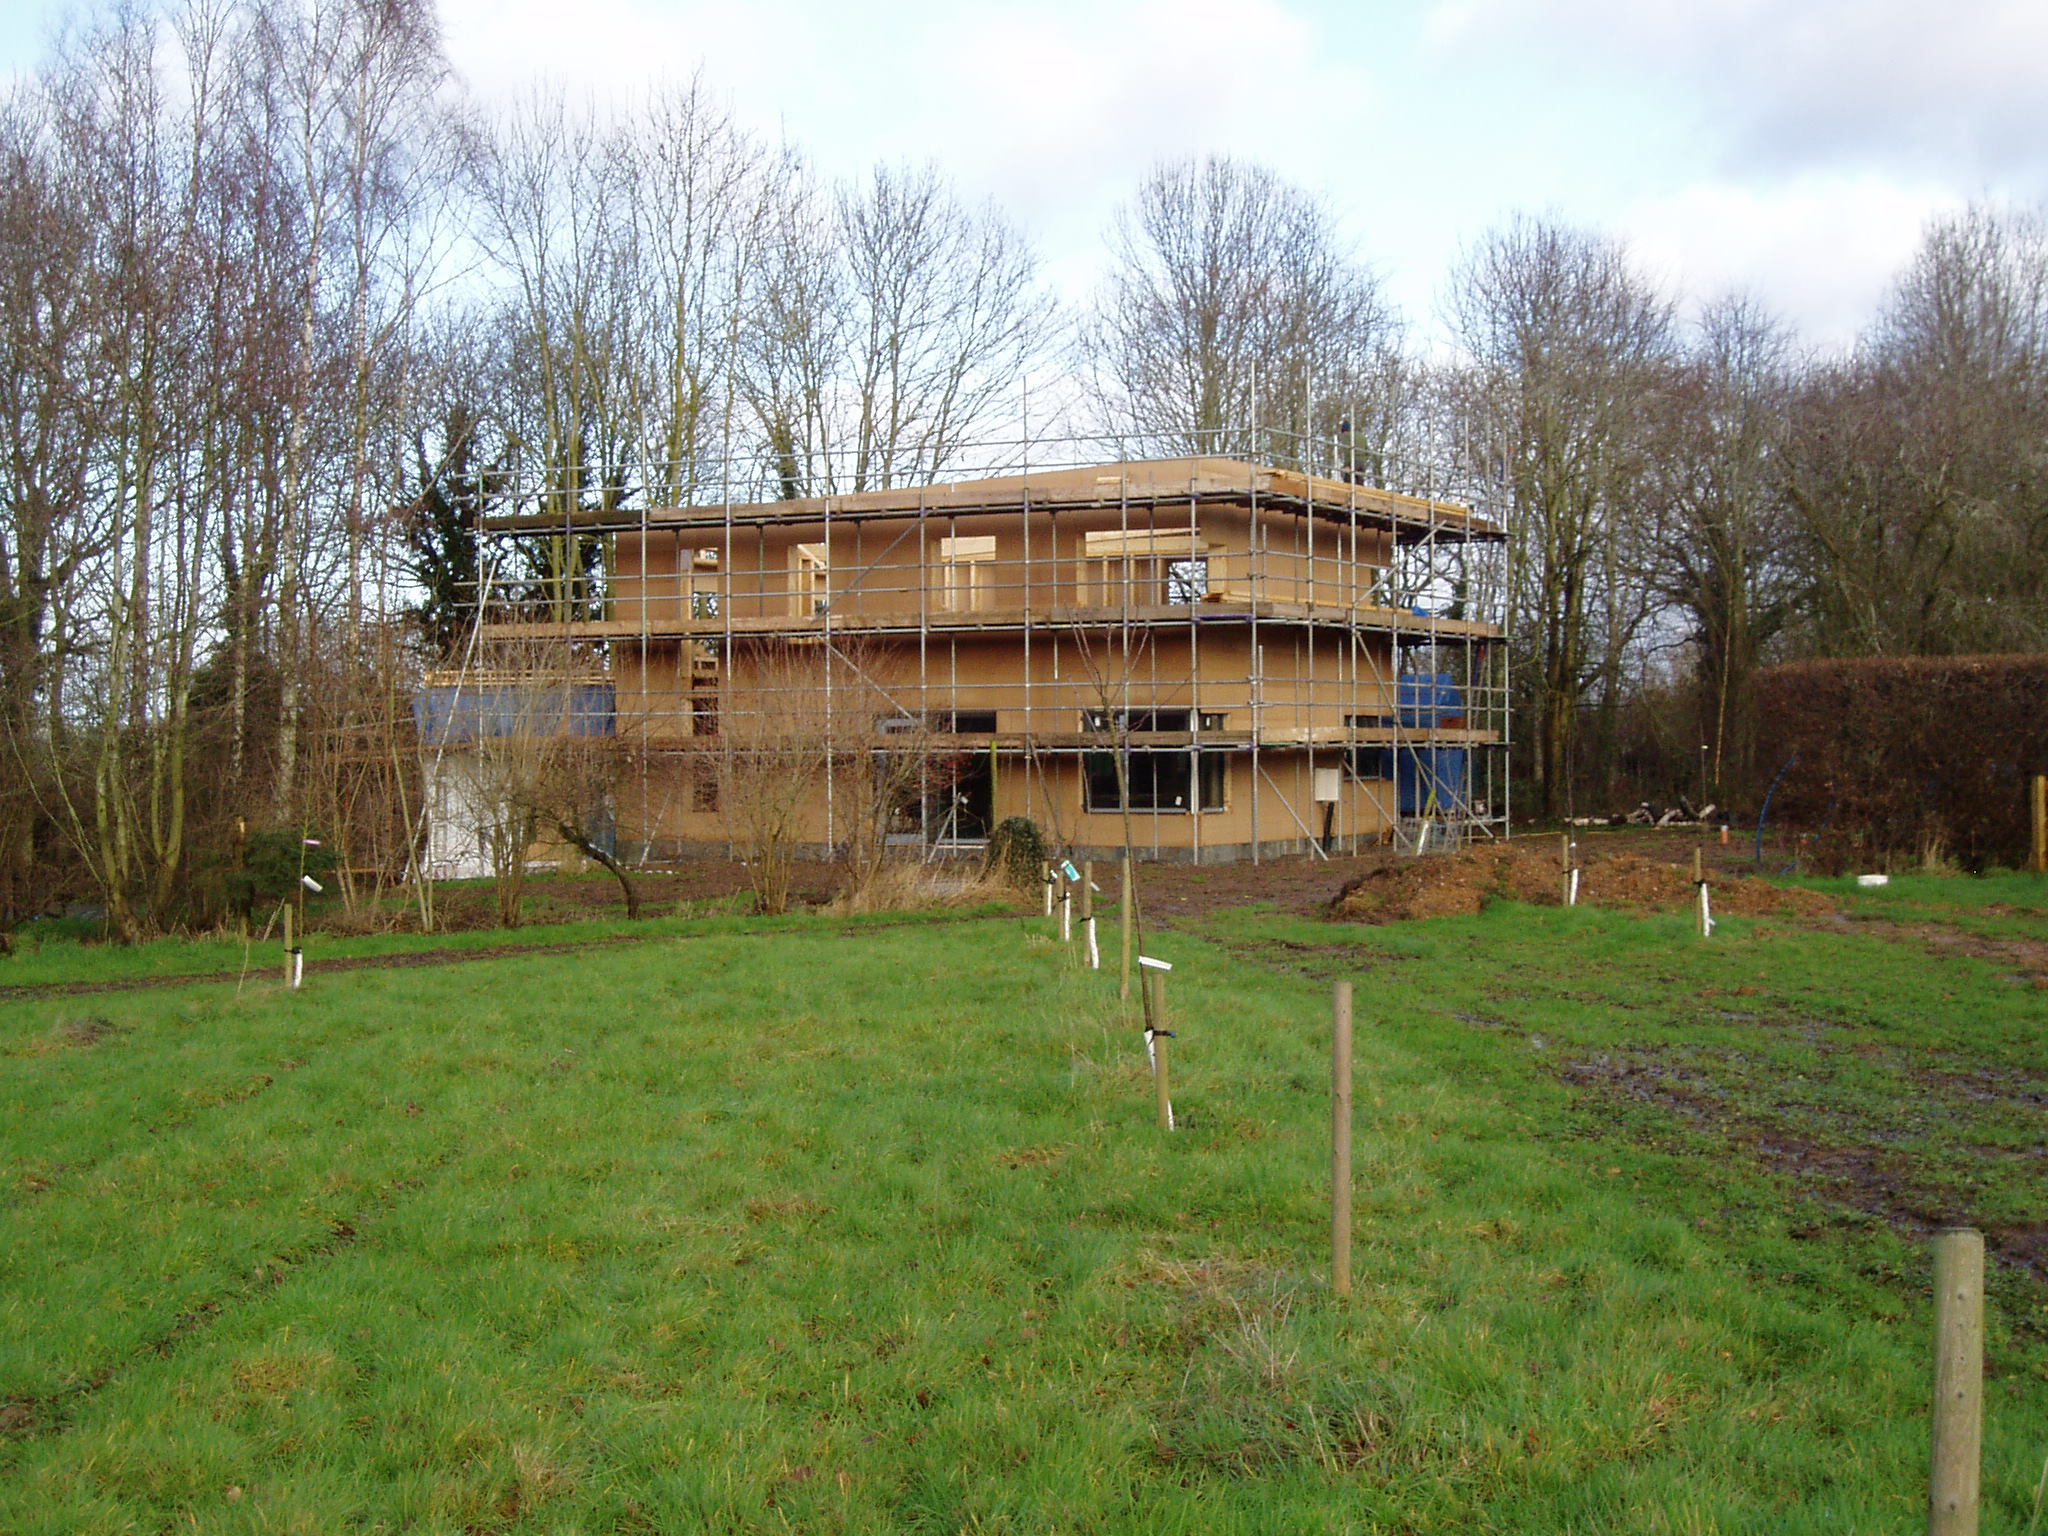
Then came another layer of I-beams, but this time they range in height to give a sloping roof ( from East to West ). The first roof joists have also been hung, which start to give us a feel for the height of the sloping ceiling in the upstairs rooms.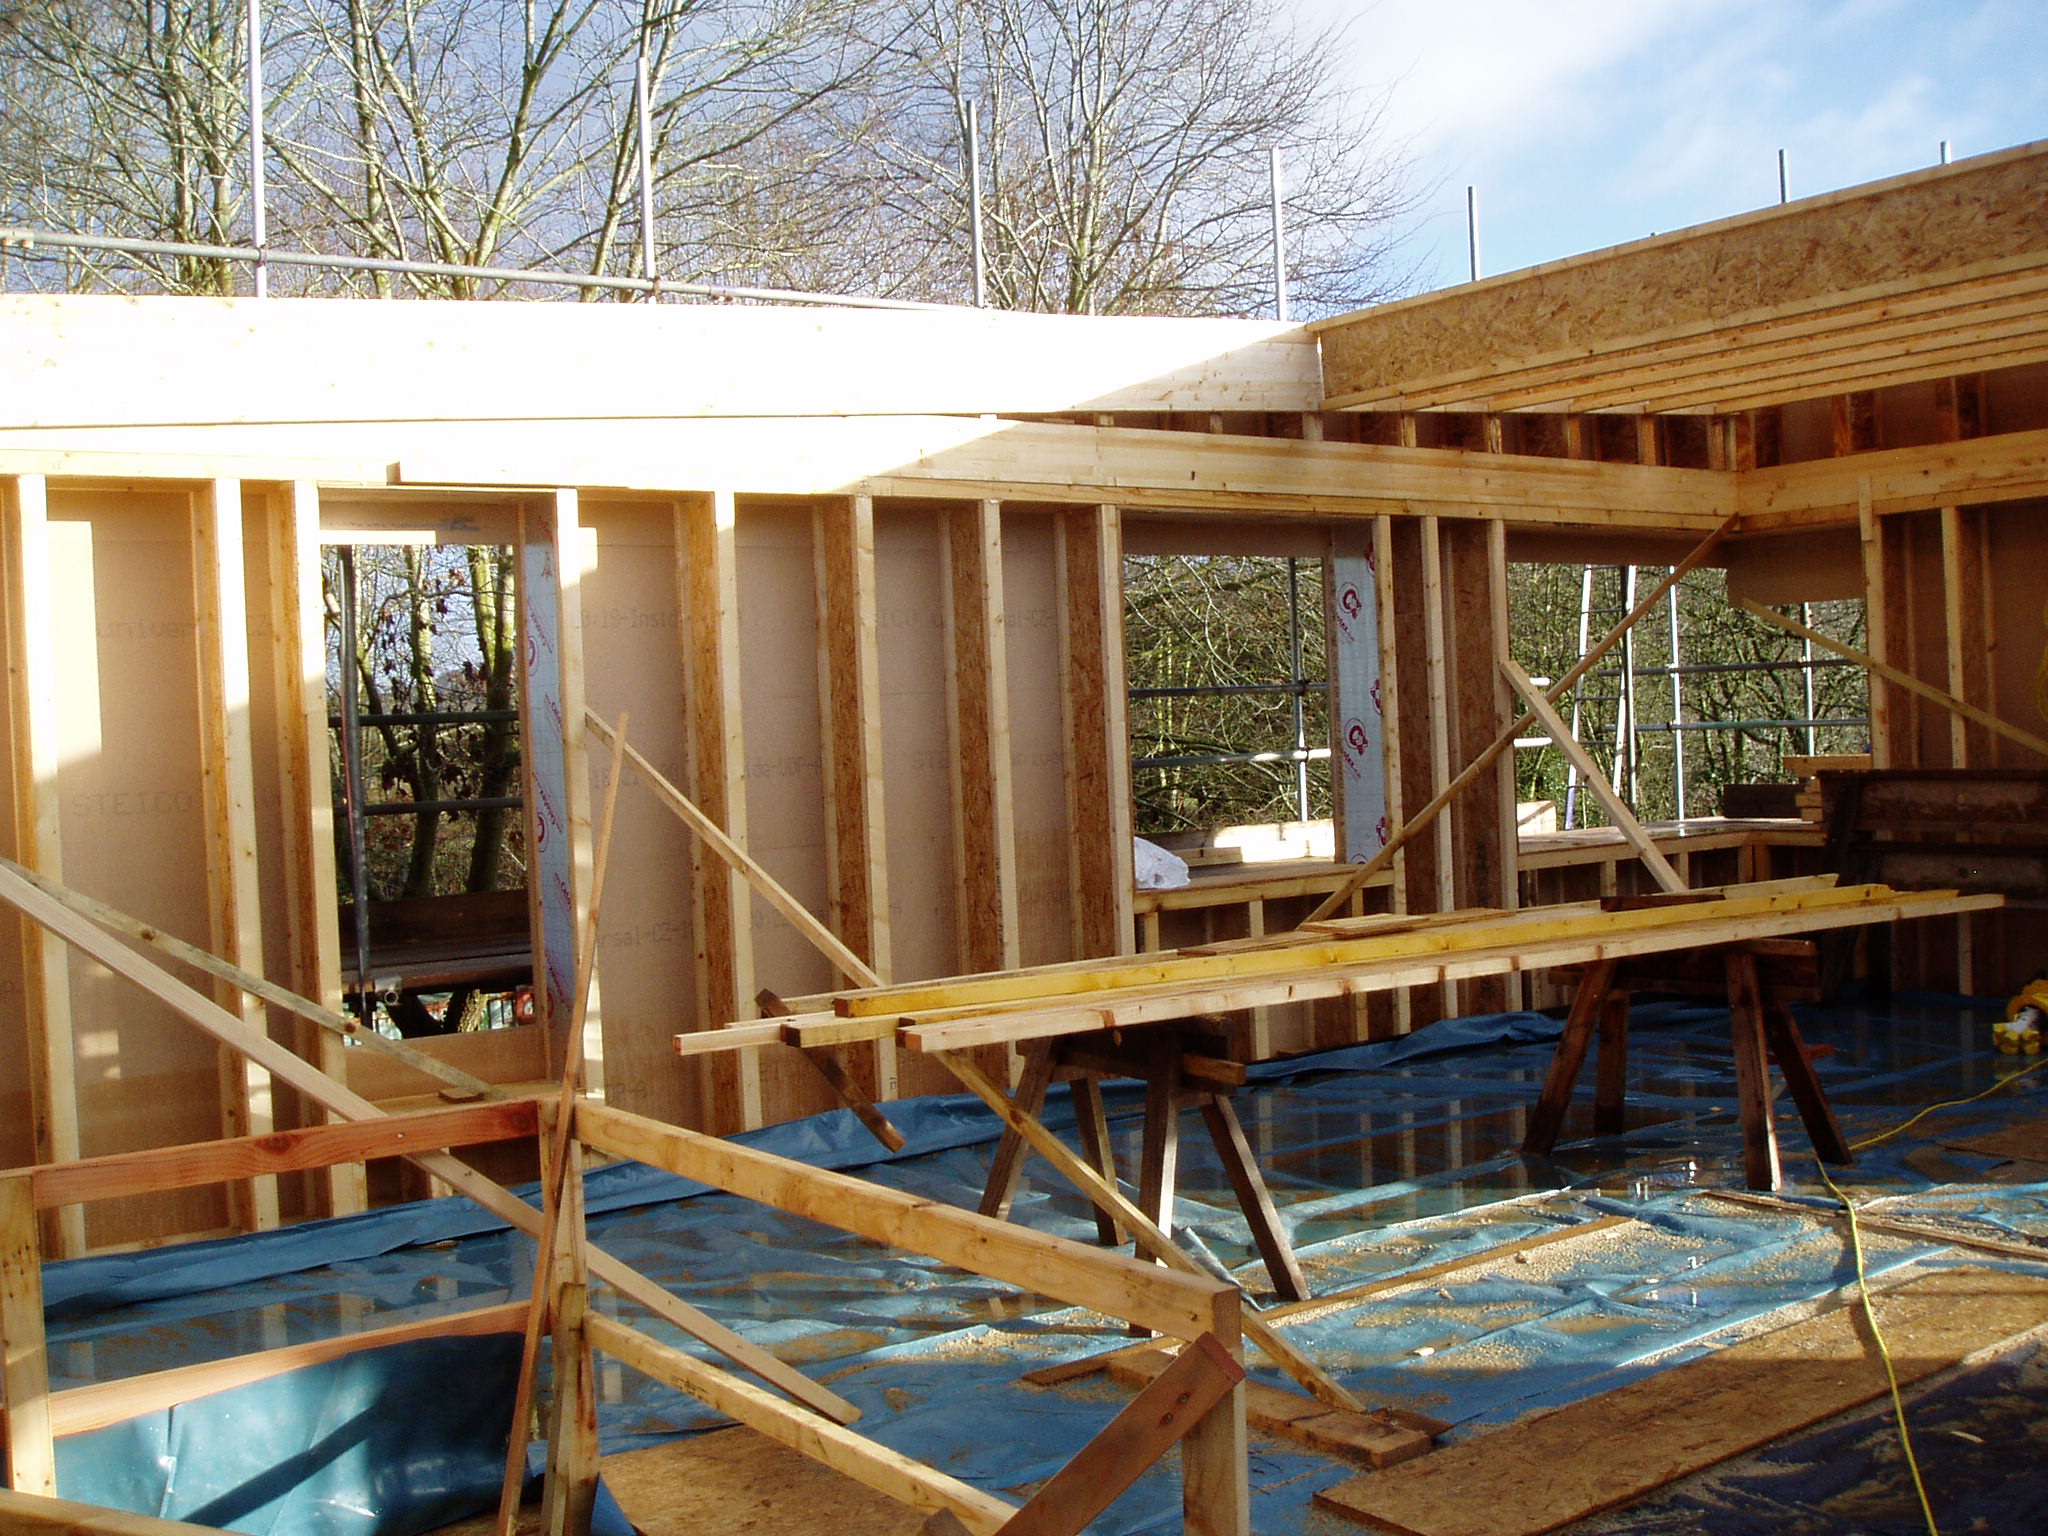
Onwards and Upwards
Visually the house seemed to move very quickly this week, though it does look like it has been covered in cardboard. First the downstairs windows were added, with a few hiccups as explained in the previous post. Then Steico tongue and grooved woodfibre insulating boards were added. 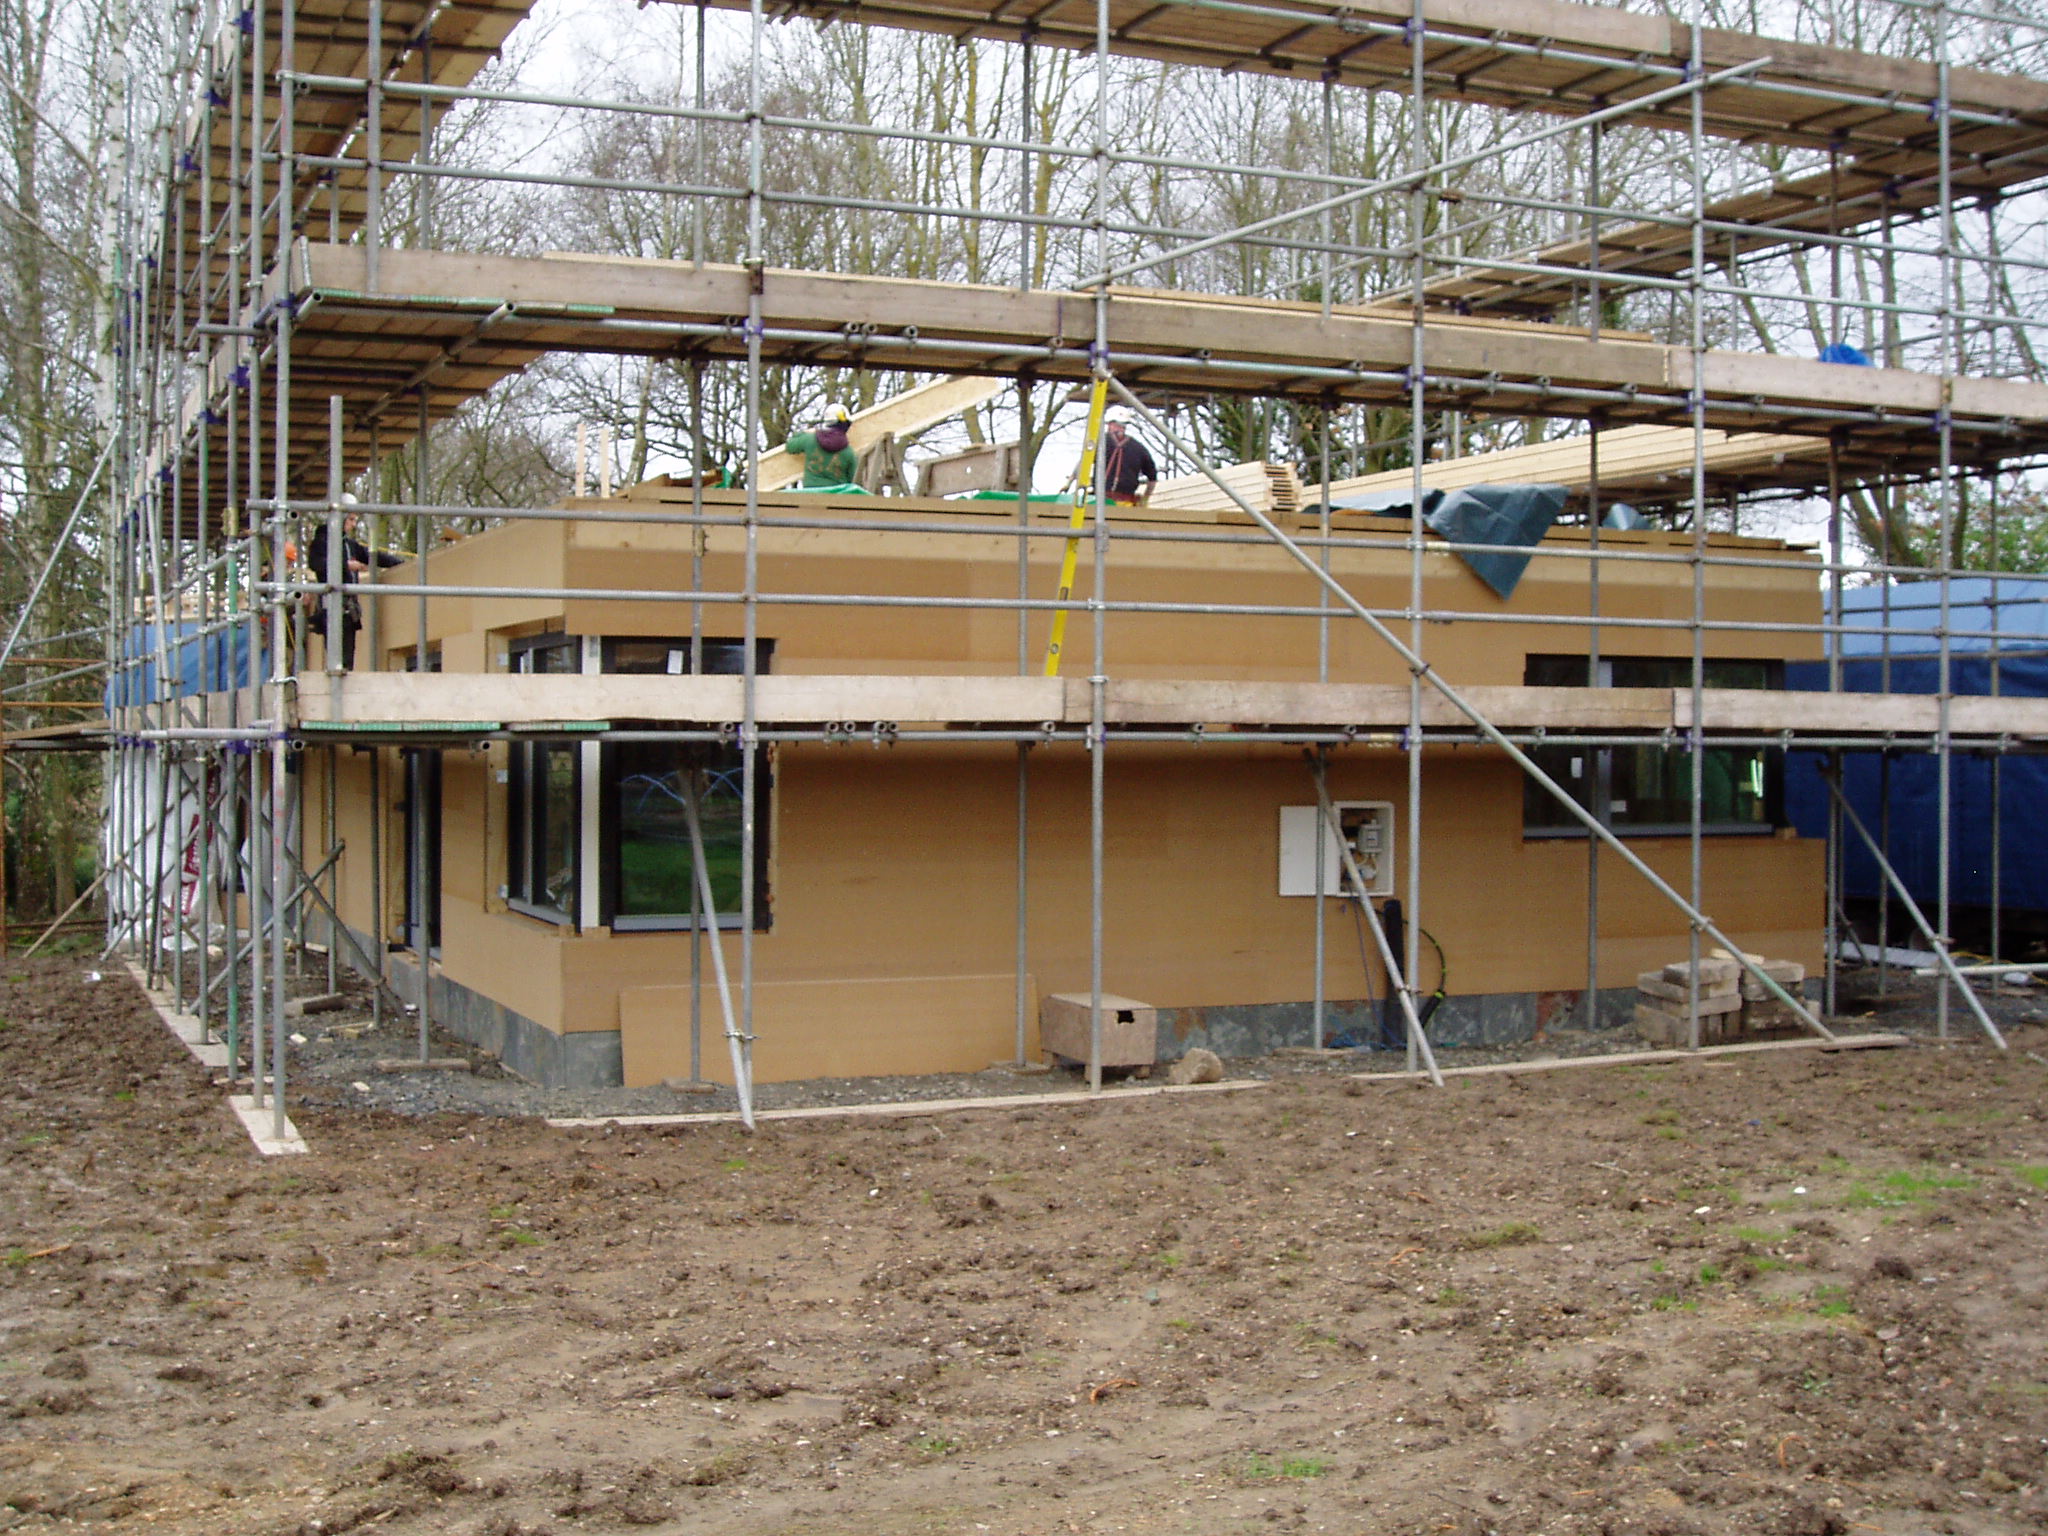
And then on Friday afternoon they started on the first floor I-beams and amazingly two-thirds of them were up in one afternoon
